In the Settings module tap Images.
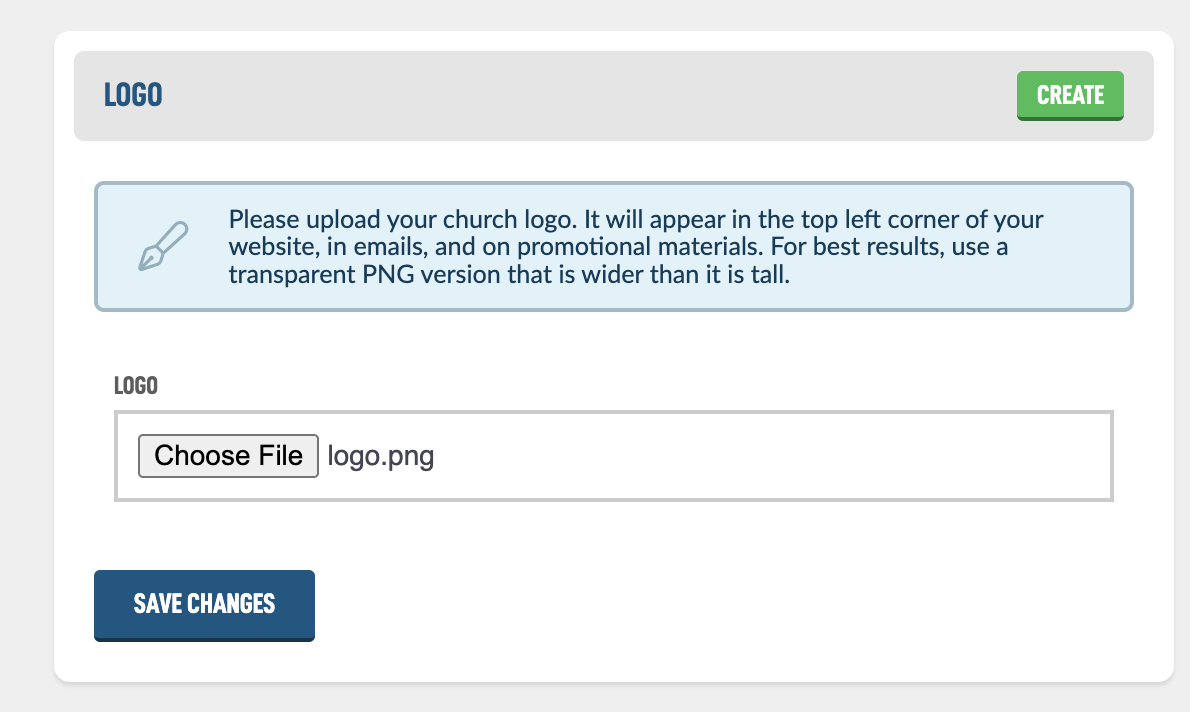
The first option is your site Logo. This should be a transparent PNG with the background not included. This is so we can use it on posters, thumbnails, and other graphics throughout the system without a background being shown along with it.
The logo should be wider than it is taller, this will just look better in our system, if it is not. That's ok, just make sure that it is a transparent PNG, that is key. You can upload a pretty big version of your logo to the site so it will stay crisp when we make posters and other graphics.
Select your file and then hit Save Changes.
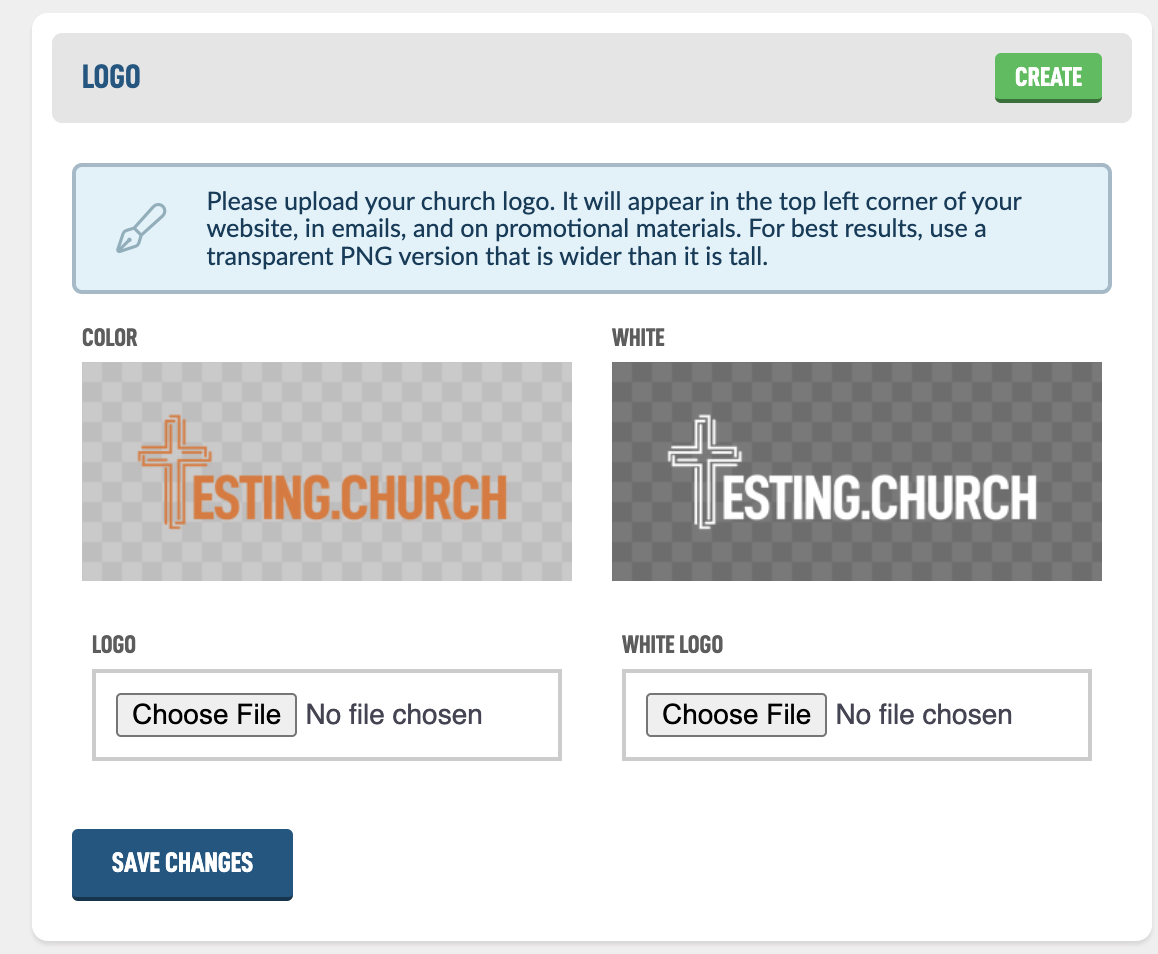
Our system will attempt to make a nice white version of it. This is used on posters and thumbnails in other modules. If you don't like how it converted your logo, you can upload your own white version. It should look like this after your upload your logo. You should see the block pattern behind your logo, this is indicating that your logo is transparent.
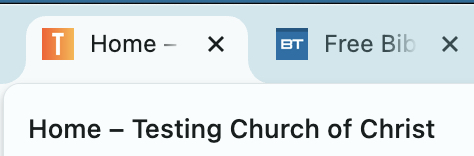
The next image is called the Favicon or Favorites Icon. This icon is displayed in browsers to indicate which tab is which. Here is what the favicon for BibleTalk.tv looks like:

And here is the form on the Settings module to update yours. If you want a custom one, upload a square image 512 pixels wide by 512 pixels tall. Or click the Generate button to make one based off your site colors and the first letter of your church name.
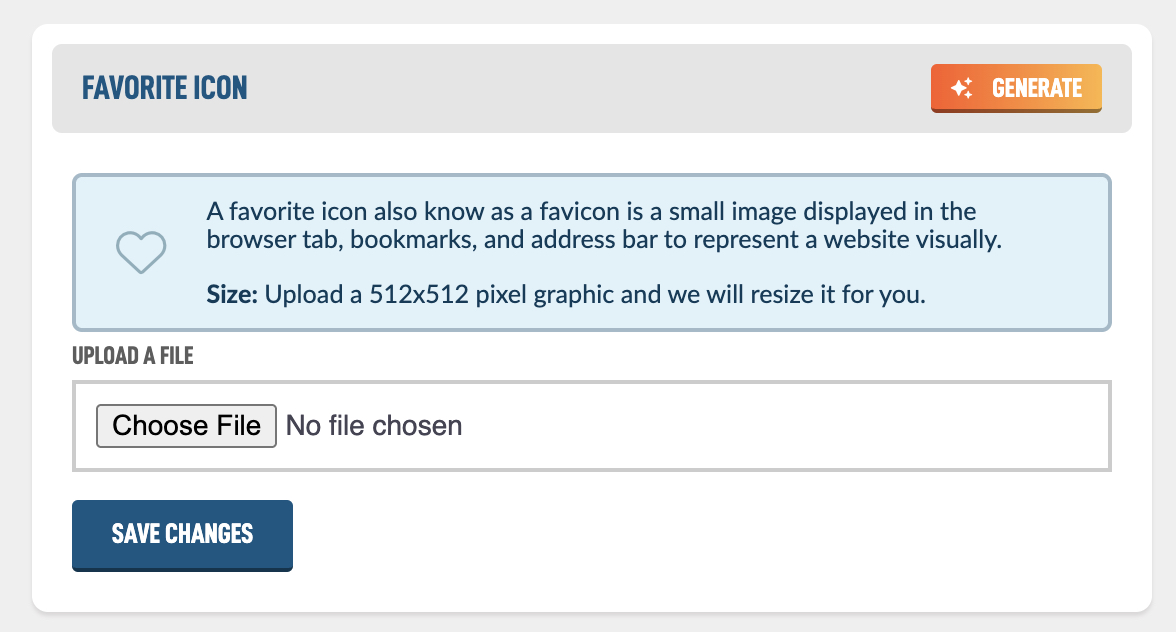
This is what it would look like after you hit Generate. It creates all the required sizes that different browsers need. A tedious step you don't have to do.

You then in your browser should start to see your fav icon appear. If it's not showing it can take some time. You can also force a refresh by holding down shift on your keyboard and clicking the refresh button in your browser bar. Once it's refreshed it should look like this:
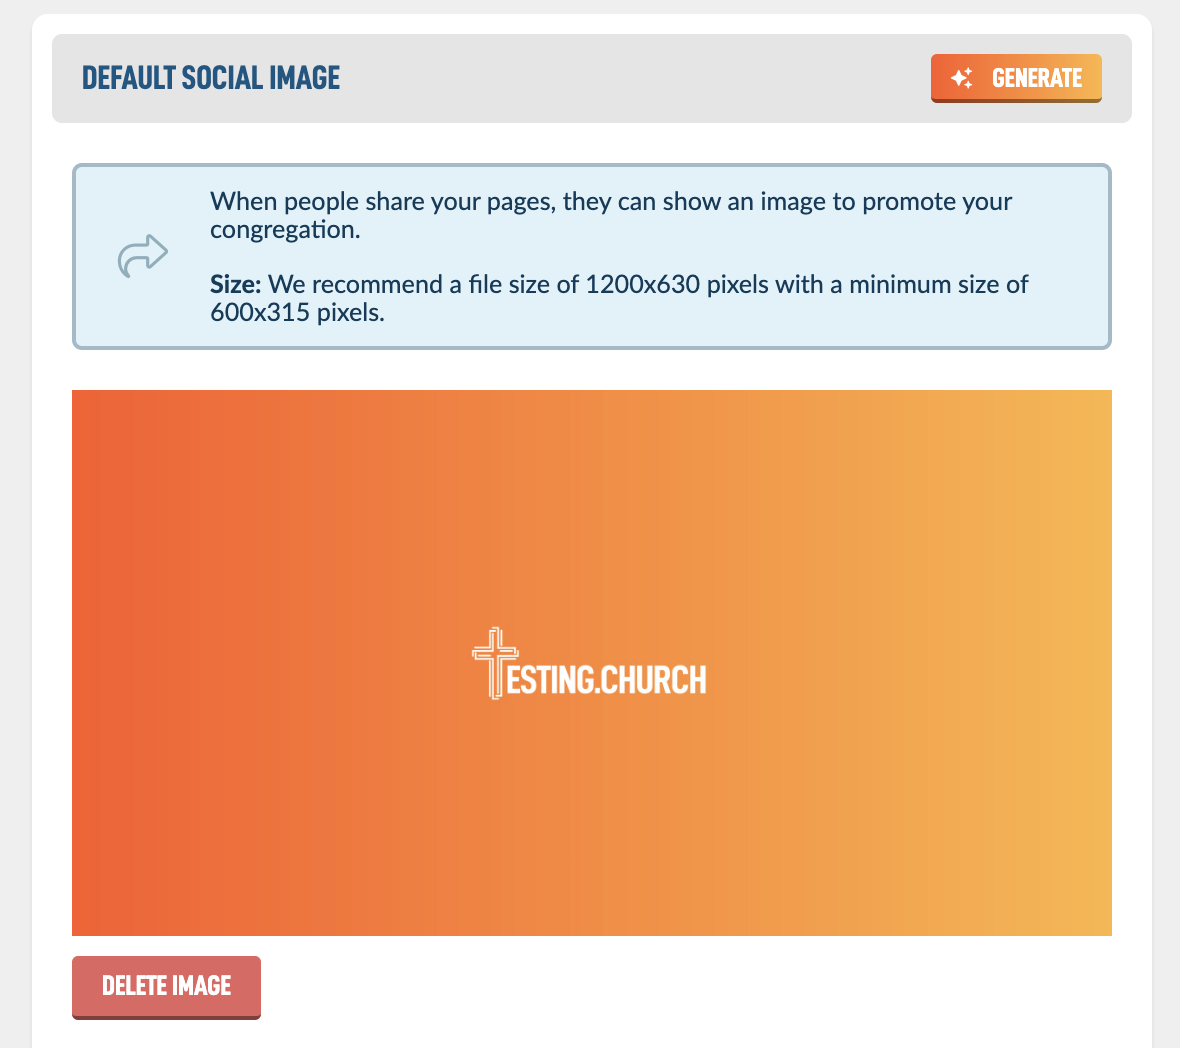
The next box is the default Social Image, when people share your pages on Facebook for instance, a large image can appear that helps users know what they are clicking on and can help generate traffic. You can upload your own custom one or use the Generate to automatically make one off your settings.
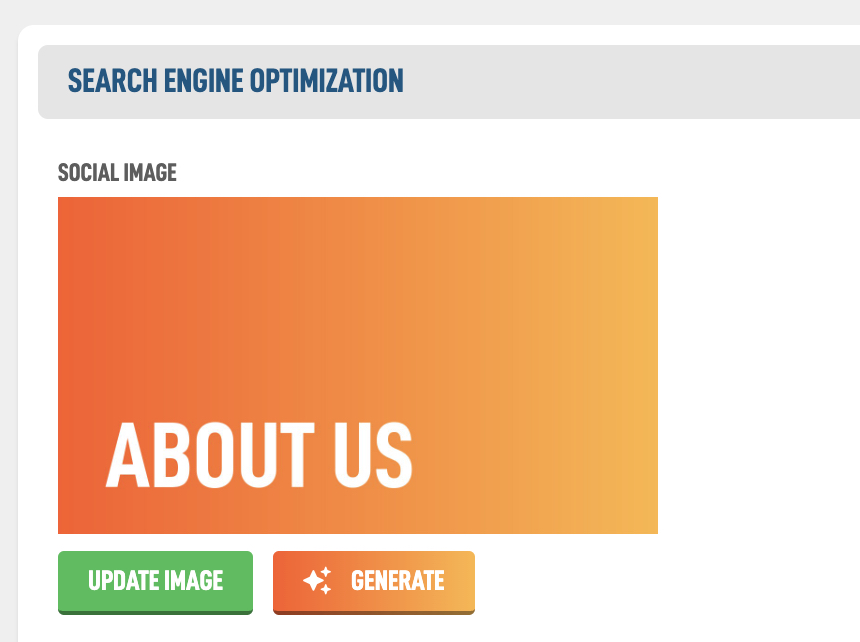
Note: In the Pages module you can create social media images for every page of your site. In the Search Engine Optimization box when editing a Page, look for the Generate button.
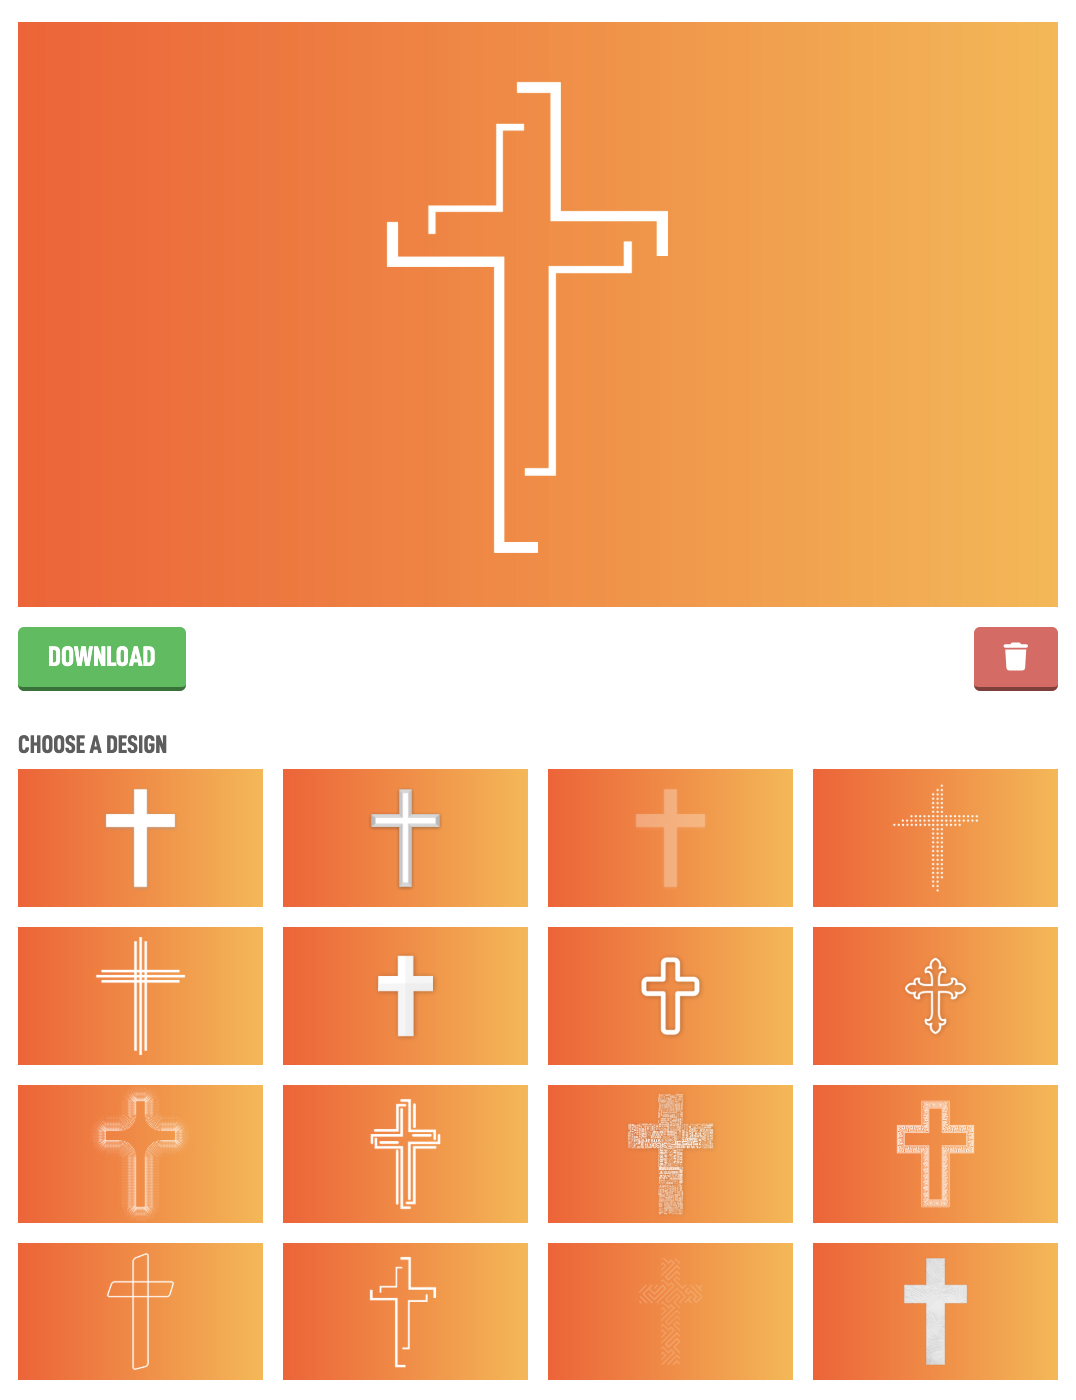
At the bottom of the Images, you can create a Crosses graphics with your theme colors that you can use as a background for your projectors or screens.
Simply choose a design and then you should see a Download option to download the jpeg to your device.