In the Settings module look in the top and tap on Template in the mini navigation.
The first box includes items for Theme. You can choose which format of your logo to use, the Color version is the main one, we also try to convert it to White, these different elements can then be used on various Poster and Graphics in other modules.
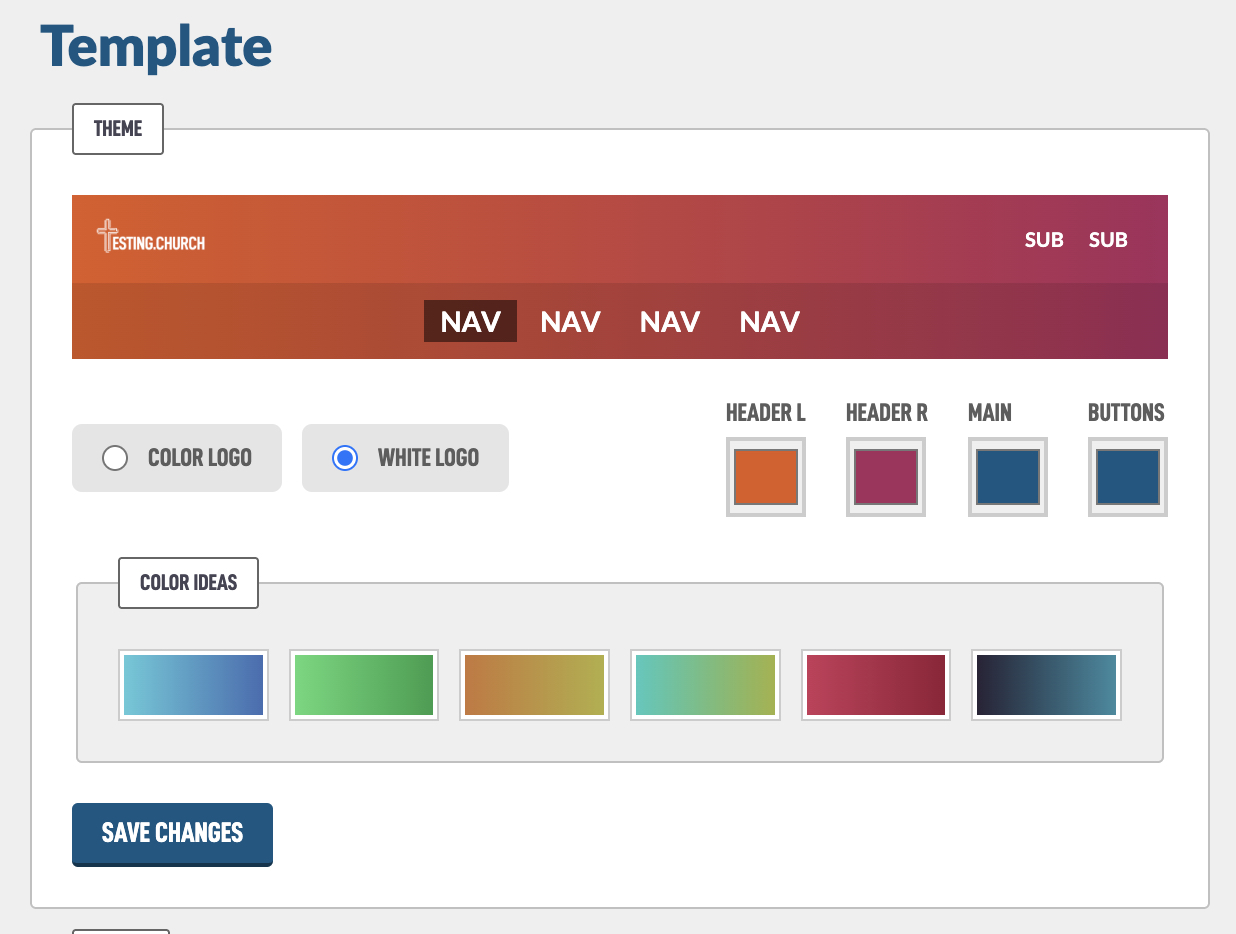
You can change the colors on the right side. Header L is the left side of the colors and Header R is the right side. You could make them the same if you don't like gradients. There are also some presets you can choose from in the Color Ideas box. Just tap on them to change instantly.
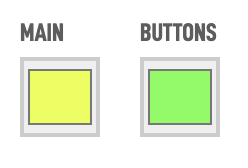
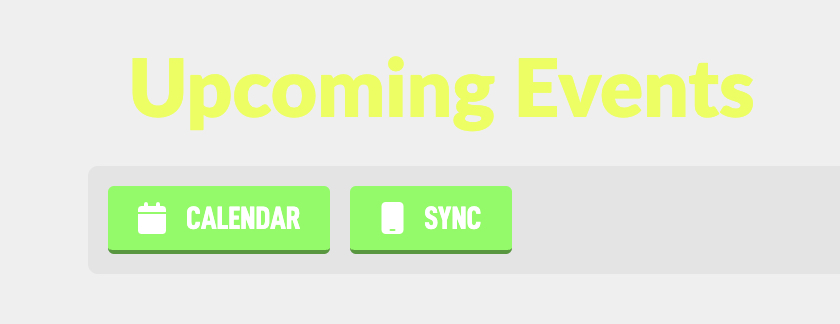
The Main and Buttons colors change elements on the public website. These can be a little tricky and should be nice bold colors. Here I changed both so you can see where they update:
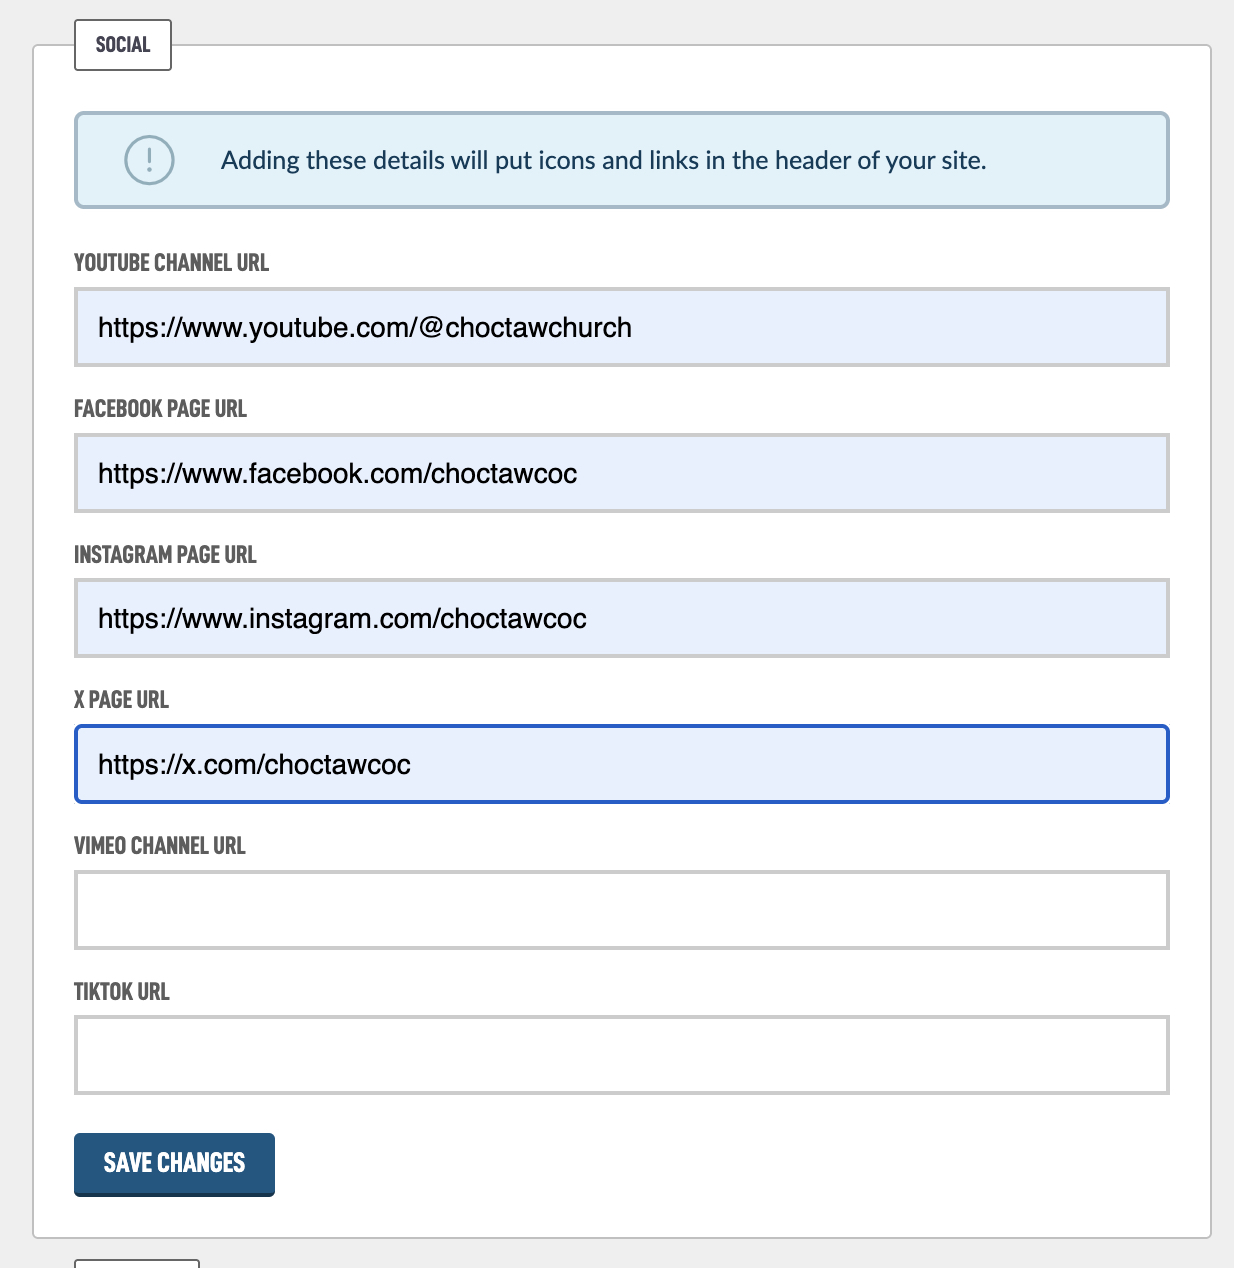
In the Social box, you can add URL links to your social media pages. This puts icons in the top right of your website:

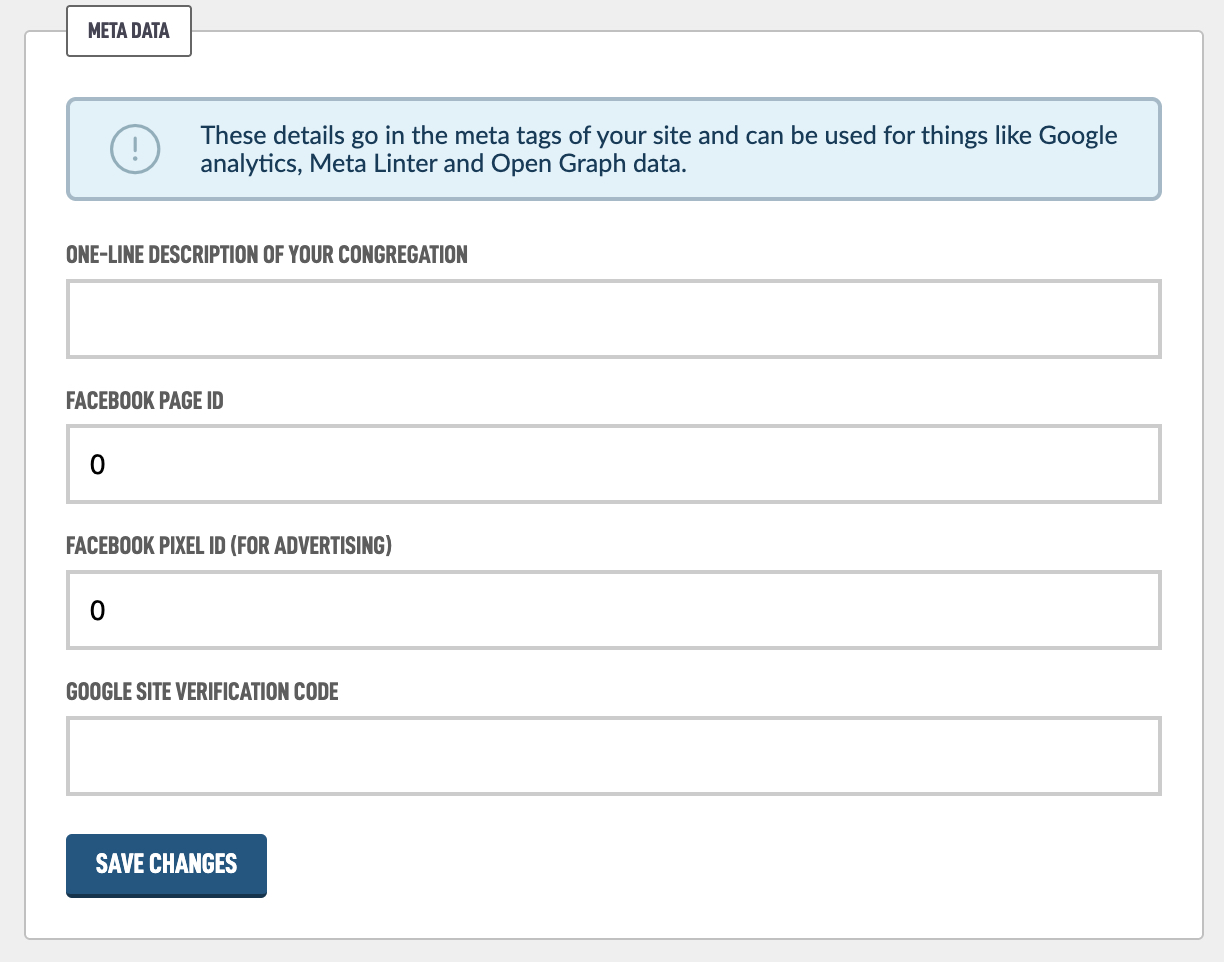
The final box Meta Data is used for other services around the web. You probably don't need to use these but they are there if you need them.
Very briefly:
