Note: Before moving along with this functionality, you will need to have a screen created (Help Guide available) as well as more than one layout created (Help Guide available).
If you only have one layout, you do not need to create a schedule, simply edit the screen and select your layout as the Default Layout.
If you want to rotate layouts at different times, perhaps have one during class time and then a different layout showing up during worship, then this Help Guide will show you how to do that.
First navigate to the Screens module of the admin and tap on the Screen you want to add the schedule to. Then in the top right of the edit screen you should see the Schedule button.
Now you have a form with a few options.
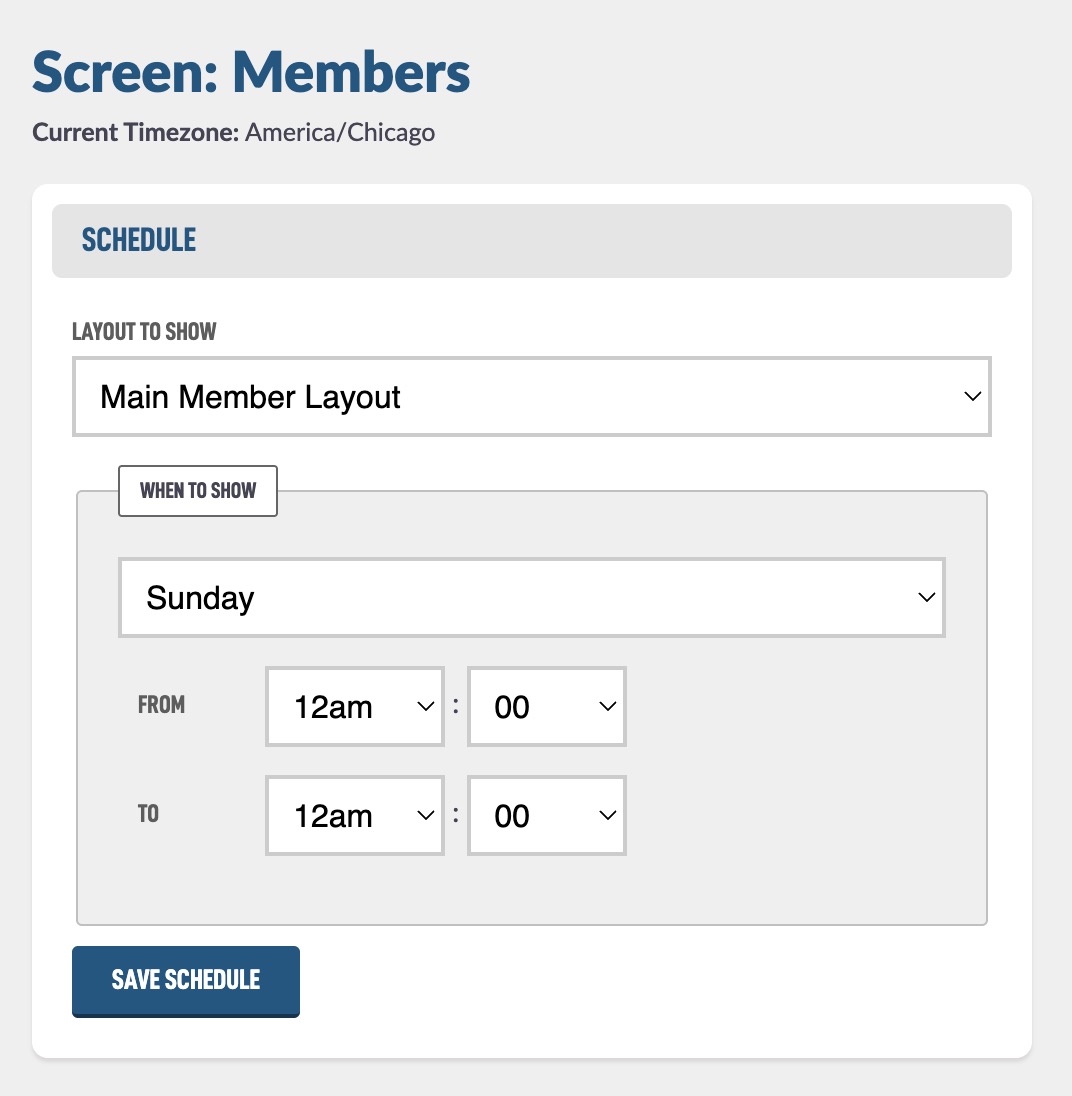
Here are some notes to look out for:
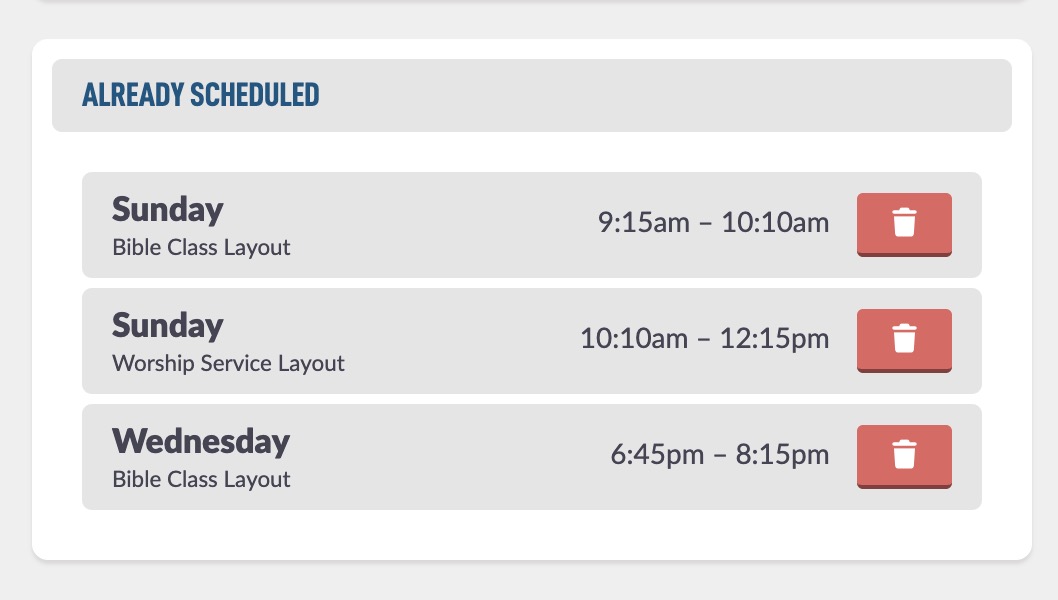
When you hit Save Schedule, you will see them listed below the form.
In the example below, I have added our schedule with a little buffer on each end of the event.