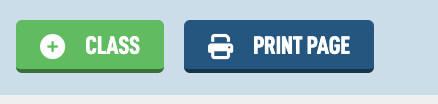
In the top left corner hit Add Class.
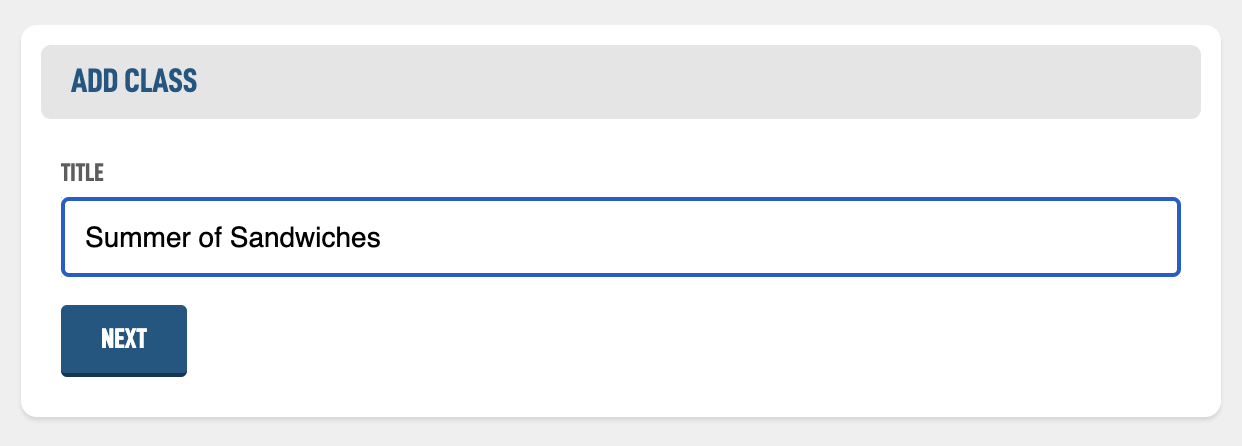
In the title field add the title of your class and tap Next.
You will then land on the Edit Class screen, let's go over some of the details.
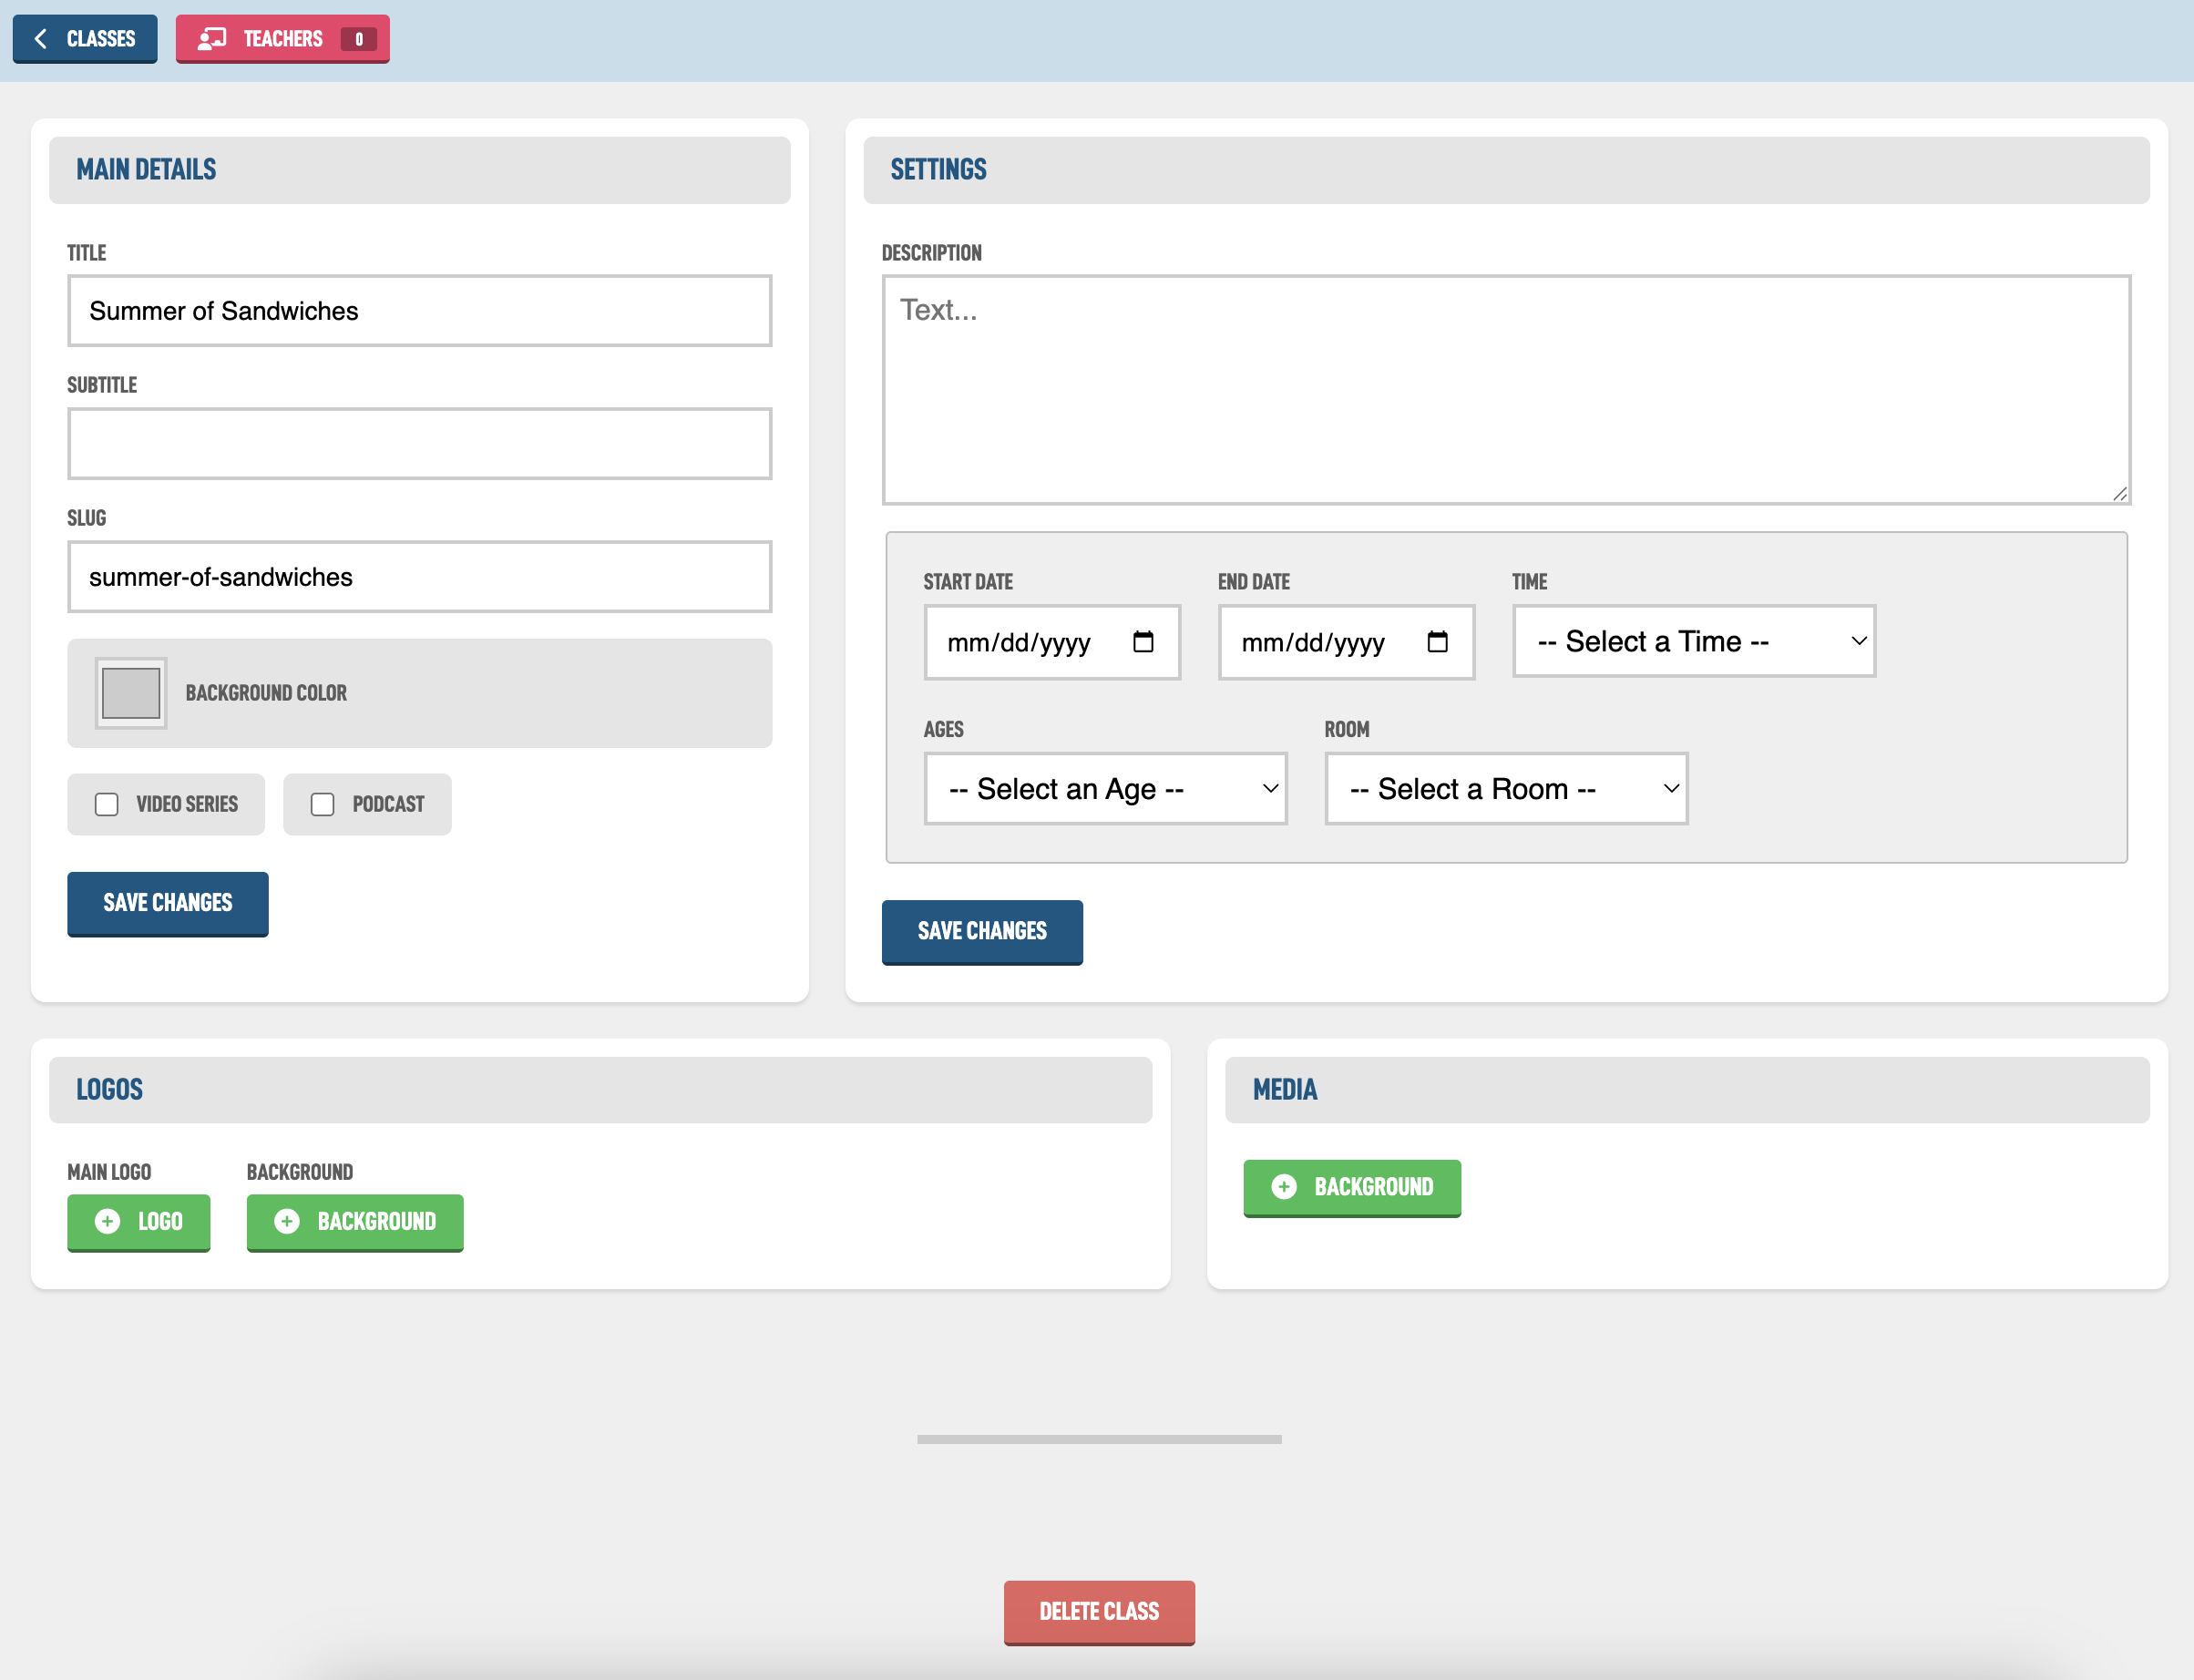
First in the Main Details box, you can specific a sub title if you have one, also you can adjust the slug of the page. A slug is the simple, lowercase name that appears in the URL of your class page. It helps create a clean and easy-to-read web address. This will only be used if you select the Video Series or Podcast checkbox.
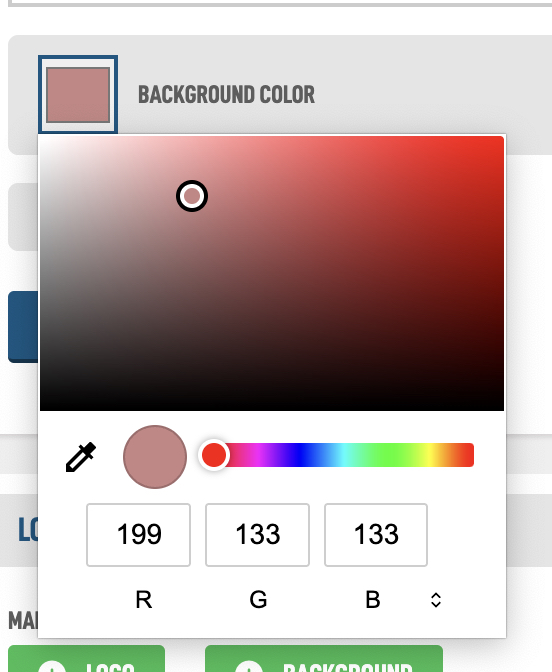
You can select a background color for this series by tapping the box next to Background Color and then choosing a color in the picker.
If you select the Video Series checkbox, it means you plan on having videos for this class in the Series module.
If you select the Podcast option, this class will show in the Podcast module where you can create a Podcast image and get links to submit to different podcasting platforms (Podcasting Help Guide).
In the Settings box, you can add a description for your class that will be used in several different spots around your website.
The Start Date and End Date are used for showing on the public side of your website automatically.
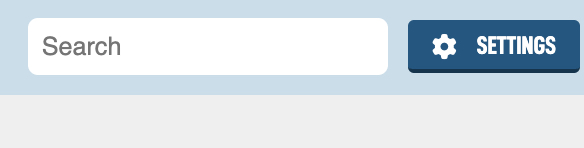
The Time and Ages settings can be added back in the main section of the Classes module, look in the top right corner for the Settings button. Make sure to hit one of the Save Changes buttons to save your changes before jumping back and forth!
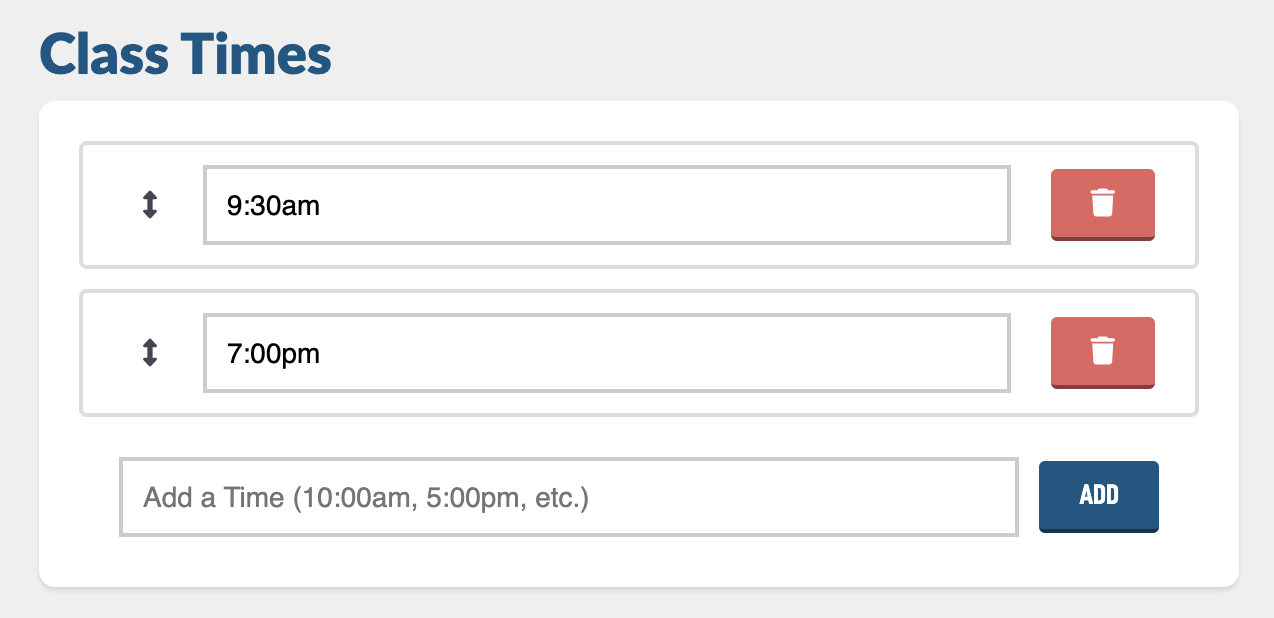
On that page you can update the texts for the different sections, as well as class times and ages.
For our congregation we have Bible class at 9:30am on Sundays, and Wednesday Bible class at 7:00pm on Wednesdays. So here is what I would add for your Class Times.
For the Class Ages, we have adult Bible classes, and we have a youth group that is High School and Middle School classes. Sometimes our middle and high are together sometimes they are separate, so I would add the following options:

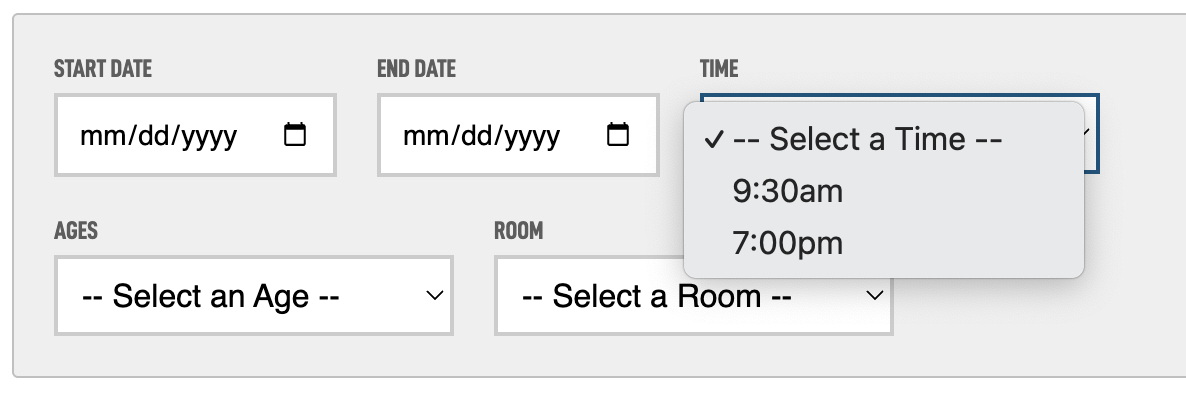
If we go back to the Class Edit screen, we should now have the options in those two dropdowns to select.
To add Rooms to your drop down, the room option is used in other modules like the Events module, so the options are found in the Settings module.
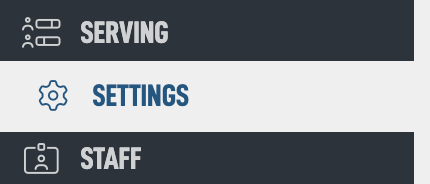
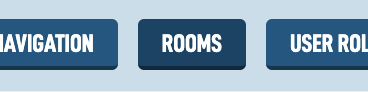
Then in the mini navigation at the top, look for Rooms.
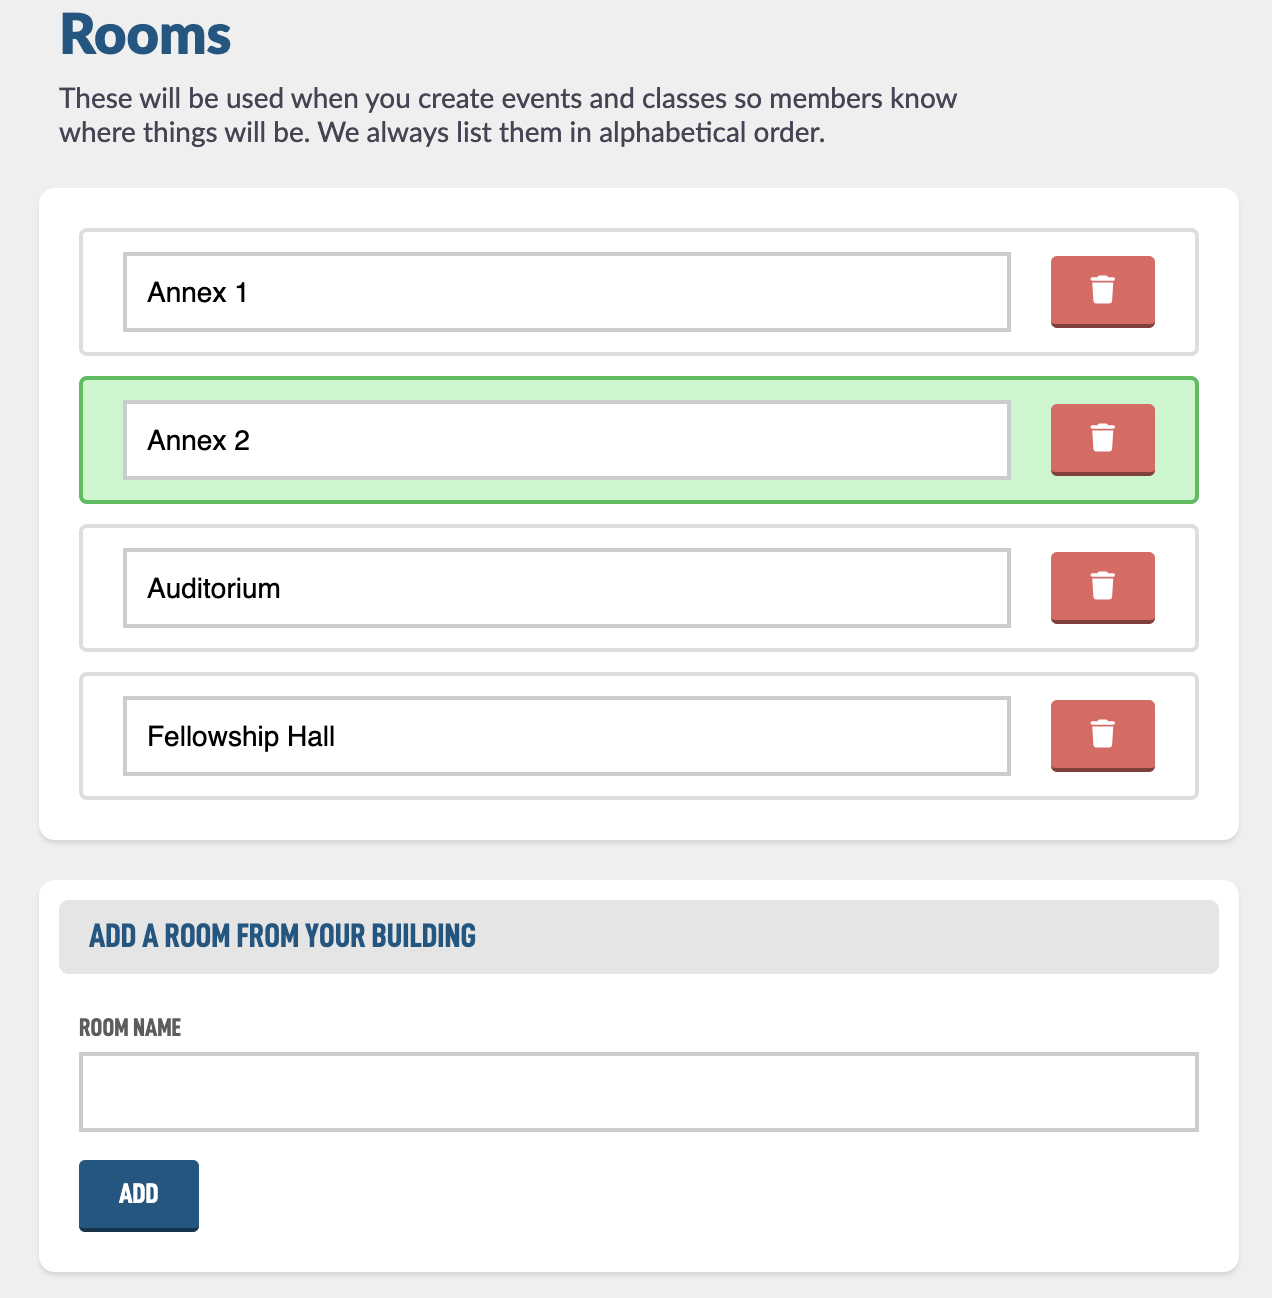
Then add different Room Names so you can select these at times.
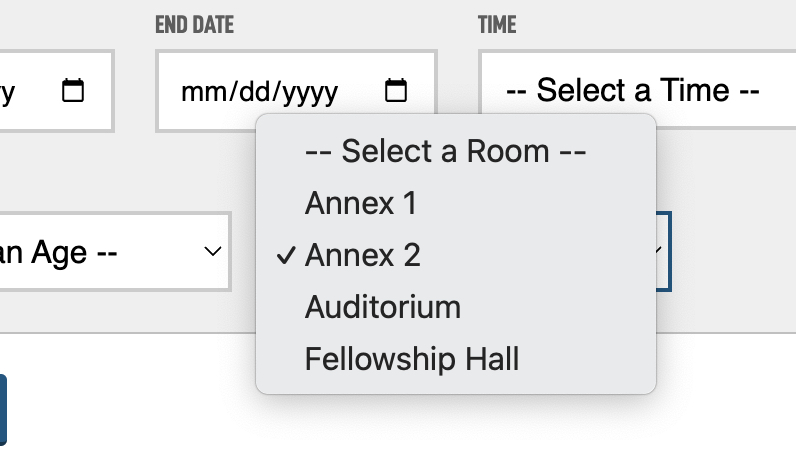
Now back in the Class Edit screen, you should have these options appear in the Room select box.
Now you can add a Logo, in the Logos section. If you need help creating a logo, view the Logo Help Guide.
After you have a logo, let's add a Background. We are going to use the Logo and the Background to make a thumbnail that will be used on the public website, the Series module as well as if you want to create a Class Print sheet. Tap Add Background.
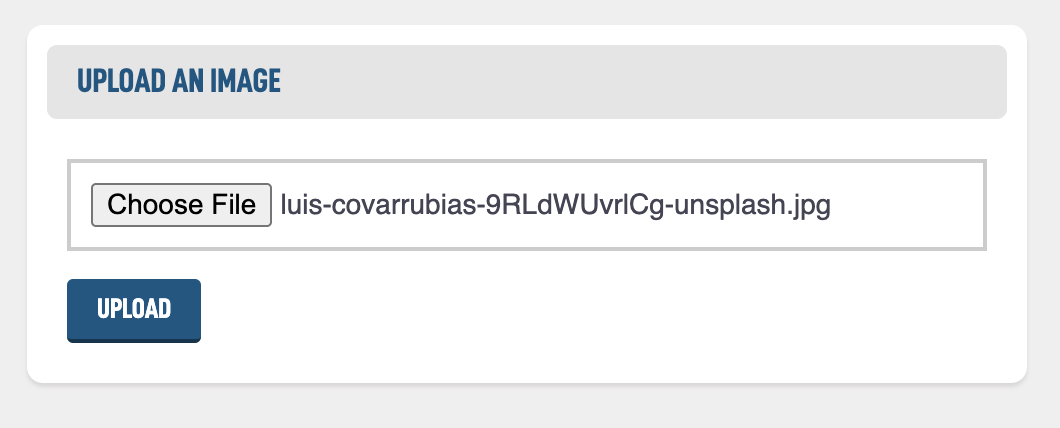
Upload a graphic that you create or find some amazing images on Unsplash or Pixabay. Tap the Choose File button our drop your image onto that button to and hit Upload.
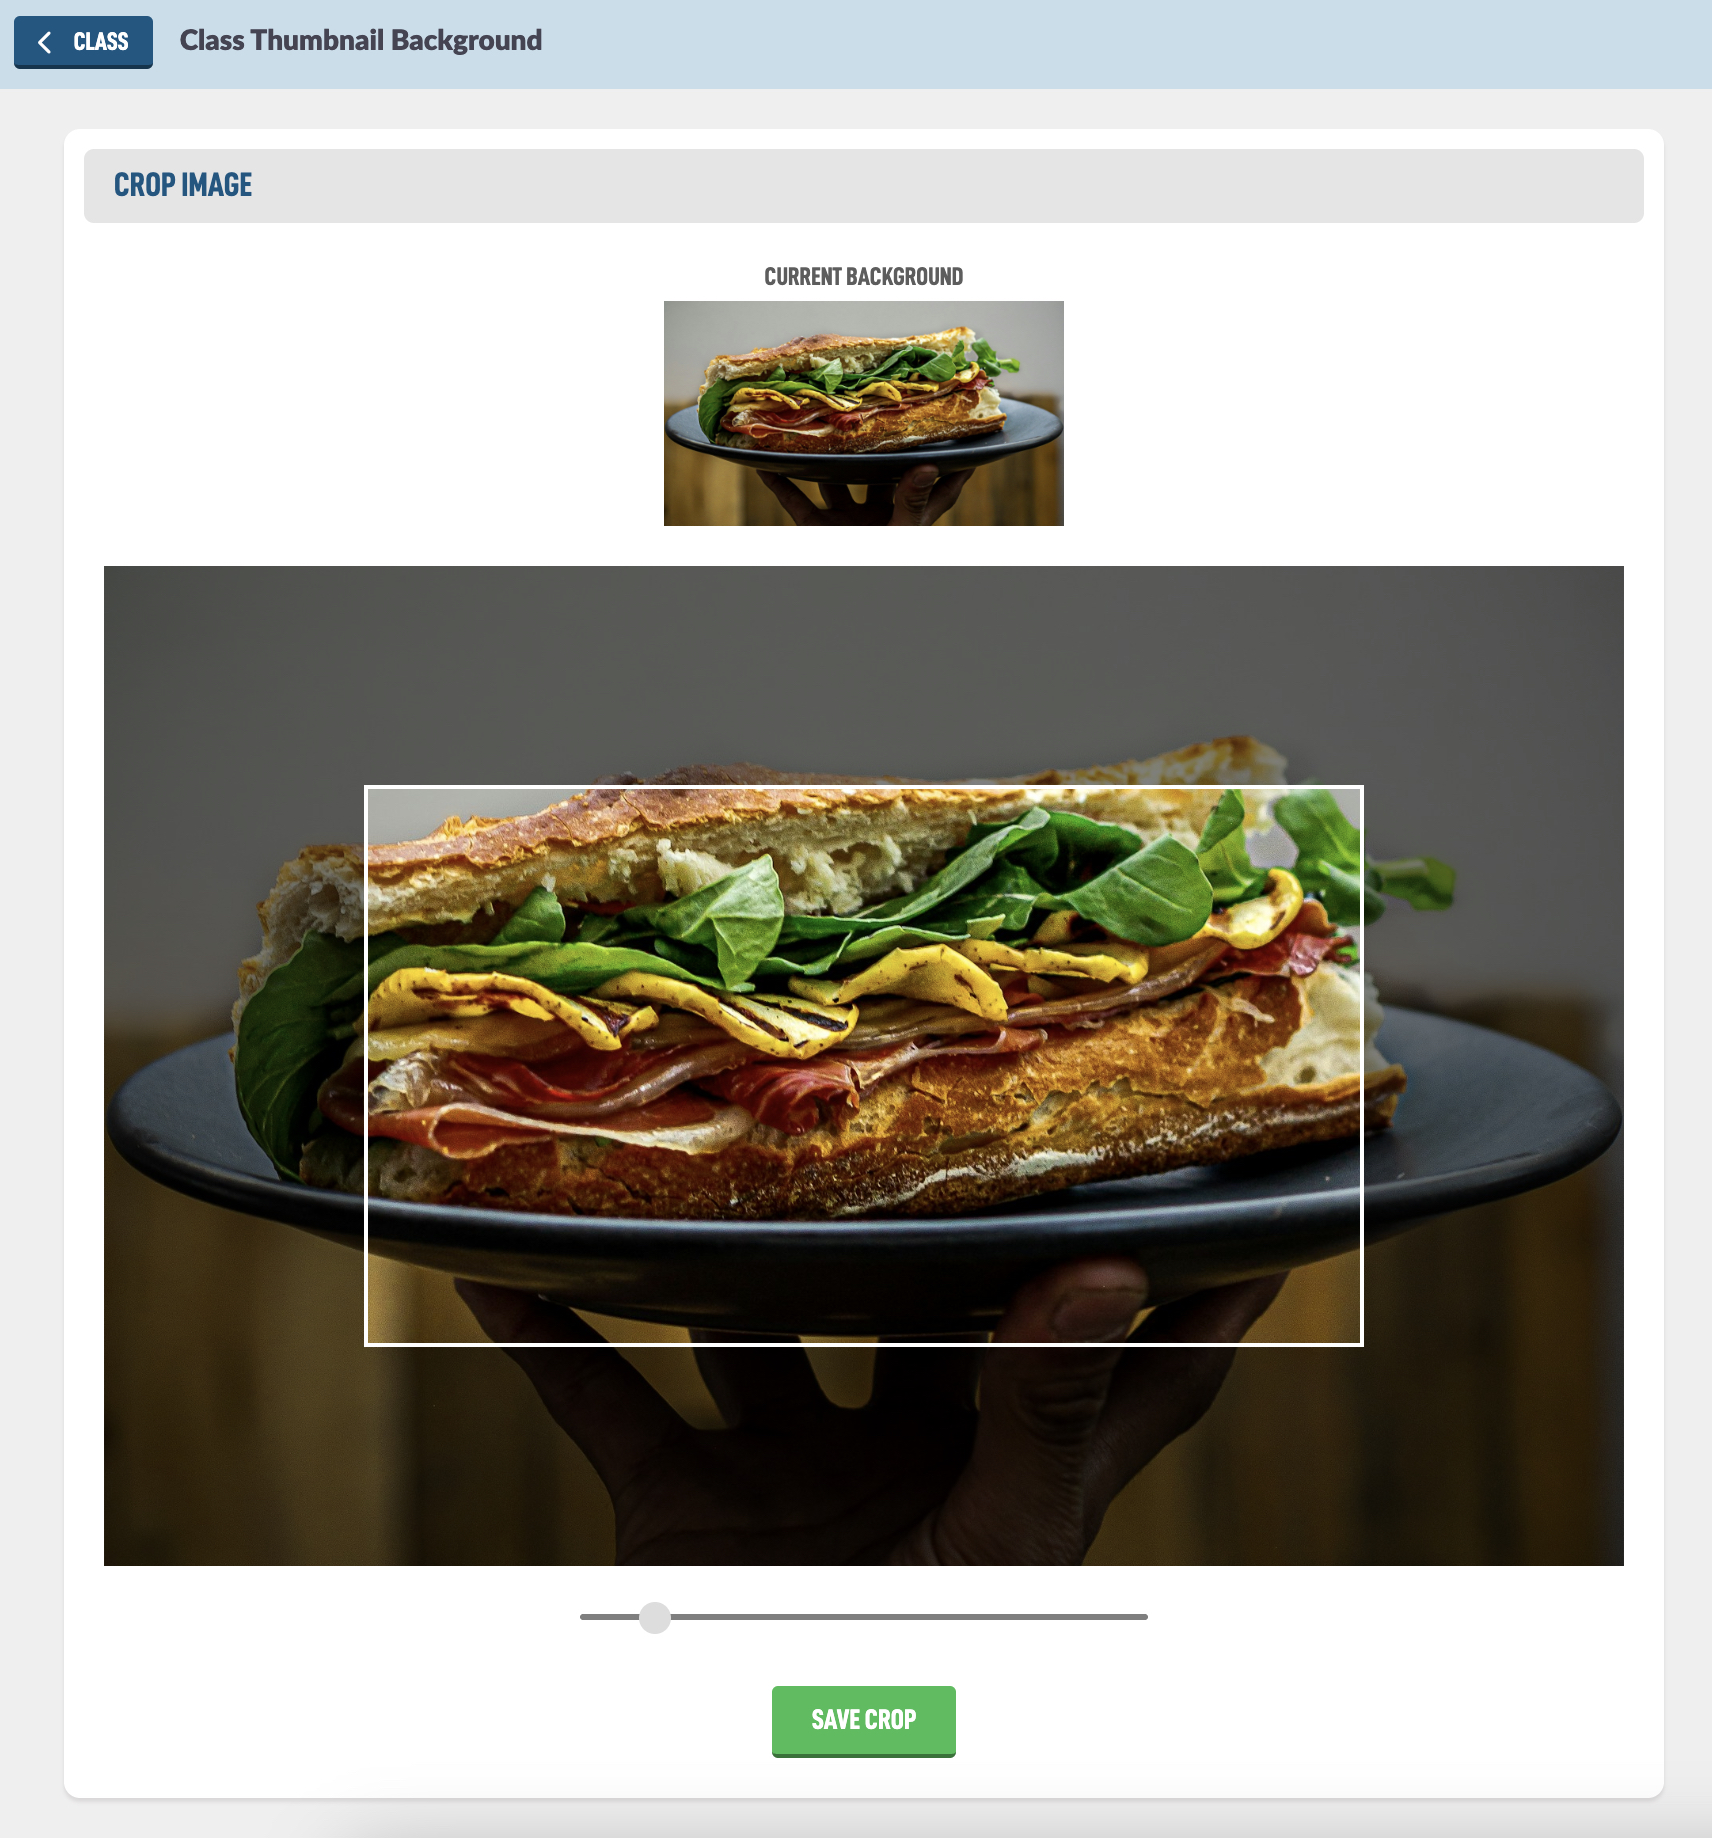
After the image uploads, you can then crop the image to your exact desire. And then tap the < Class button in the top
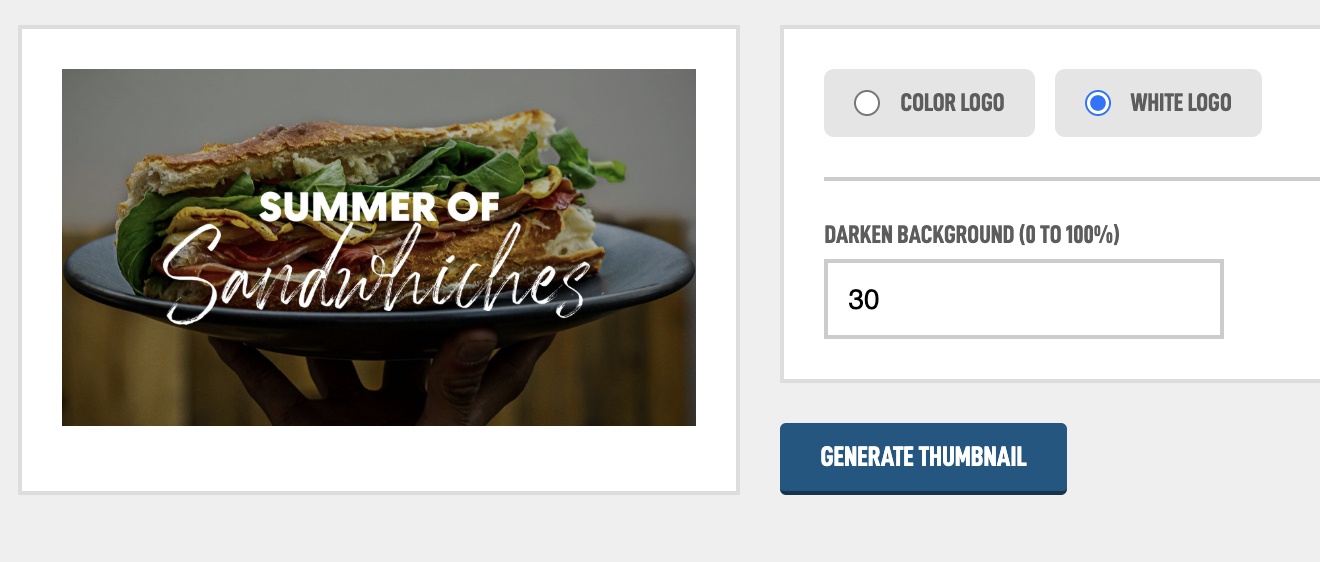
Now back on the Edit Class screen you will see some new options to create your Class thumbnail.
You then have a few options for the Thumbnail like which class logo to show, and if you need to darken the background a bit so the logo pops.
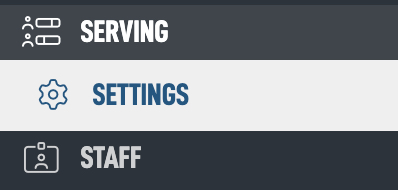
Before editing the teachers for the class, we need to assign some members from the Directory module as class teachers. In the navigation, go to the Settings module.
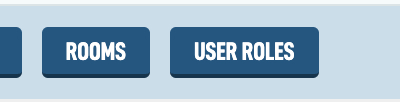
Then in the mini navigation go to User Roles.
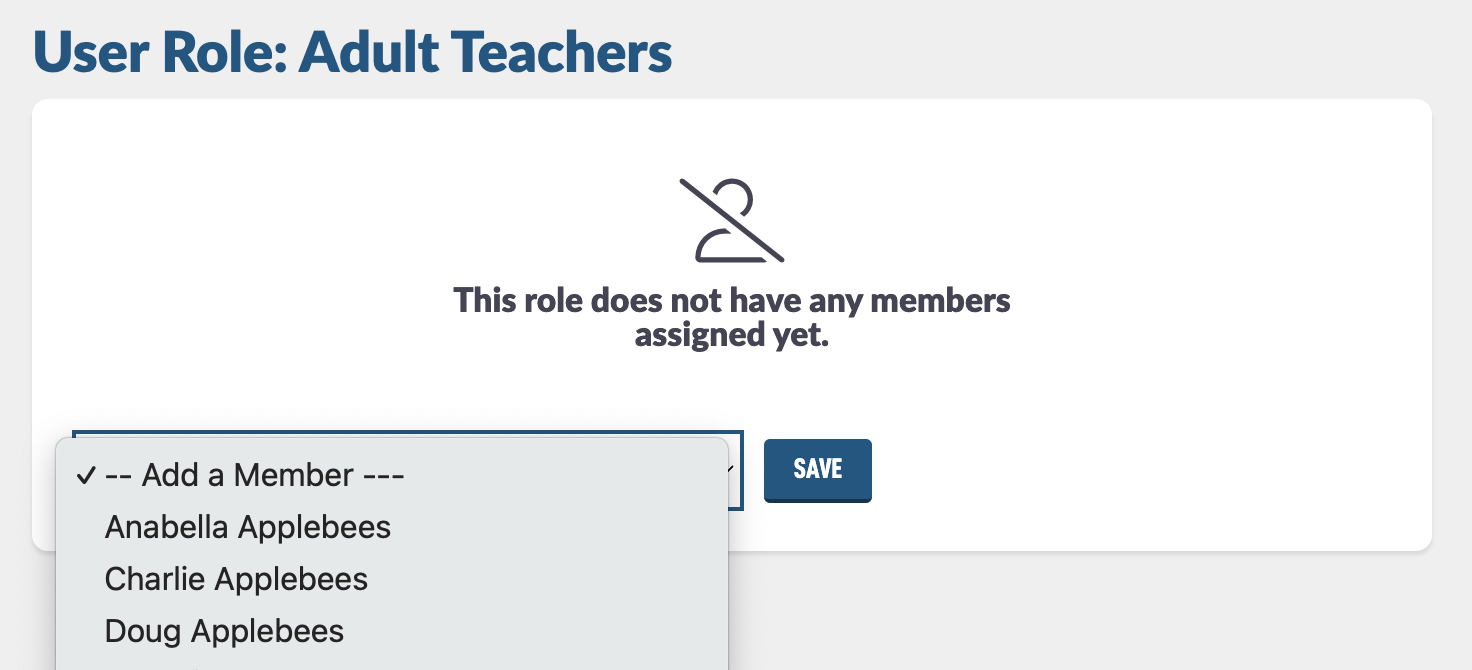
Then look for the Adult Teachers option and hit Assign.
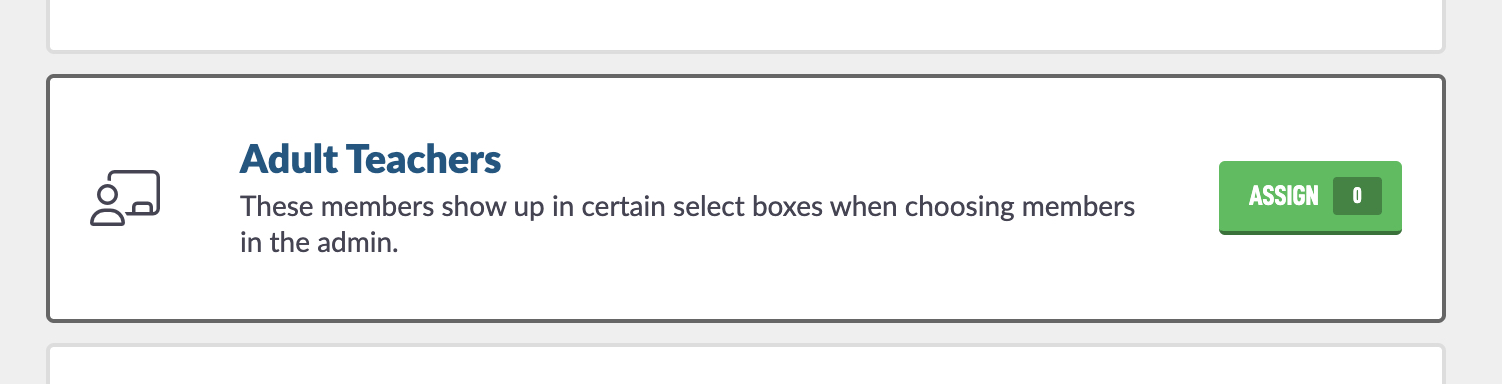
Then in the dropdown select the members you want to be available as Adult Teachers.
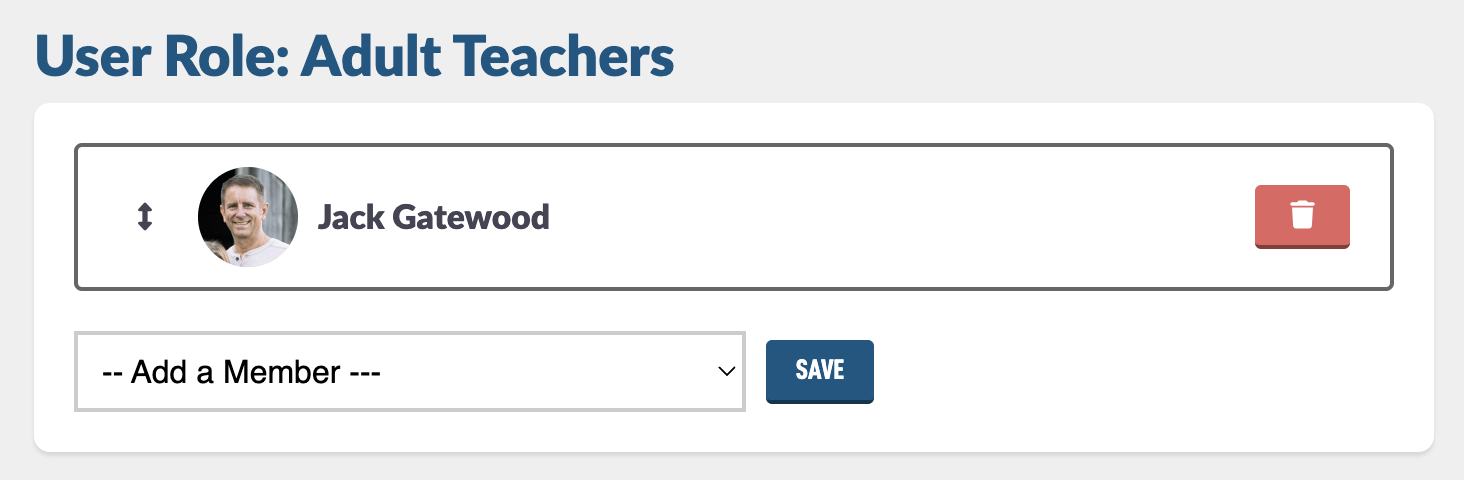
After you have selected some, you can rearrange them with the arrows on the left or remove them with the trash can button on the right.
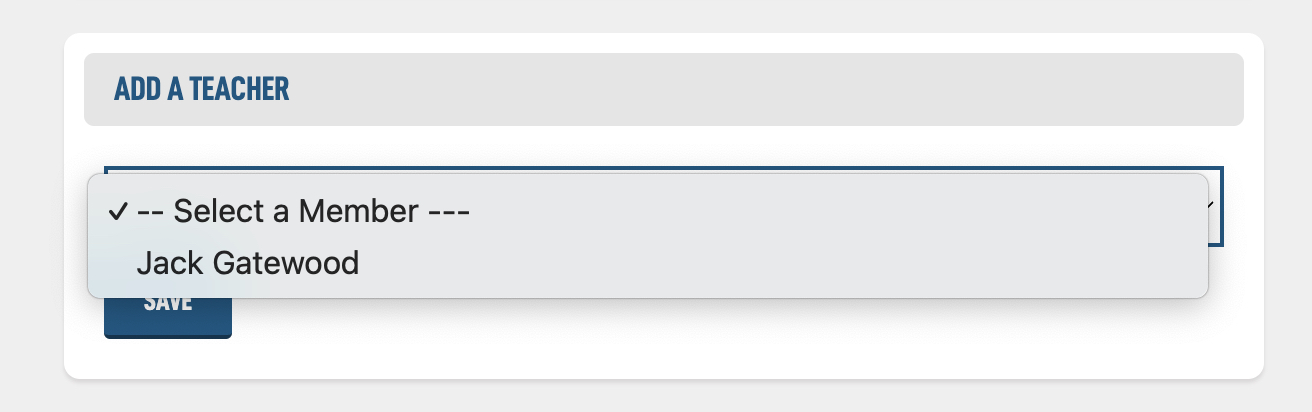
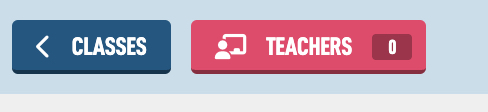
Now you can go back to the Classes modules and click on the class you want to add teachers for. When you are back on the Edit Class screen look in the top left corner look for the Teachers button.
Then in the Add a Teacher dropdown you should see the teachers you have selected. Choose the ones you want and hit Save.