You can get to the Logo Creator in various ways. You might see and Add Logo button in the Classes, Events or Announcements modules, like this:
This will take you to the Logo Edit screen which we will go over later in this guide.
If you want to create a new logo that is not attached to a separate module, go to the Logo module in the main navigation.

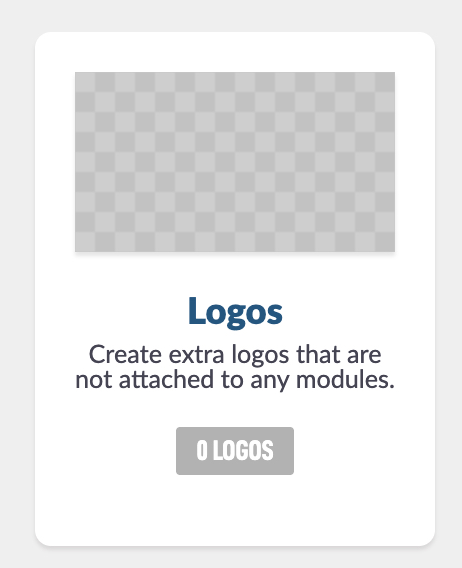
Then look for the basic Logos folder and tap on it:
In the top left corner hit Add Logo.

This will take you to the Edit Logo screen, which is also where you will land when you click Add Logo from other modules as mentioned above. Let's go over the options here.
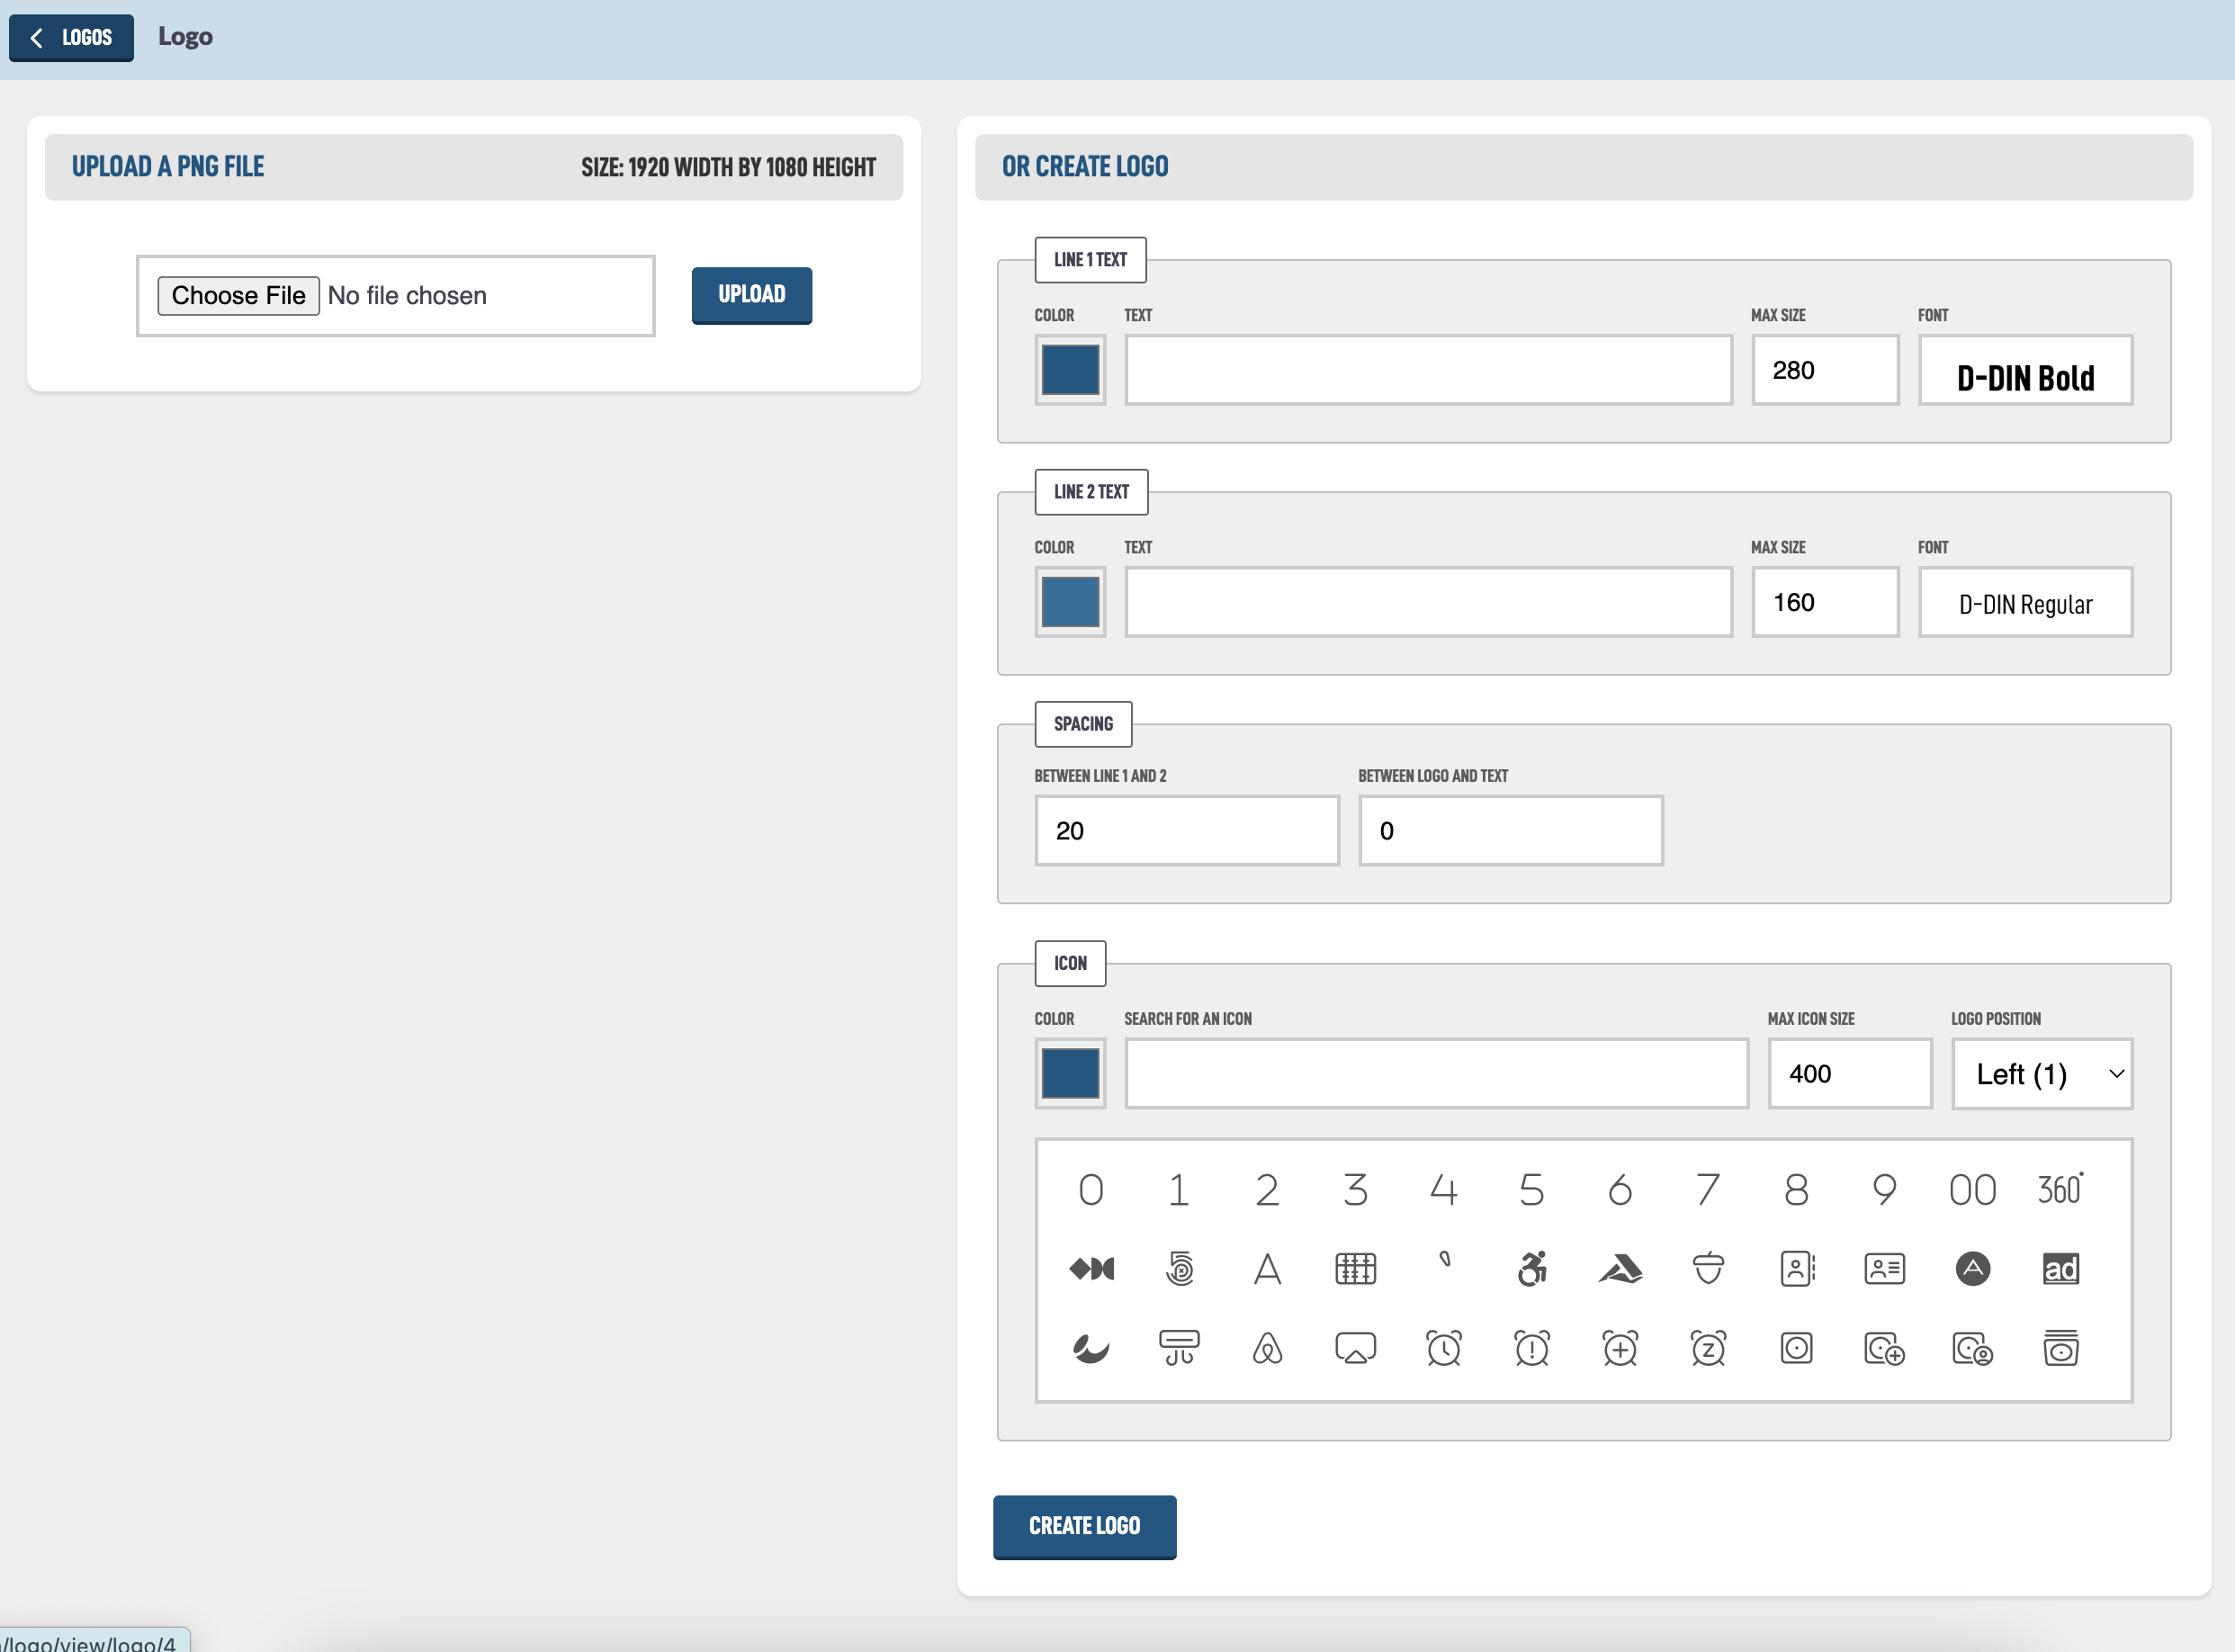
The first option on the left is Upload a PNG file. This should be a transparent PNG file, meaning it should not have a background pattern. In other modules, logos are placed on top of other background graphics to make a clean look.
The system will attempt to resize your graphic to 1920 pixels wide by 1080 pixels height. If you are able to create your own logo in Photoshop, Canva or some other design software, export it to 1920x1080 pixels in size.
If you don't have a logo, you can easily create one in the other Create Logo box. For our example we will make a logo for our Sunday Morning Worship.
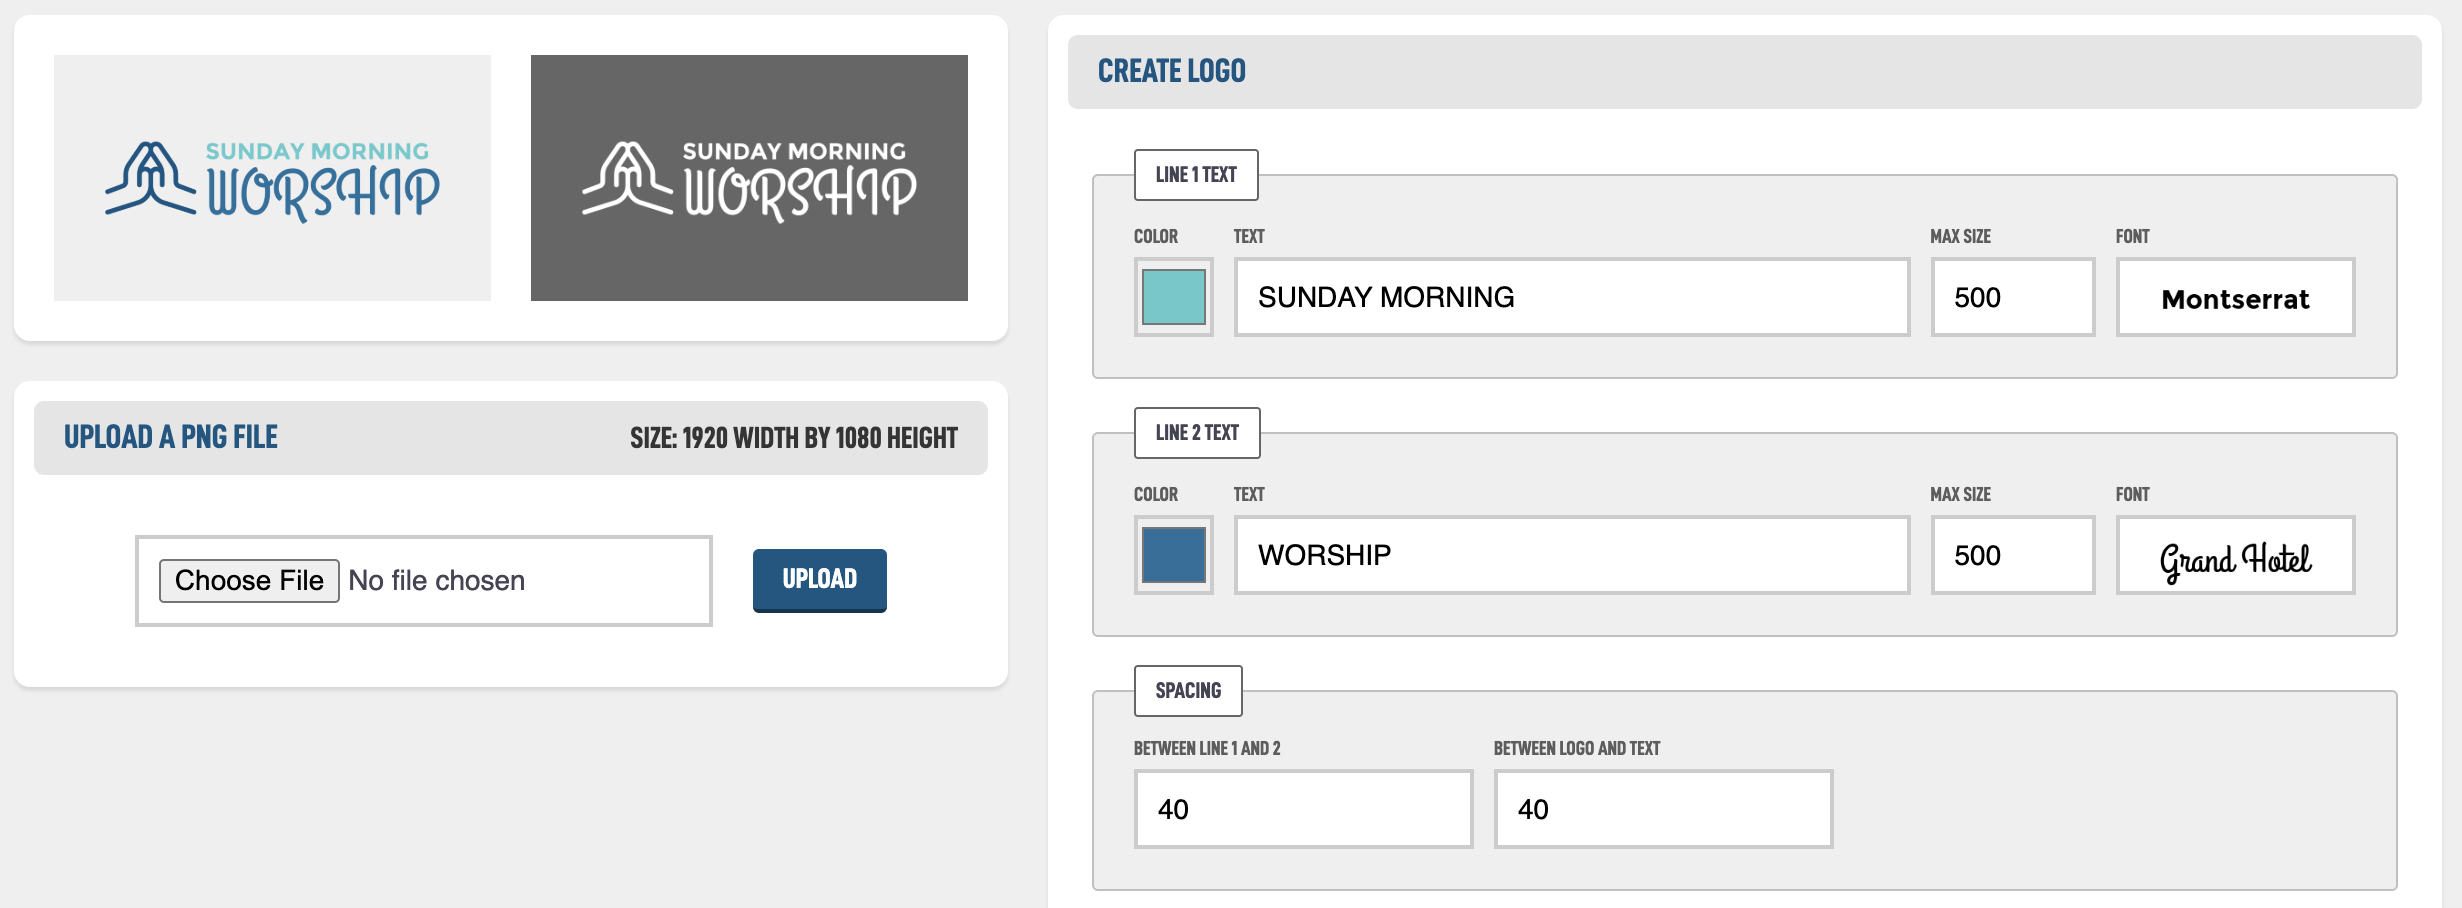
In the Line 1 text add SUNDAY MORNING and in Line 2 text add WORSHIP. Hit Create Logo in the bottom of the screen to see what that looks like.
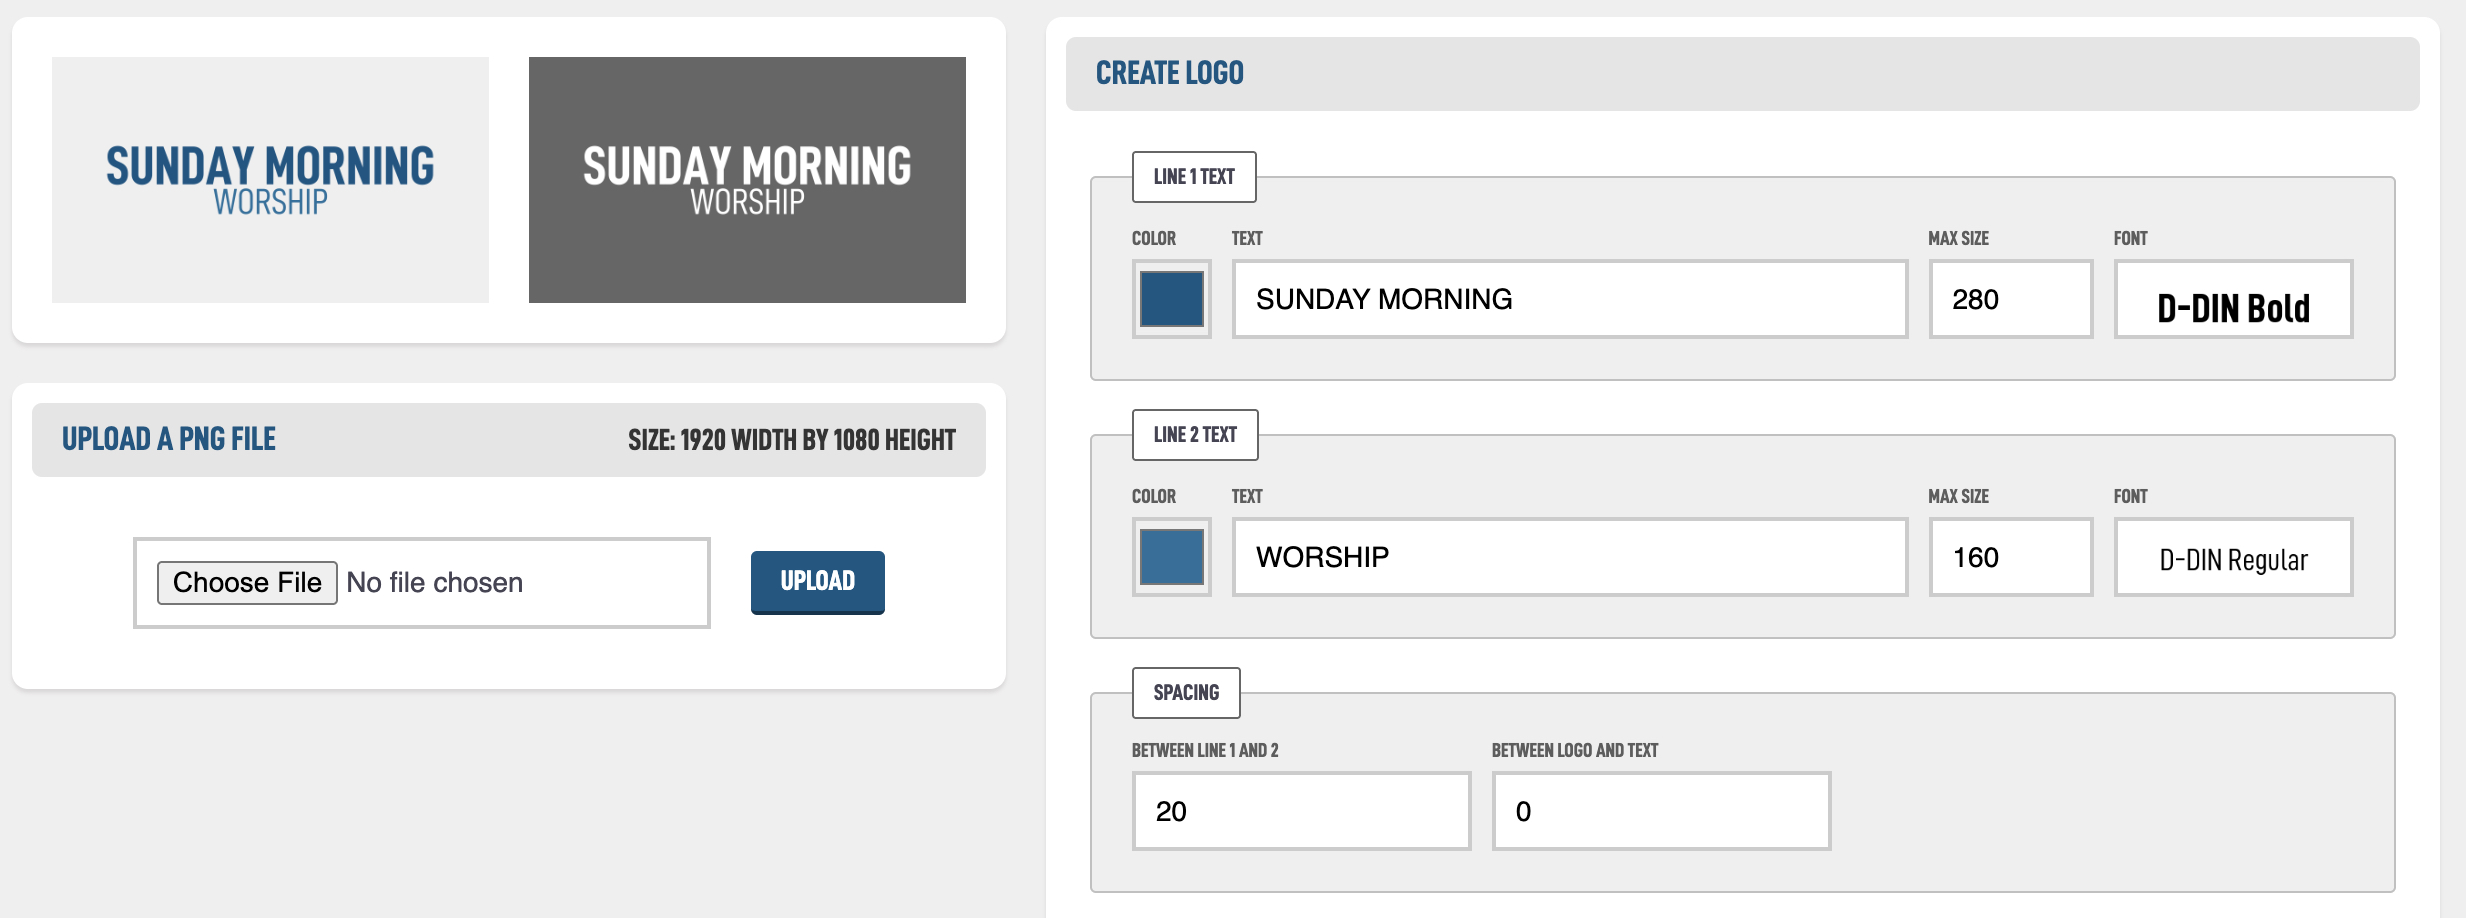
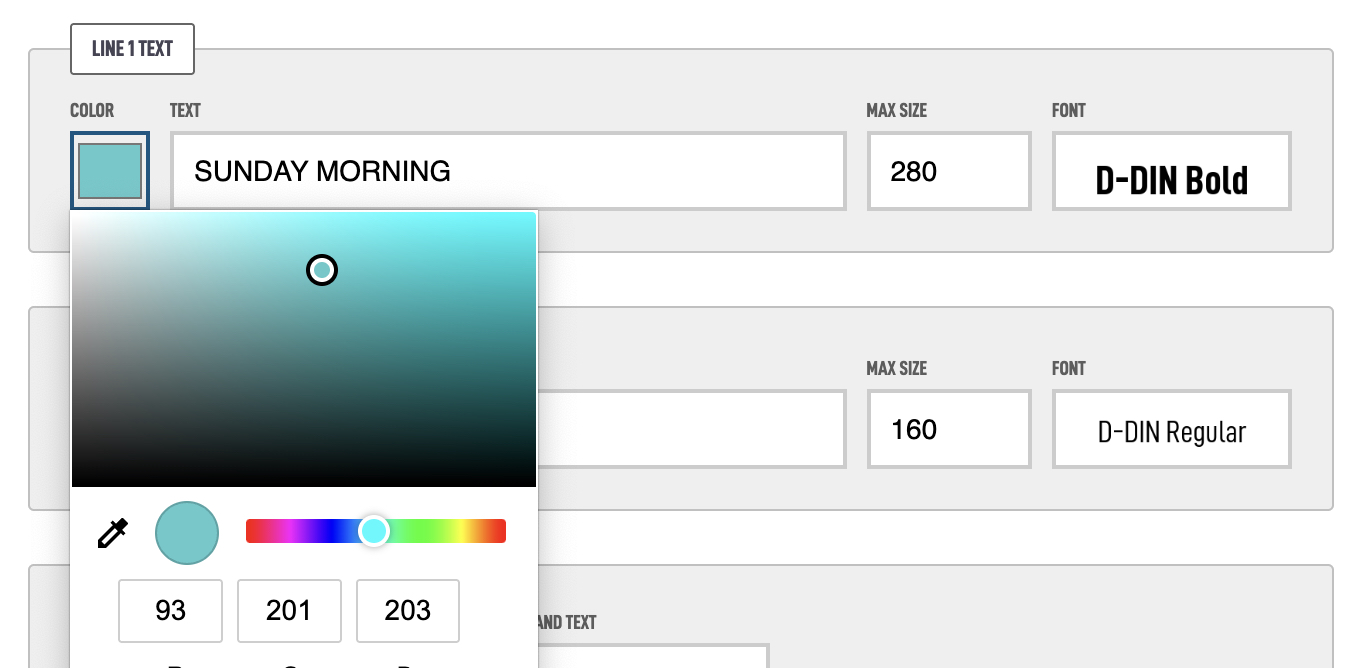
Let's go over some of these settings. You can change the color of the each line by hitting the Color box and choose a new color from the color picker.
Then you can set a maximum size for the text, the system will not allow the text to extend off the edge of the screen, so you could set it to the max size of 500 and let it adjust.
Then you can change the font that is used by clicking on the font and scrolling in the dropdown to find the font you want. Let's choose new stuff for each text and hit save to see our changes.

The text lines are a little close to each other. We can separate them int the Spacing options using the Between Line 1 and 2 options. Let's move that up to 40.
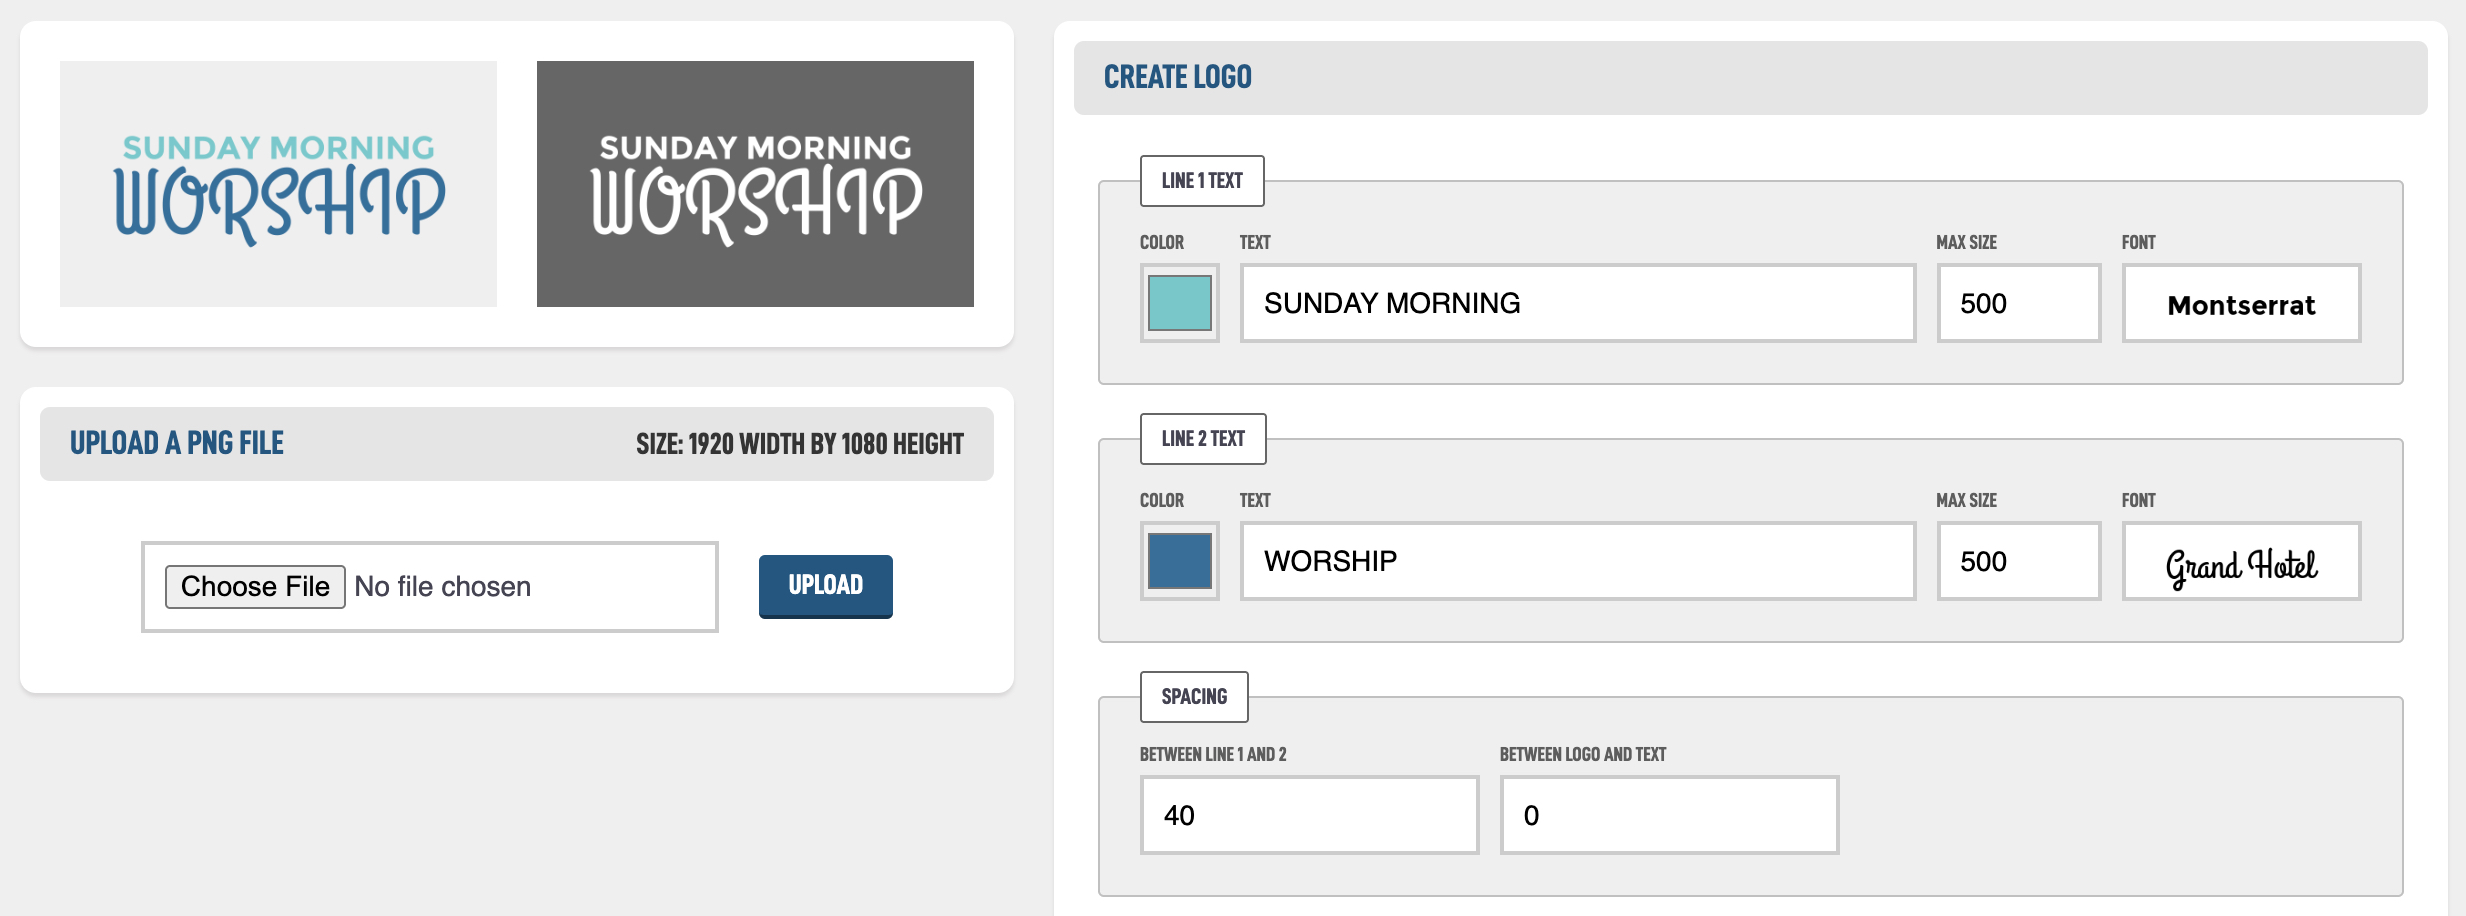
Some fonts have lowercase letters that extend below and can block other lines, so you might need to change that to get a clean look. Let's now look at the Icon option.
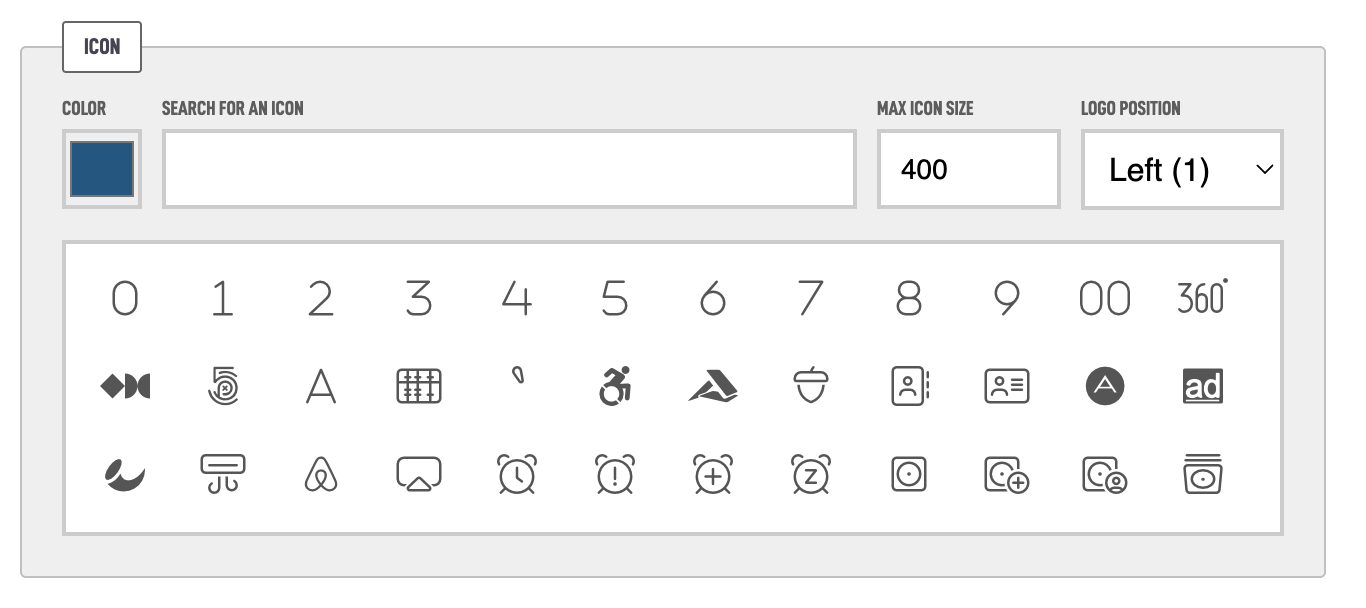
You can change the Color in the first box similar to the text above. Click the Color box and select from the picker. Then we can search for a icon or scroll in the box to find one we like. I searched for worship and got these options:

Let's keep it at 400 max size, and left positioned and hit Create Logo to see what it will do. It should auto size and put it next to our text and resize the text as needed.
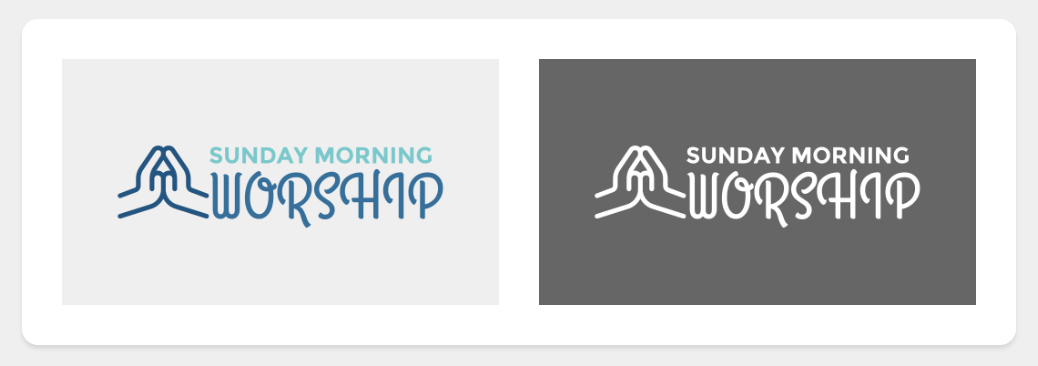
It looks pretty good but the text and icon is a little close. Let's go back to the Spacing options and put some space Between logo and text. We did 40 earlier so let's keep that same number to make it consistent.
You could also put the logo on the right side of the text to spice things up. Or you can add up to 5 logos on the top of the text to get really wild.
Simply choose the top Logo Position and then tap on up to five logos. I wouldn't recommend this for the Worship logo but just to show what it could look like.
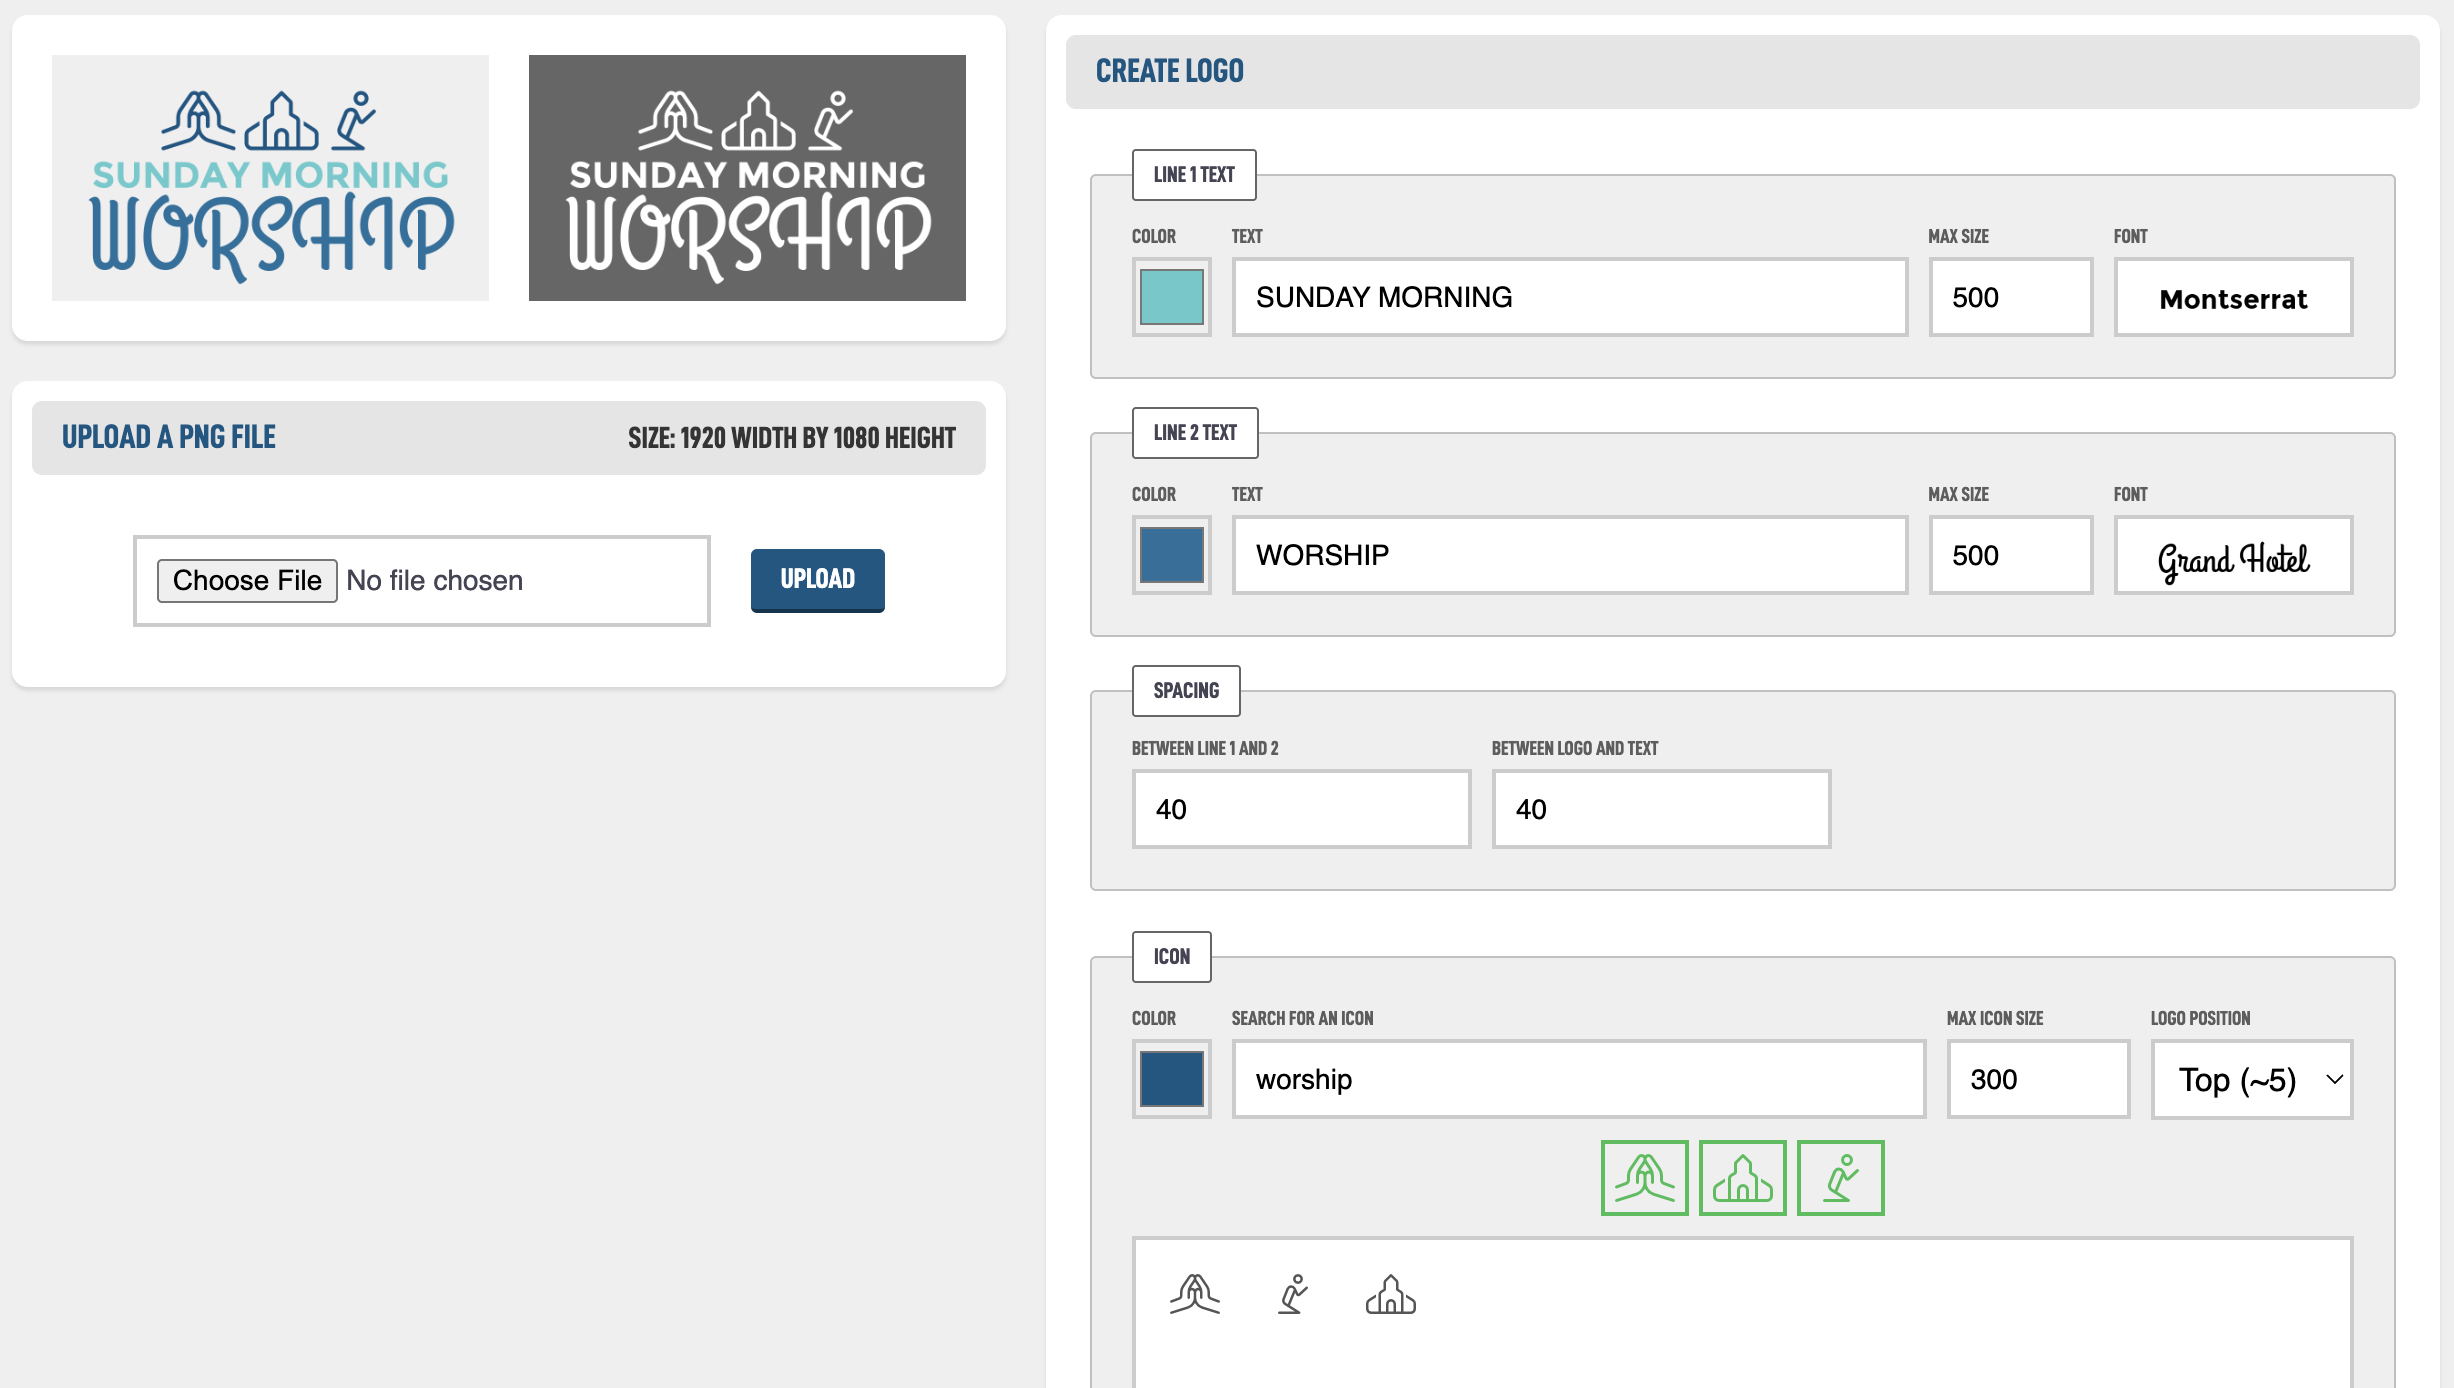
They will appear in the order that you tap them, and if you get it wrong simply tap on them to remove them. I also lowered the max size a bit to get them to not be so big.
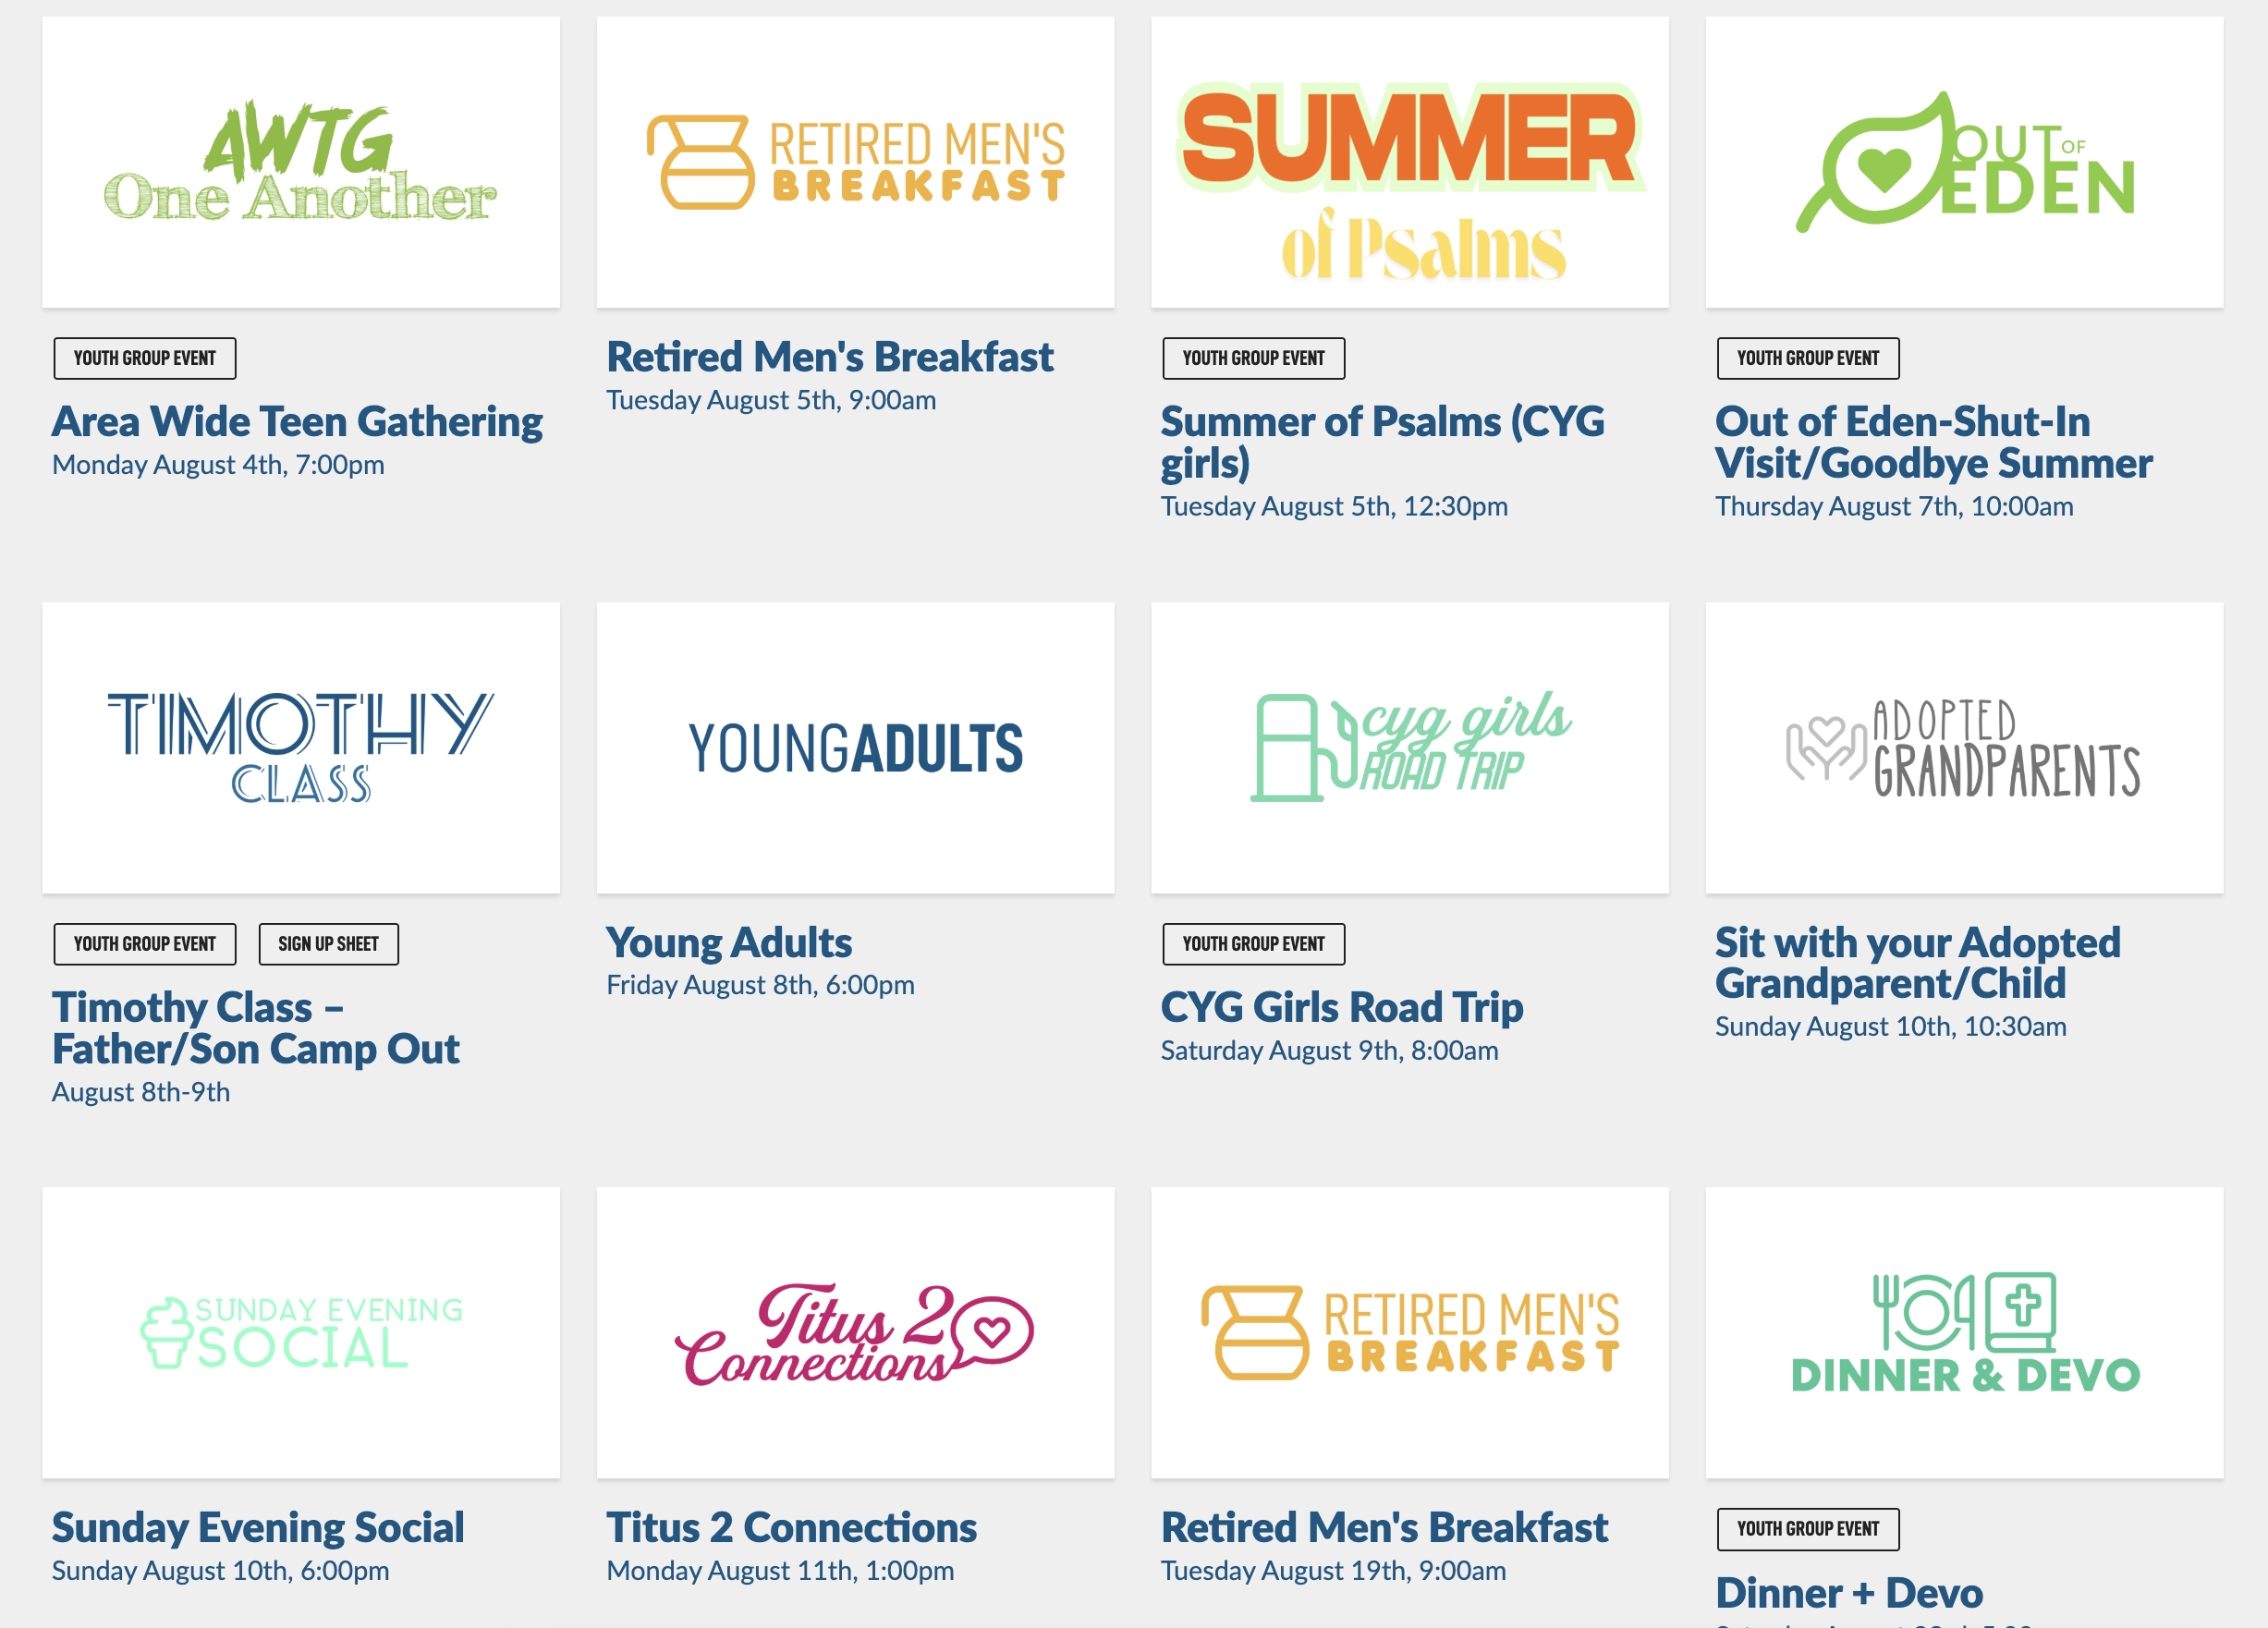
Using this Logo Creator helps maintain visual consistency across your entire site, allowing members to become familiar with the style. Here are a few examples our secretary at the Choctaw congregation has created over the years for various events.
