Navigate to the Pages section of your admin. In your list of pages you can use the Page Builder in the following page types: Regular, Landing, Secure and some Modules pages.
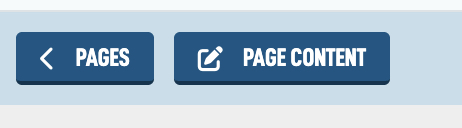
To know if you can edit page, tap on it in the admin and look for a button in the top left or bottom that has a pen icon and 'Page Content'.

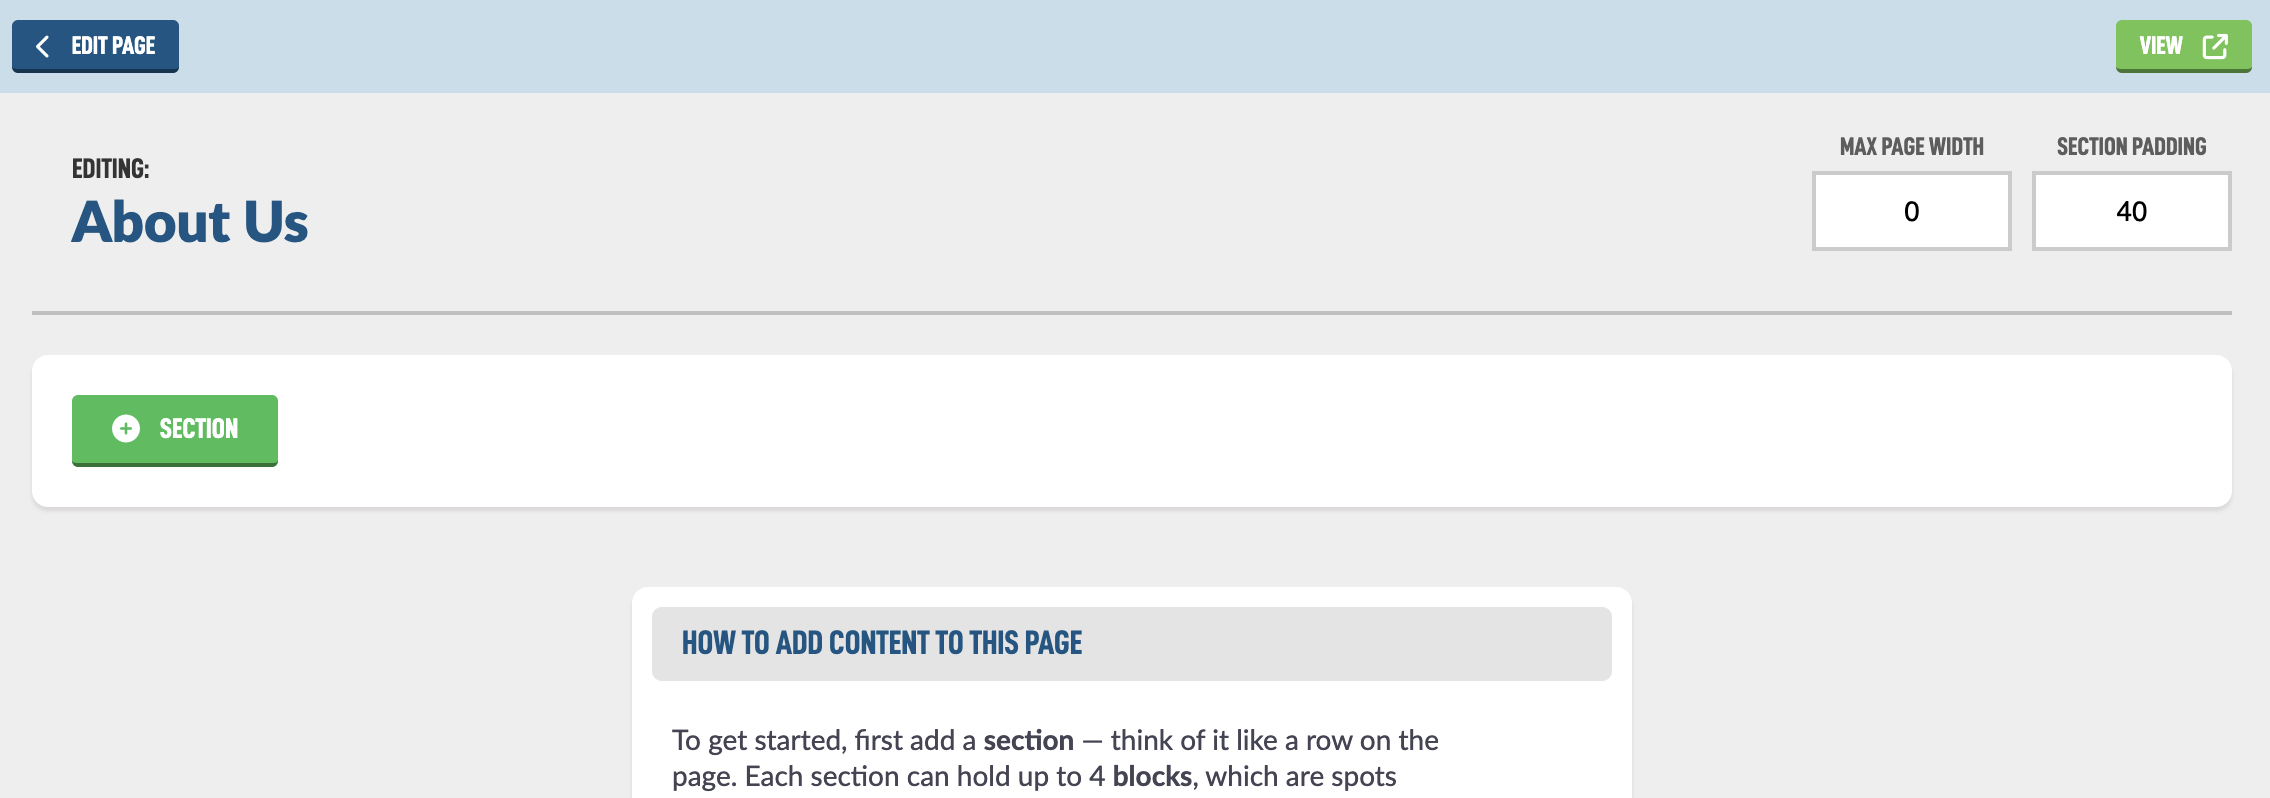
Tap on either of those options and you will see the Page Builder edit screen.
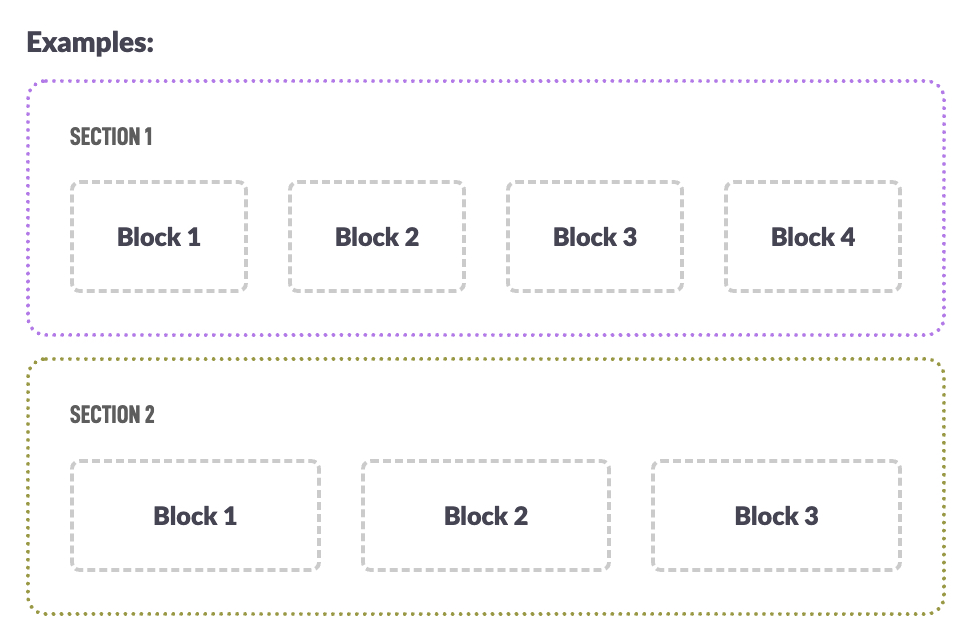
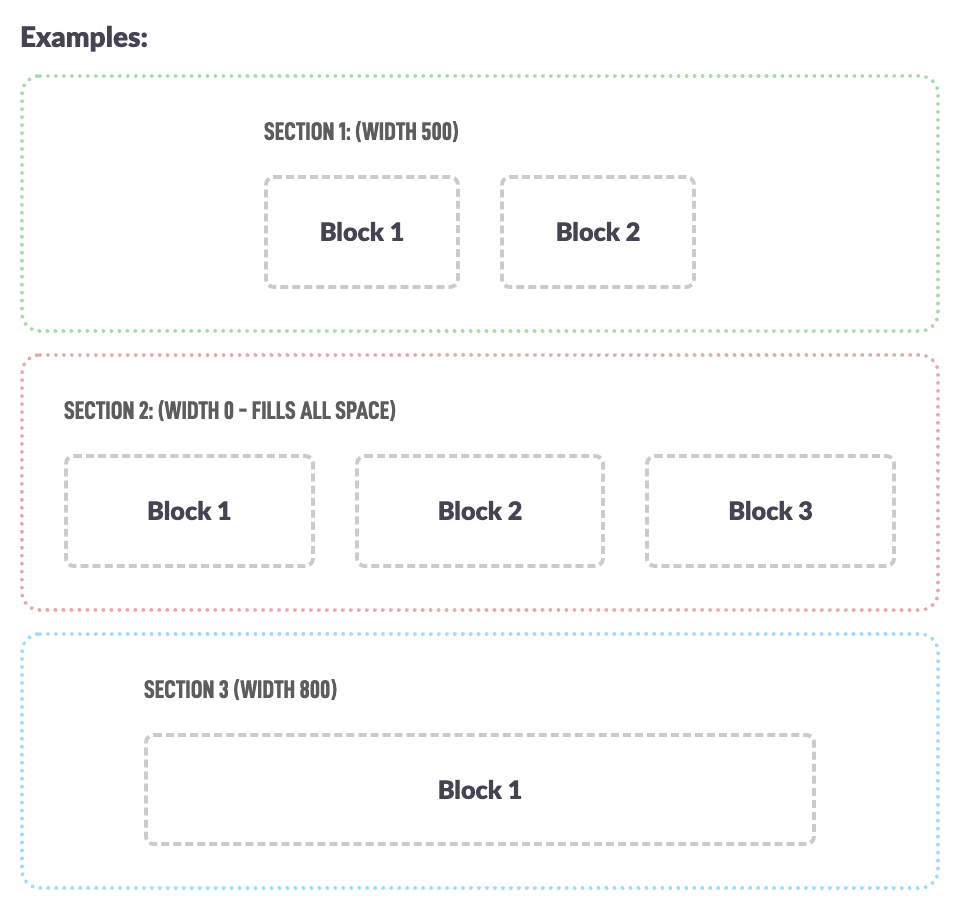
To get started, first add a section — think of it like a row on the page. Each section can hold up to 4 blocks, which are spots where you can place your content. Blocks will automatically adjust to fit the space. You can fill a block with simple text, or with dynamic content like events, articles, or images from your site’s modules.

In the top right, you’ll see a setting for Max Page Width — this controls how wide your page content can be. If you leave it at 0, your page can go full width.
This gives you flexibility to create creative layouts by adjusting each section’s width (click the icon in a section to change it). You can make some sections stretch across the whole screen, and others stay at a fixed size.
The Section Padding is the amount of pixels between each section.
First we'll add a Section

You now have a section indicated in the white rectangle. There is a page Overview on the right that will show the different page types you have on the page and allow you to quickly jump to a section.
There is a red trash can button to delete the section. This will only show when there are no blocks in a section.
Under the delete is a gear icon for some section Settings.

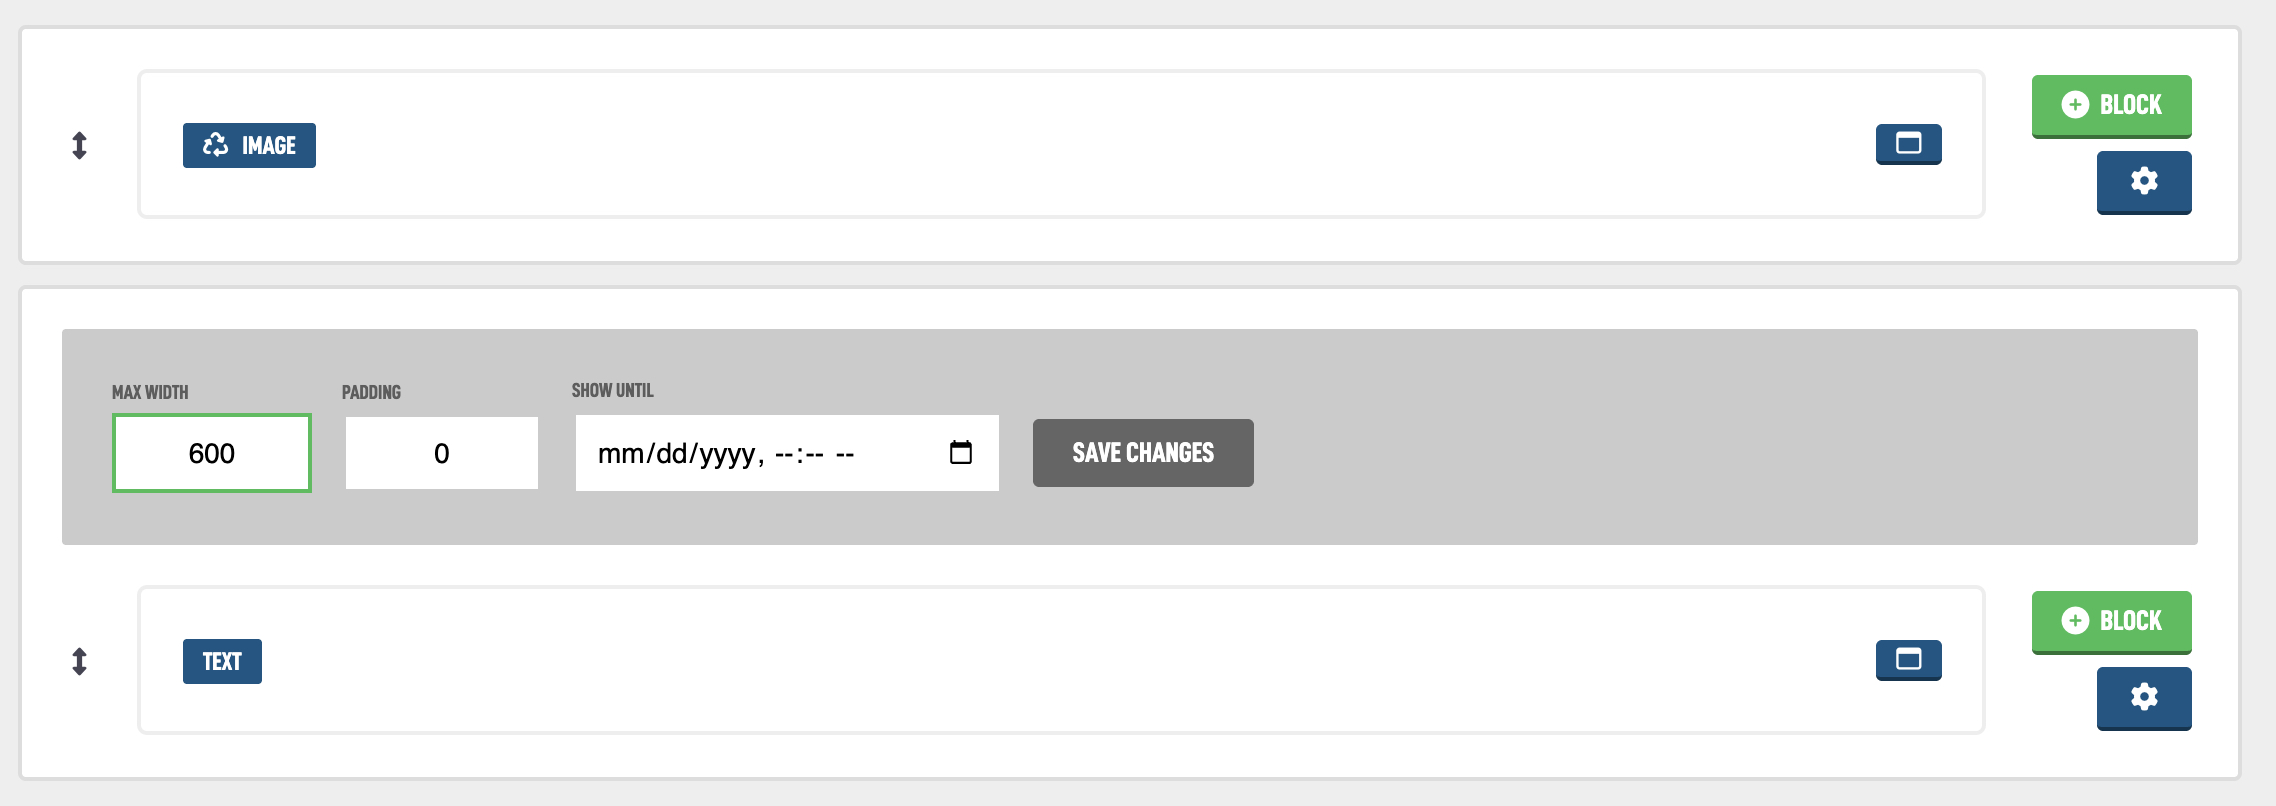
You can set the Max Width for this section only. You can add some extra Padding to the section if needed or add a Show Until date to make the content hide automatically after a certain date.
Let’s start adding content by using Blocks. When you click the green + Block button, you’ll see a list of all available blocks. It can feel a bit overwhelming at first, but each block includes a short description that explains what it does. Below, we’ll walk through a few of the most common blocks to help you get started.

If you just want to add some text to your page this is your main block. Let's tap Assign and put a Text block in Block #1 of Section #1.
Now there are more options, ahhH!!!
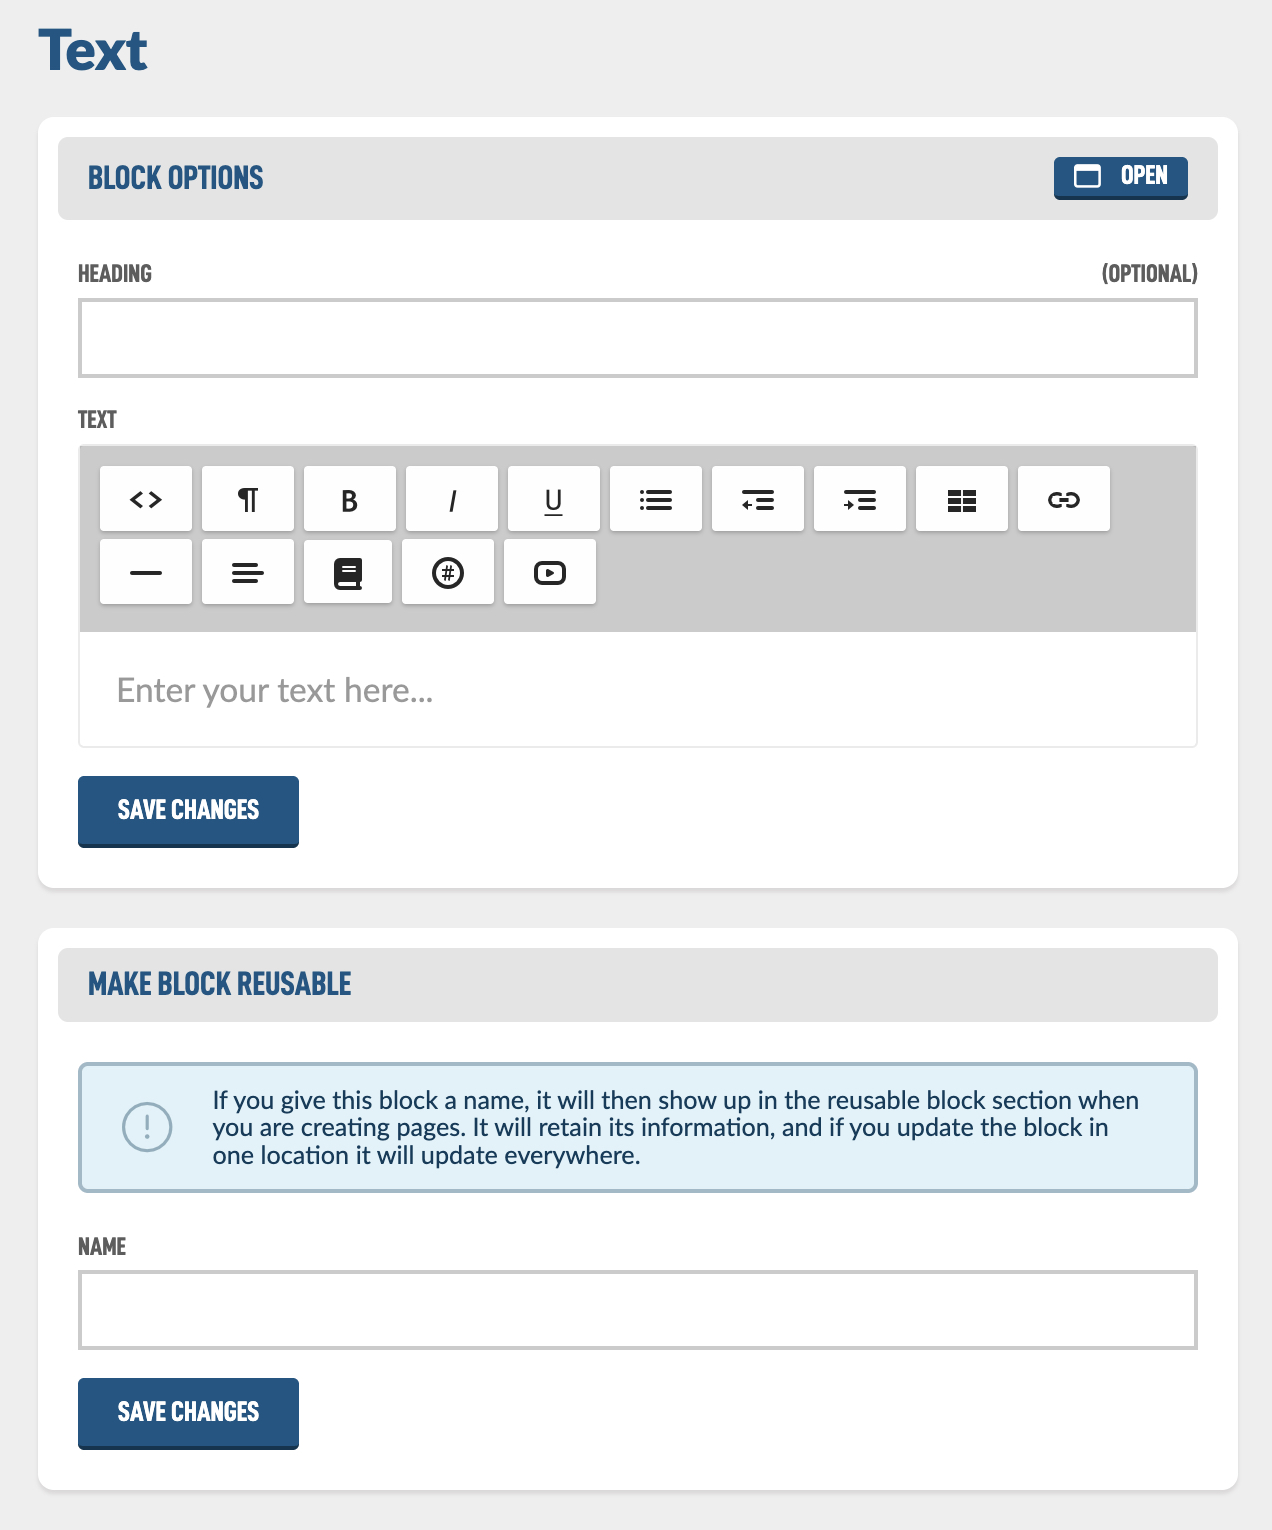
Let's go over these settings. The first is a Heading. This is an optional field to put a title for this block. Just adding some text to it, hitting save and viewing your page will be the easiest way to see how this works. Let's do just that. I will add this text:
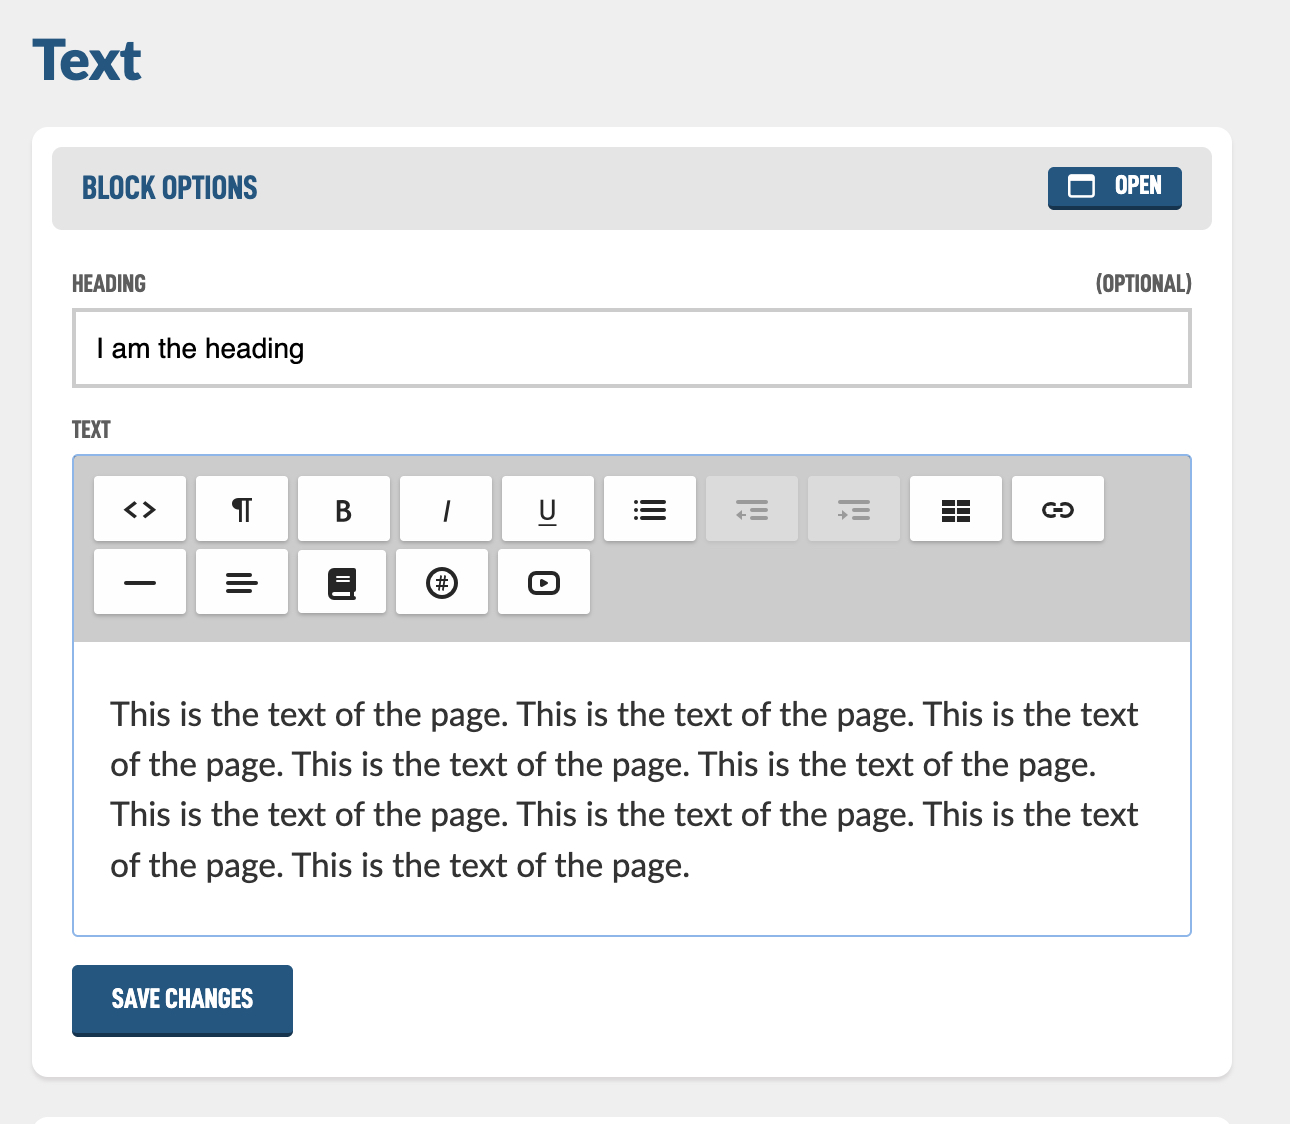
To view the page I can click the View button in the top right.
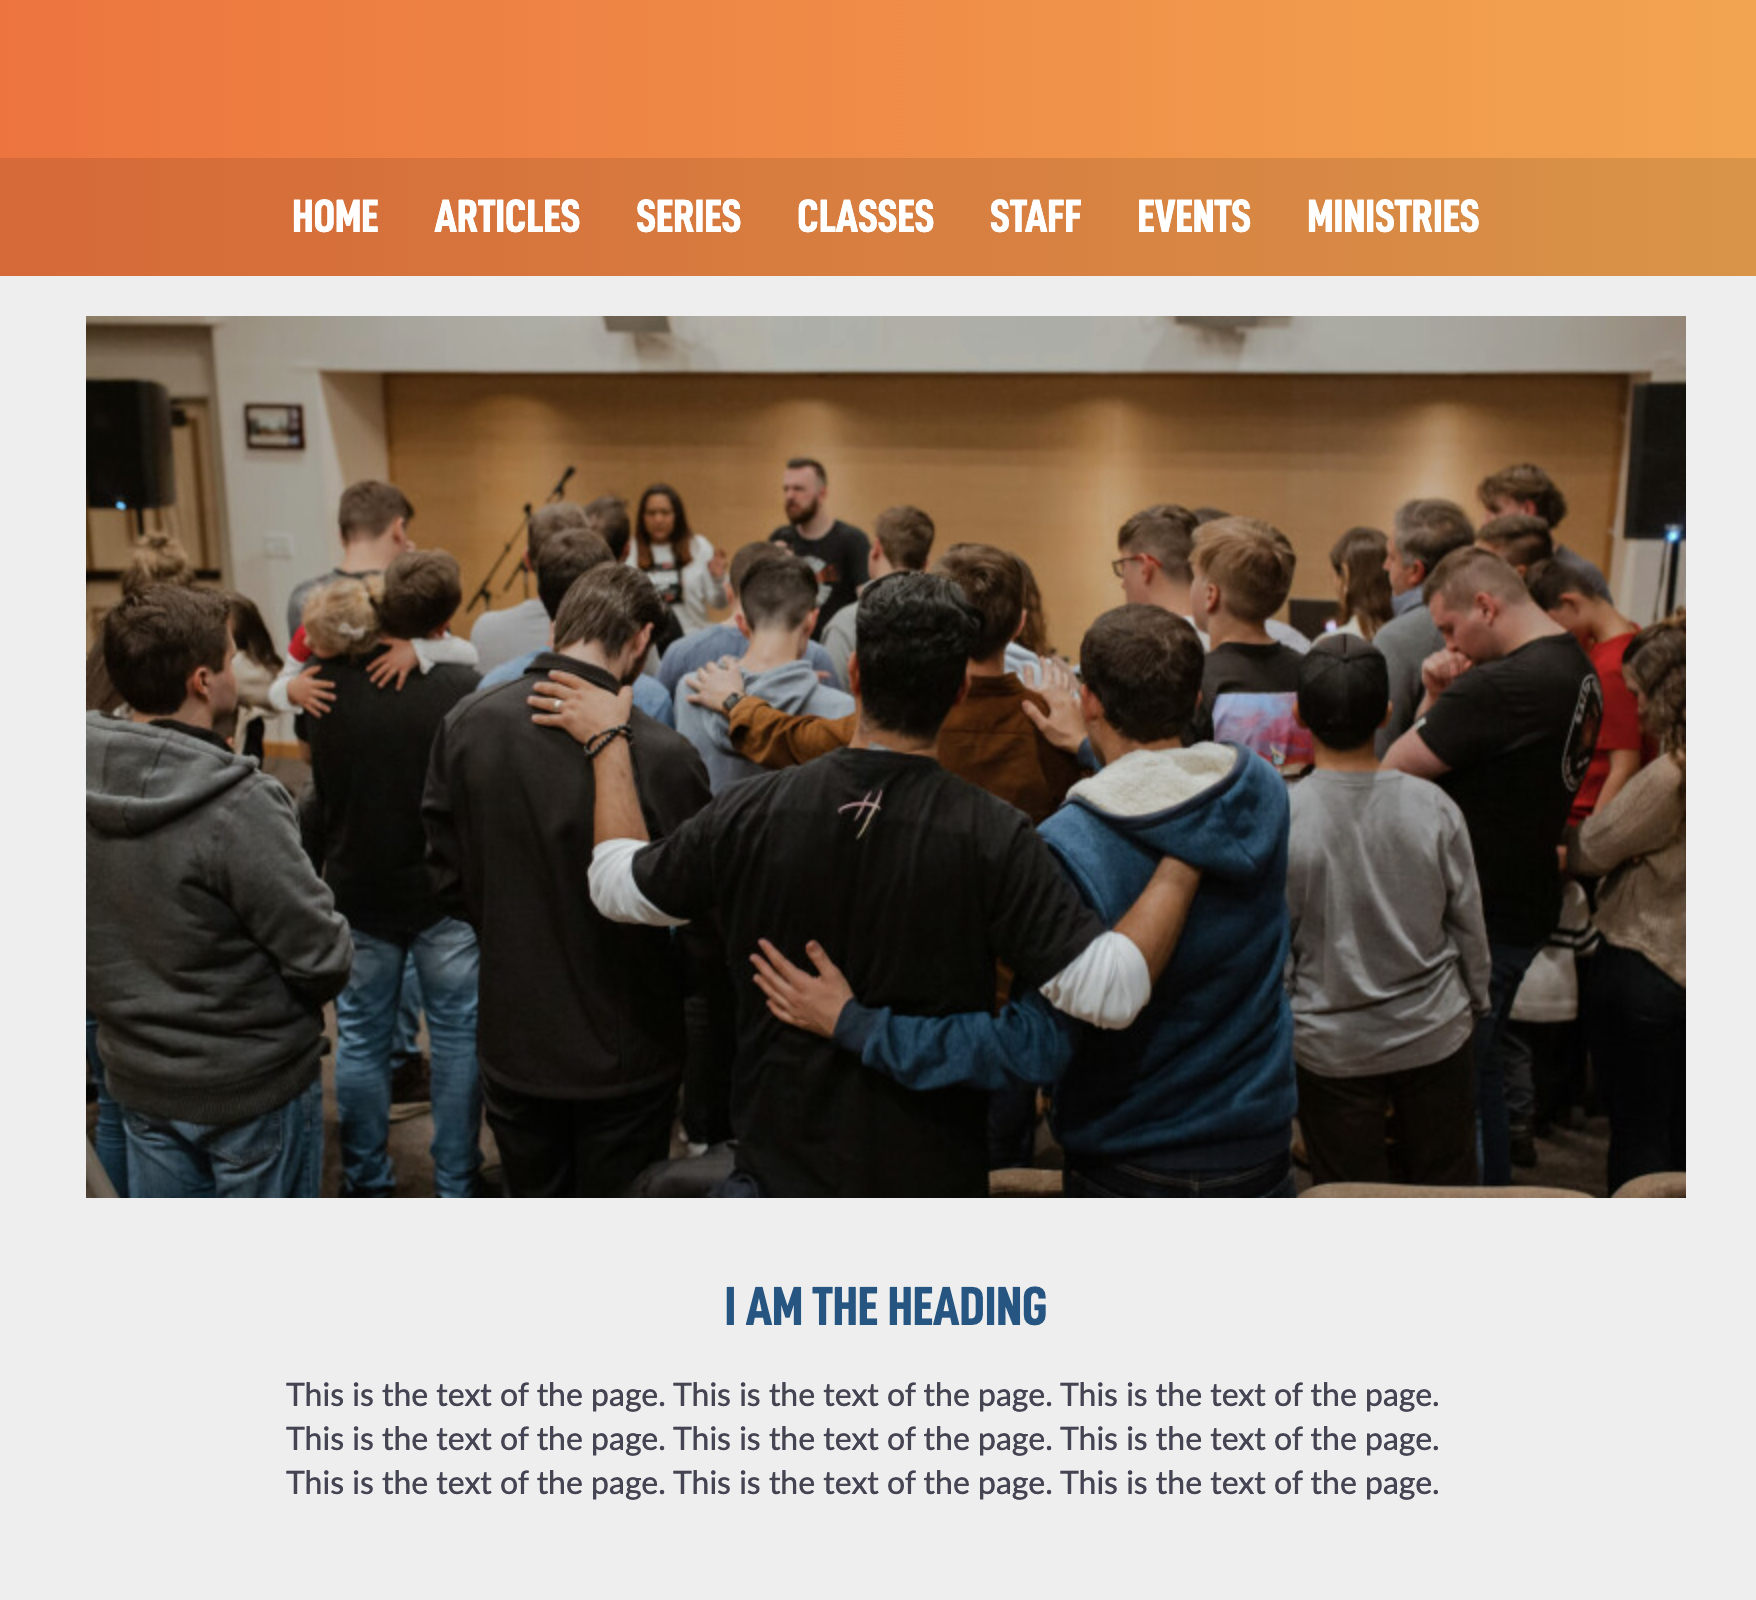
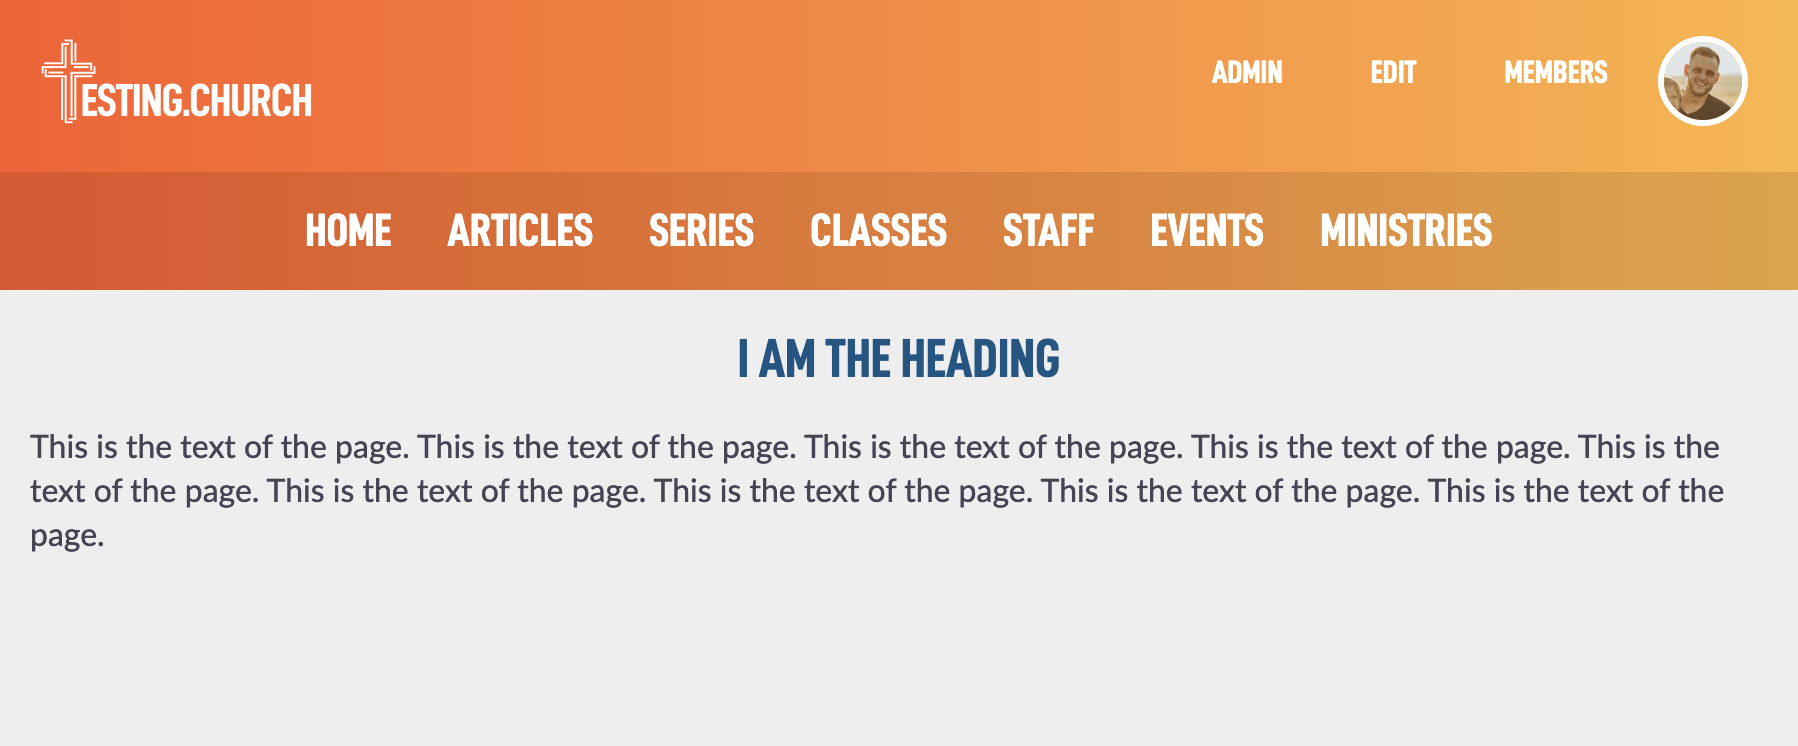
The page now looks like this on public facing part of your website.
I'd like to go over a few settings that will make your pages look a lot better.
To jump back to the edit page, tap the Edit button found in the top navigation of your site. This will bring you back to the main Page Builder page.
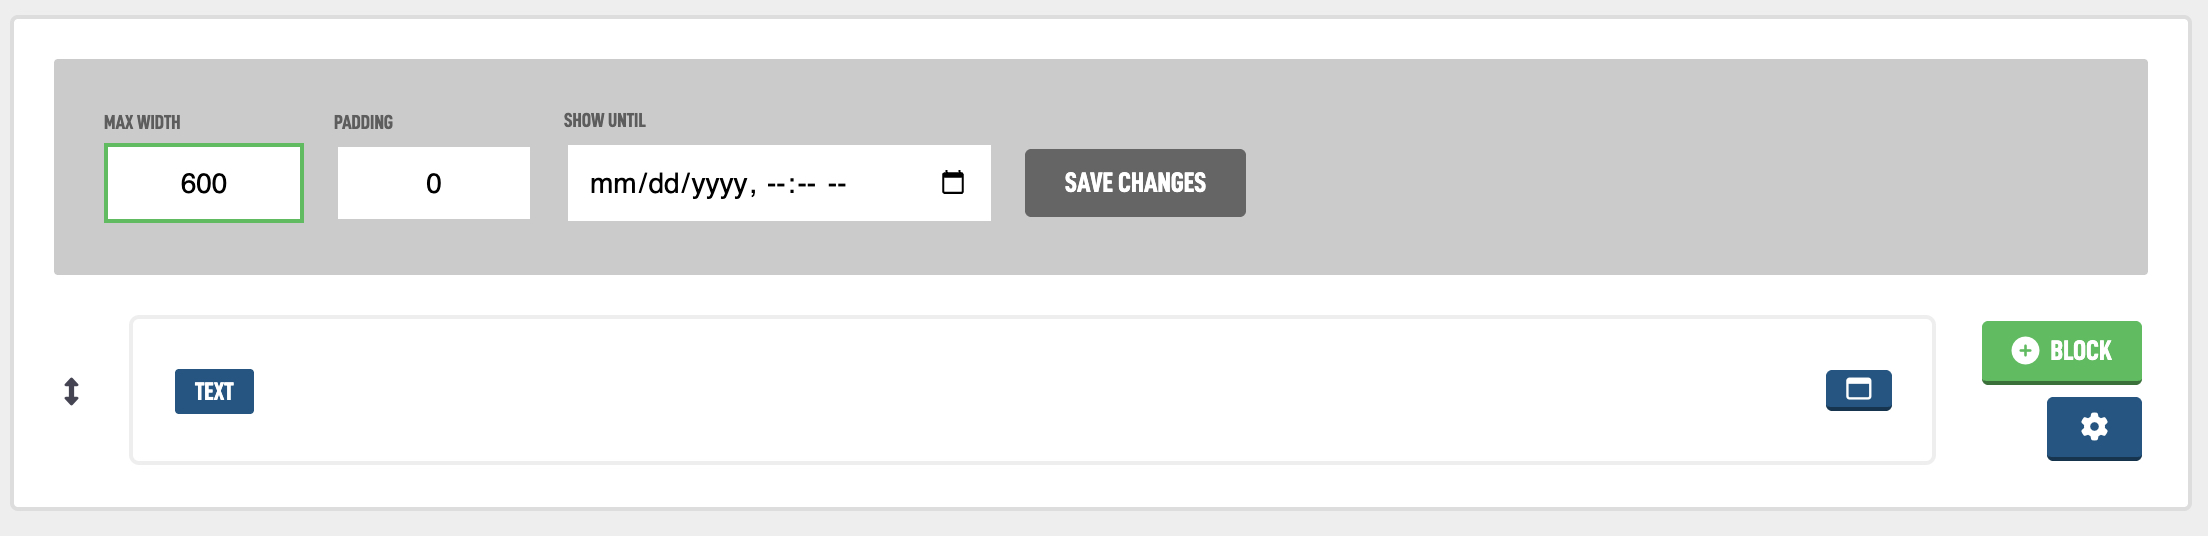
On the section, let's tap the gear icon and set a max with of 600 pixels. This will make the text not as wide on the page. 600-750 is a comfortable width for reading a lot of text on a page.
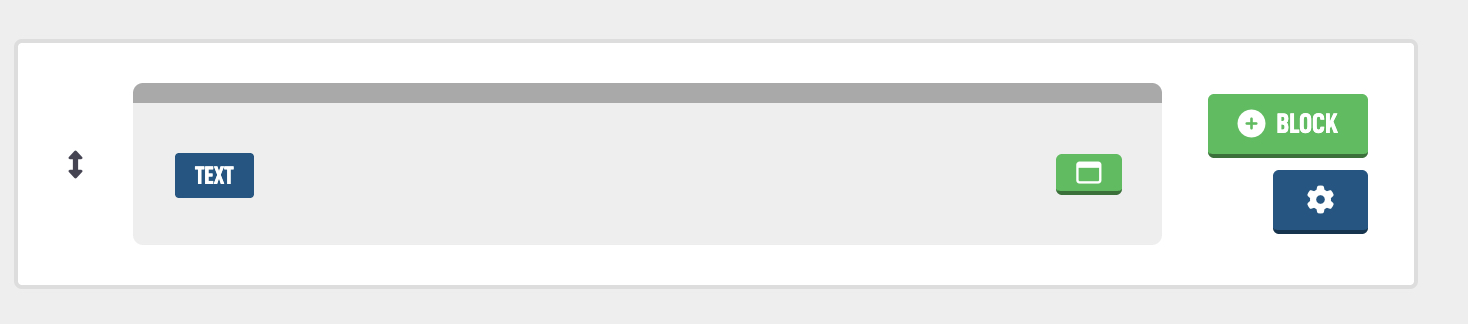
There is a built-in option to make blocks "boxed" as we call it. Navigate back to the Edit page but tapping Edit in top of the page, then tap on the browser window icon inside the Text block:
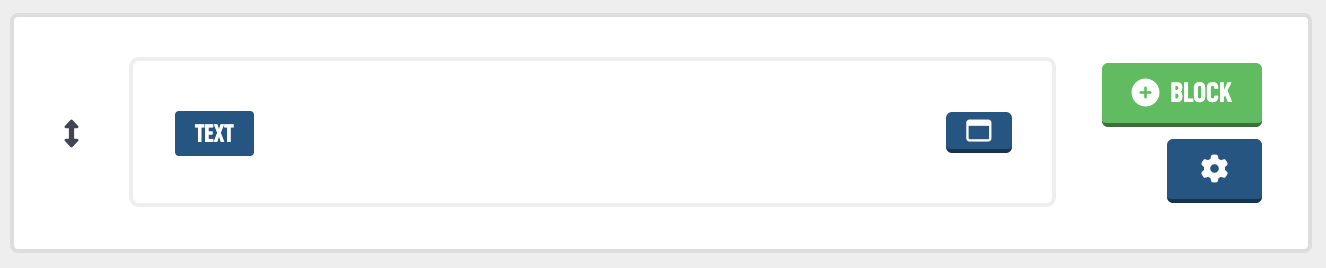
The block should change and now look like this on the edit page.

Then on the public facing page. Your block will now be wrapped in a box design:
You may not want this design for text on your website, but I did want to show you what that does. It can be helpful with other blocks to create a dashboard type page maybe for your main Members page.
Now let's attempt to put an image of our group next to the text. On the main edit page, click the + Block next to our current Text block.
Then in the block list, located the Image block and assign it.

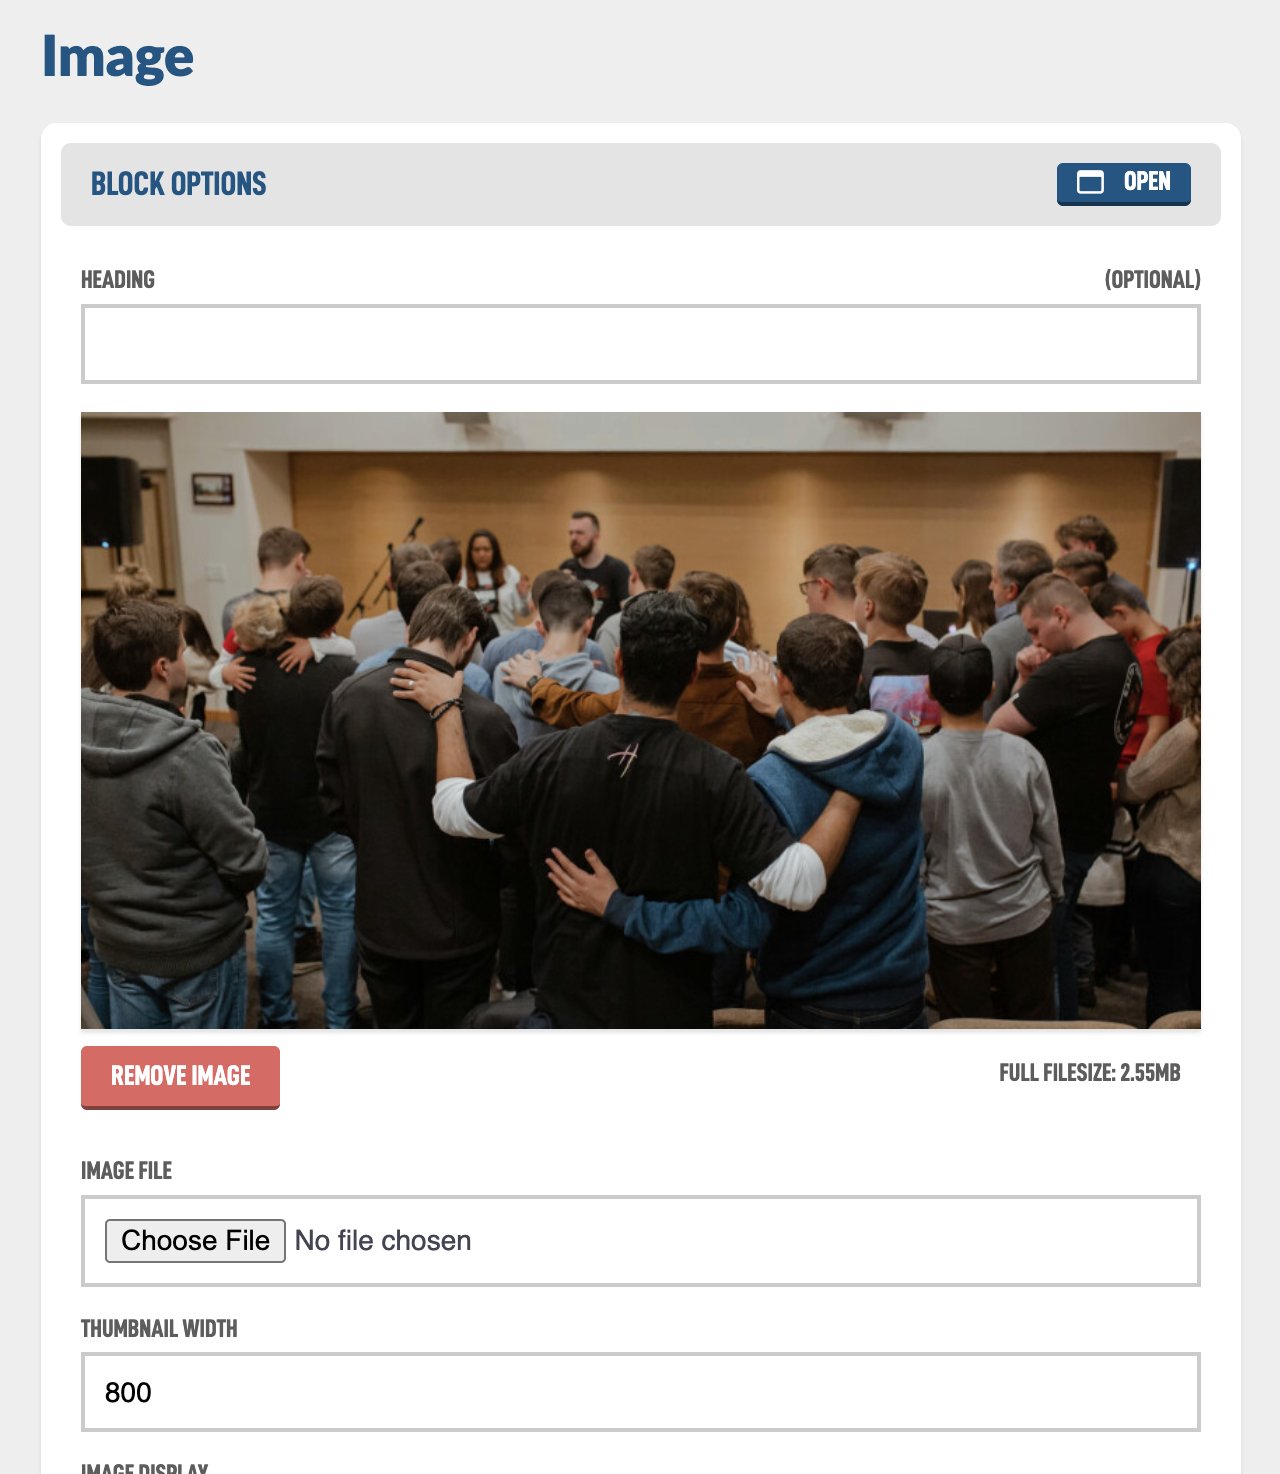
Now let's go over the settings on the Image block.
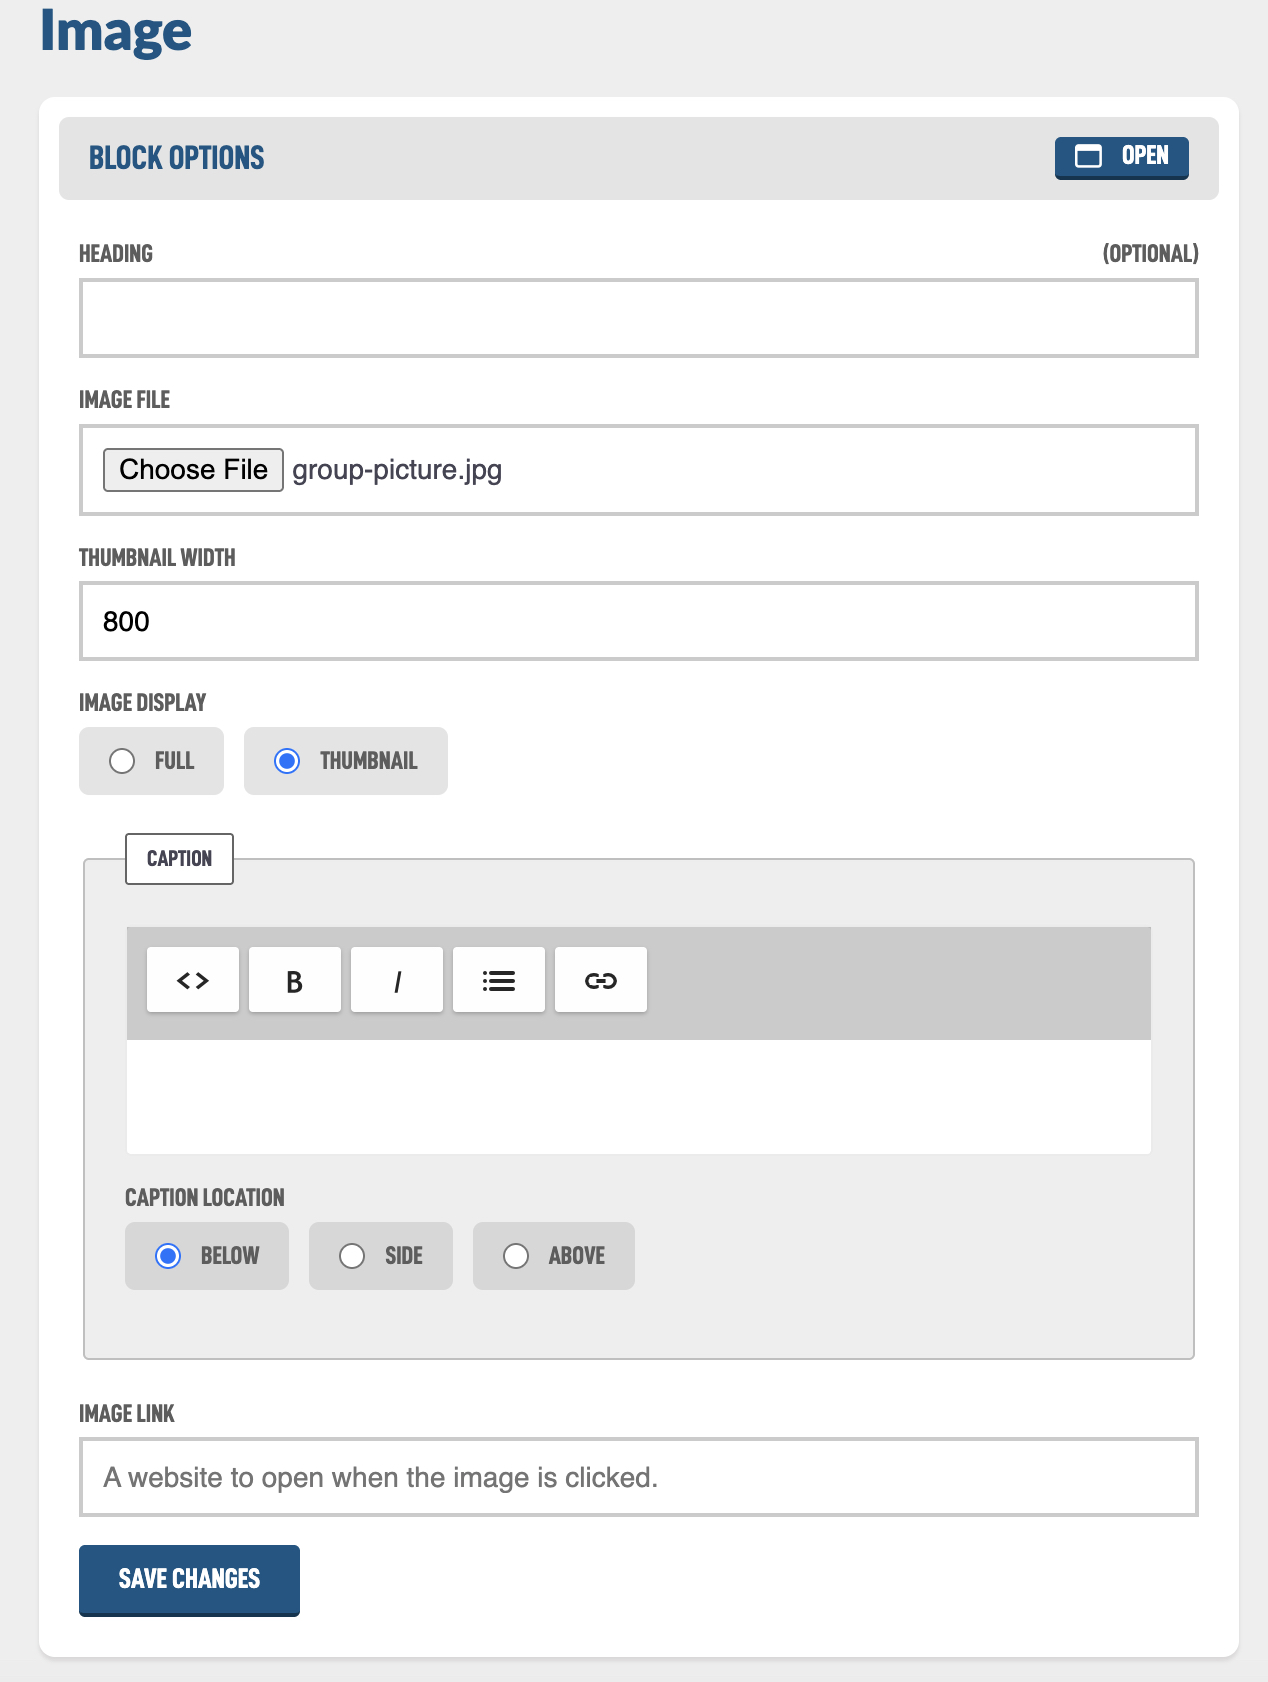
You start with the same Heading option, all blocks have a Heading option for consistency. Then you can choose the main Image File you want to add.
When you upload an image, the system automatically creates a smaller version called a thumbnail. This helps keep the page fast and easy to load, even if the original image is very large. You can choose the maximum width for the thumbnail so the image looks great on the page without using more space or data than needed.
You can also choose to display the Full image, but keep in mind that very large images can slow down how quickly the page loads for visitors.
You can add a caption that shows around the image and is included in the same block and position it where you want.
The final option is a Link or URL that if the user taps on your image will take them somewhere else.
I'm adding a group image with a pixel width of 800 and will show you want it looks like:
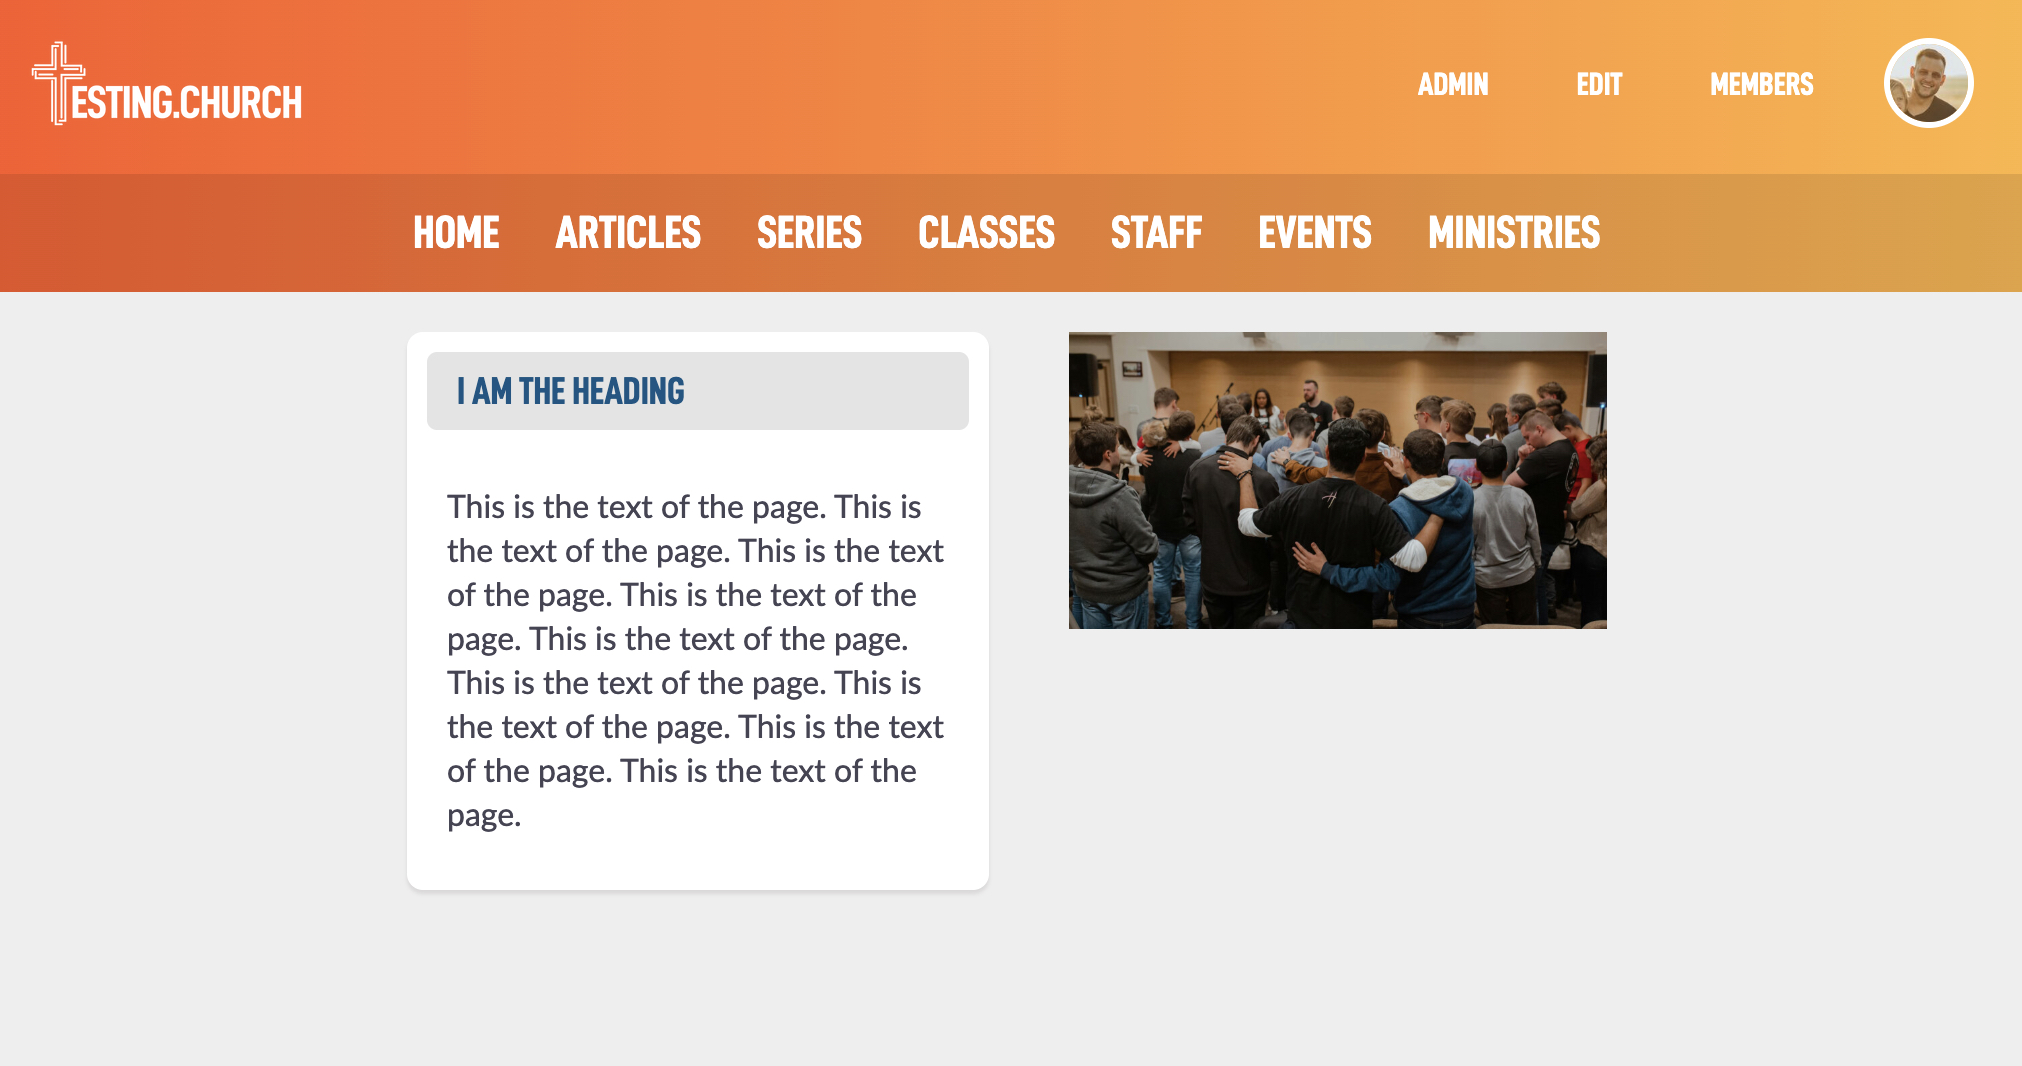
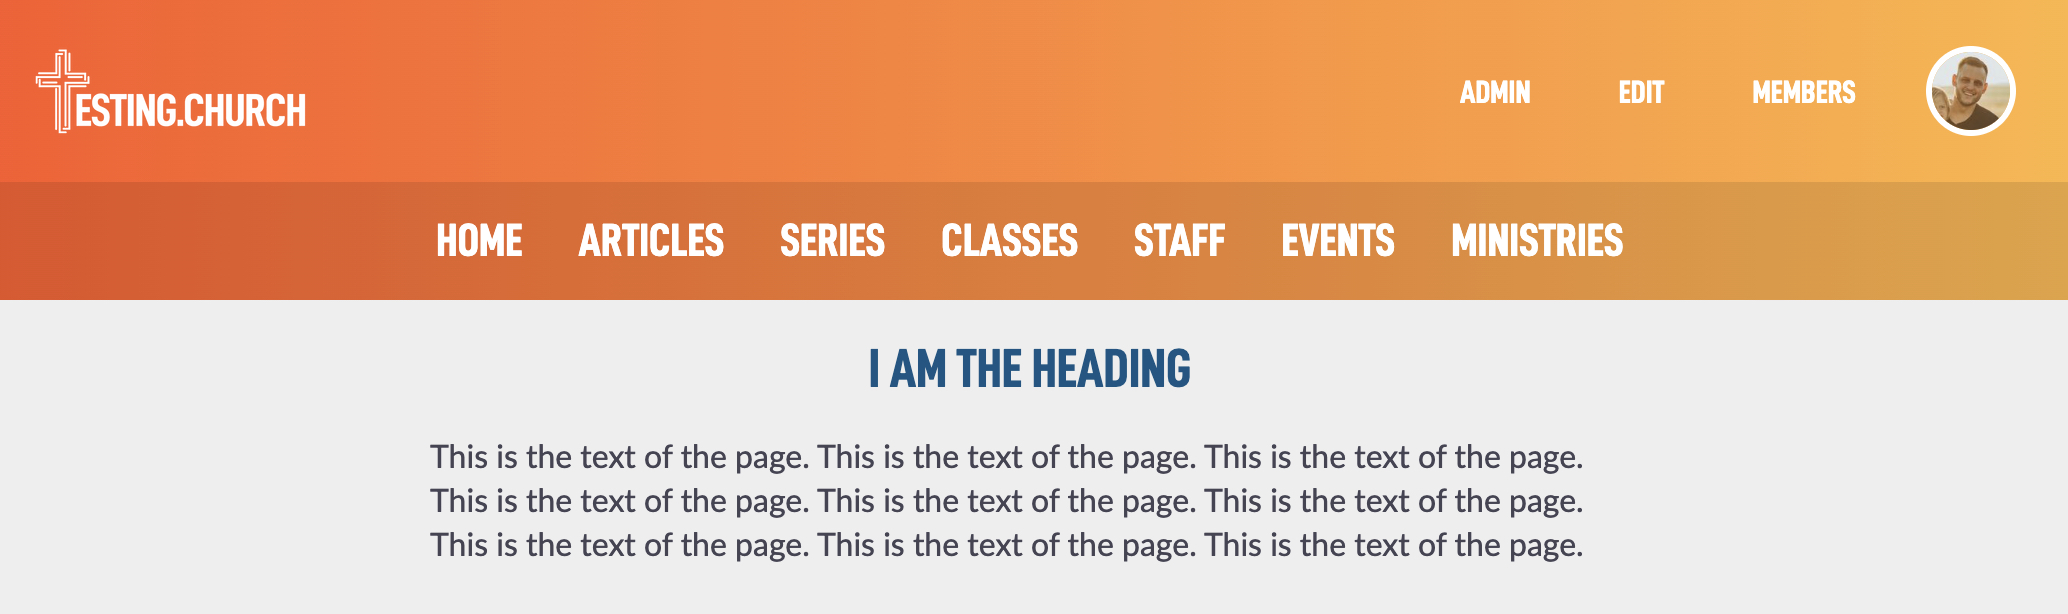
Because we set a Max Width to the section of 600 earlier, the blocks are squeezing into that width. You may want to go back and increase that until it looks good.
Note: Blocks on mobile will shift downward to fit on the mobile device screen.
Currently it is a little awkward to reorder the blocks to different sections. I think it would look better if that image was above the text instead of beside it. Let's see how that is currently possible, hopefully in the future you will be able to drag and drop them where you want them!
Get back to the edit page for the Image block. If on the public facing website, tap Edit, then tap on the Image block and you should be back here:
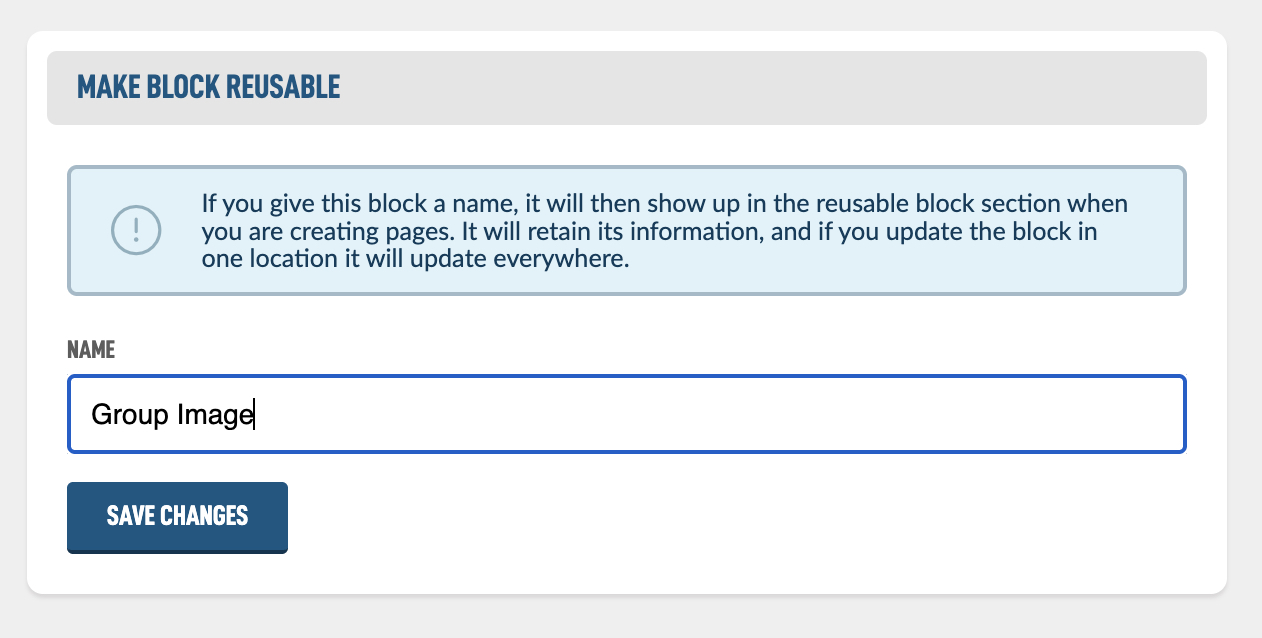
If you continue to the bottom of the page, you should see a Make Block Reusable section. If we give this block a Reusable name it can be used on multiple pages. Let's call it Group Image.
Now hit < Page Content in the top left because we need to go add a new section above our Text.
Tap the + Section at the bottom of the section list.
To move the section above, use the vertical arrows on the right to drag it upward. When you release your drag, it should turn green to indicate the saving of the new location is complete.

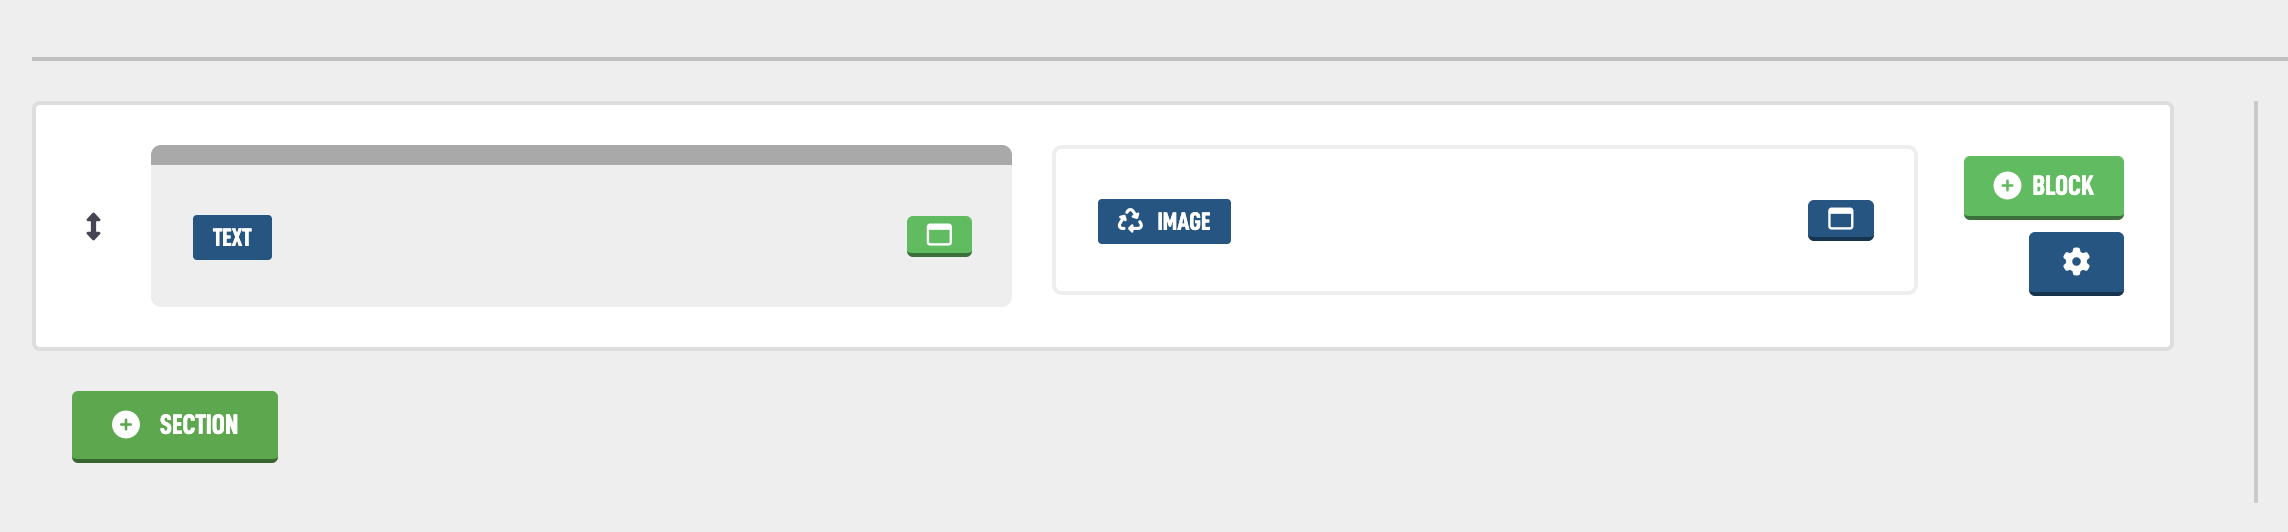
Then tap on the + Block in the new section at the top.
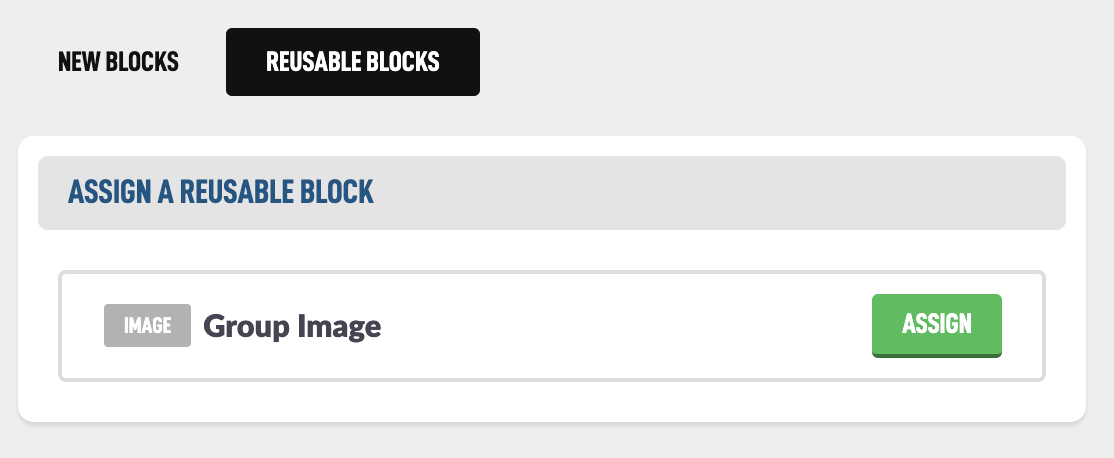
Instead of choosing a New Block, look for the Reusable Blocks filter and select that and you should see our new Group Image block.
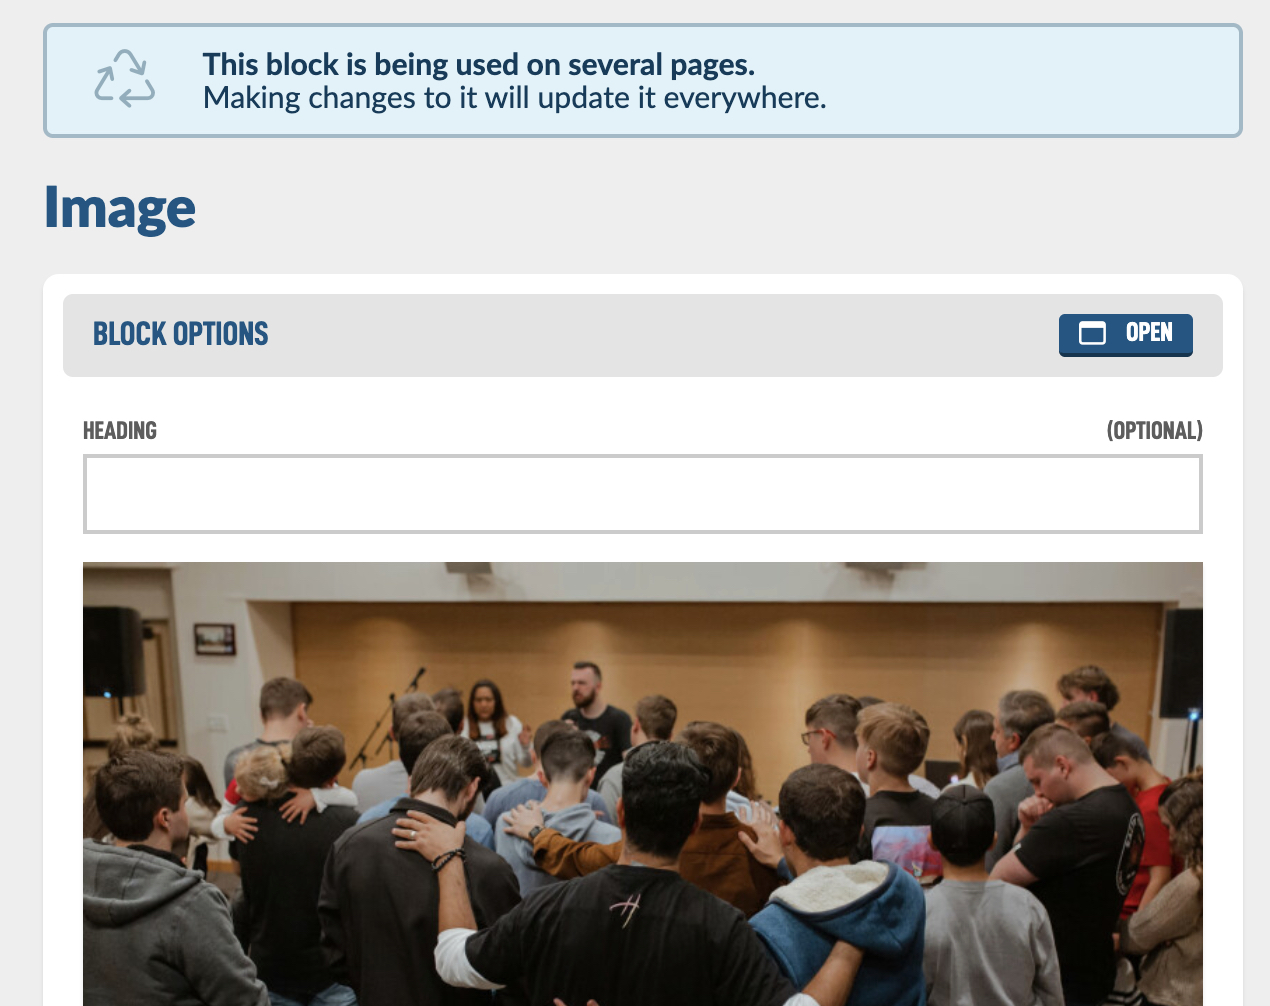
After hitting Assign you will be on the edit page for that Image but you will see a recycle message at the top letting you know that if you change anything in this block it will be updated on every page that contains this block. That can be a great thing or a bad thing if you were not expecting that.
So now that we have it here, let's check out our page and we should see it twice now because it is in both sections.
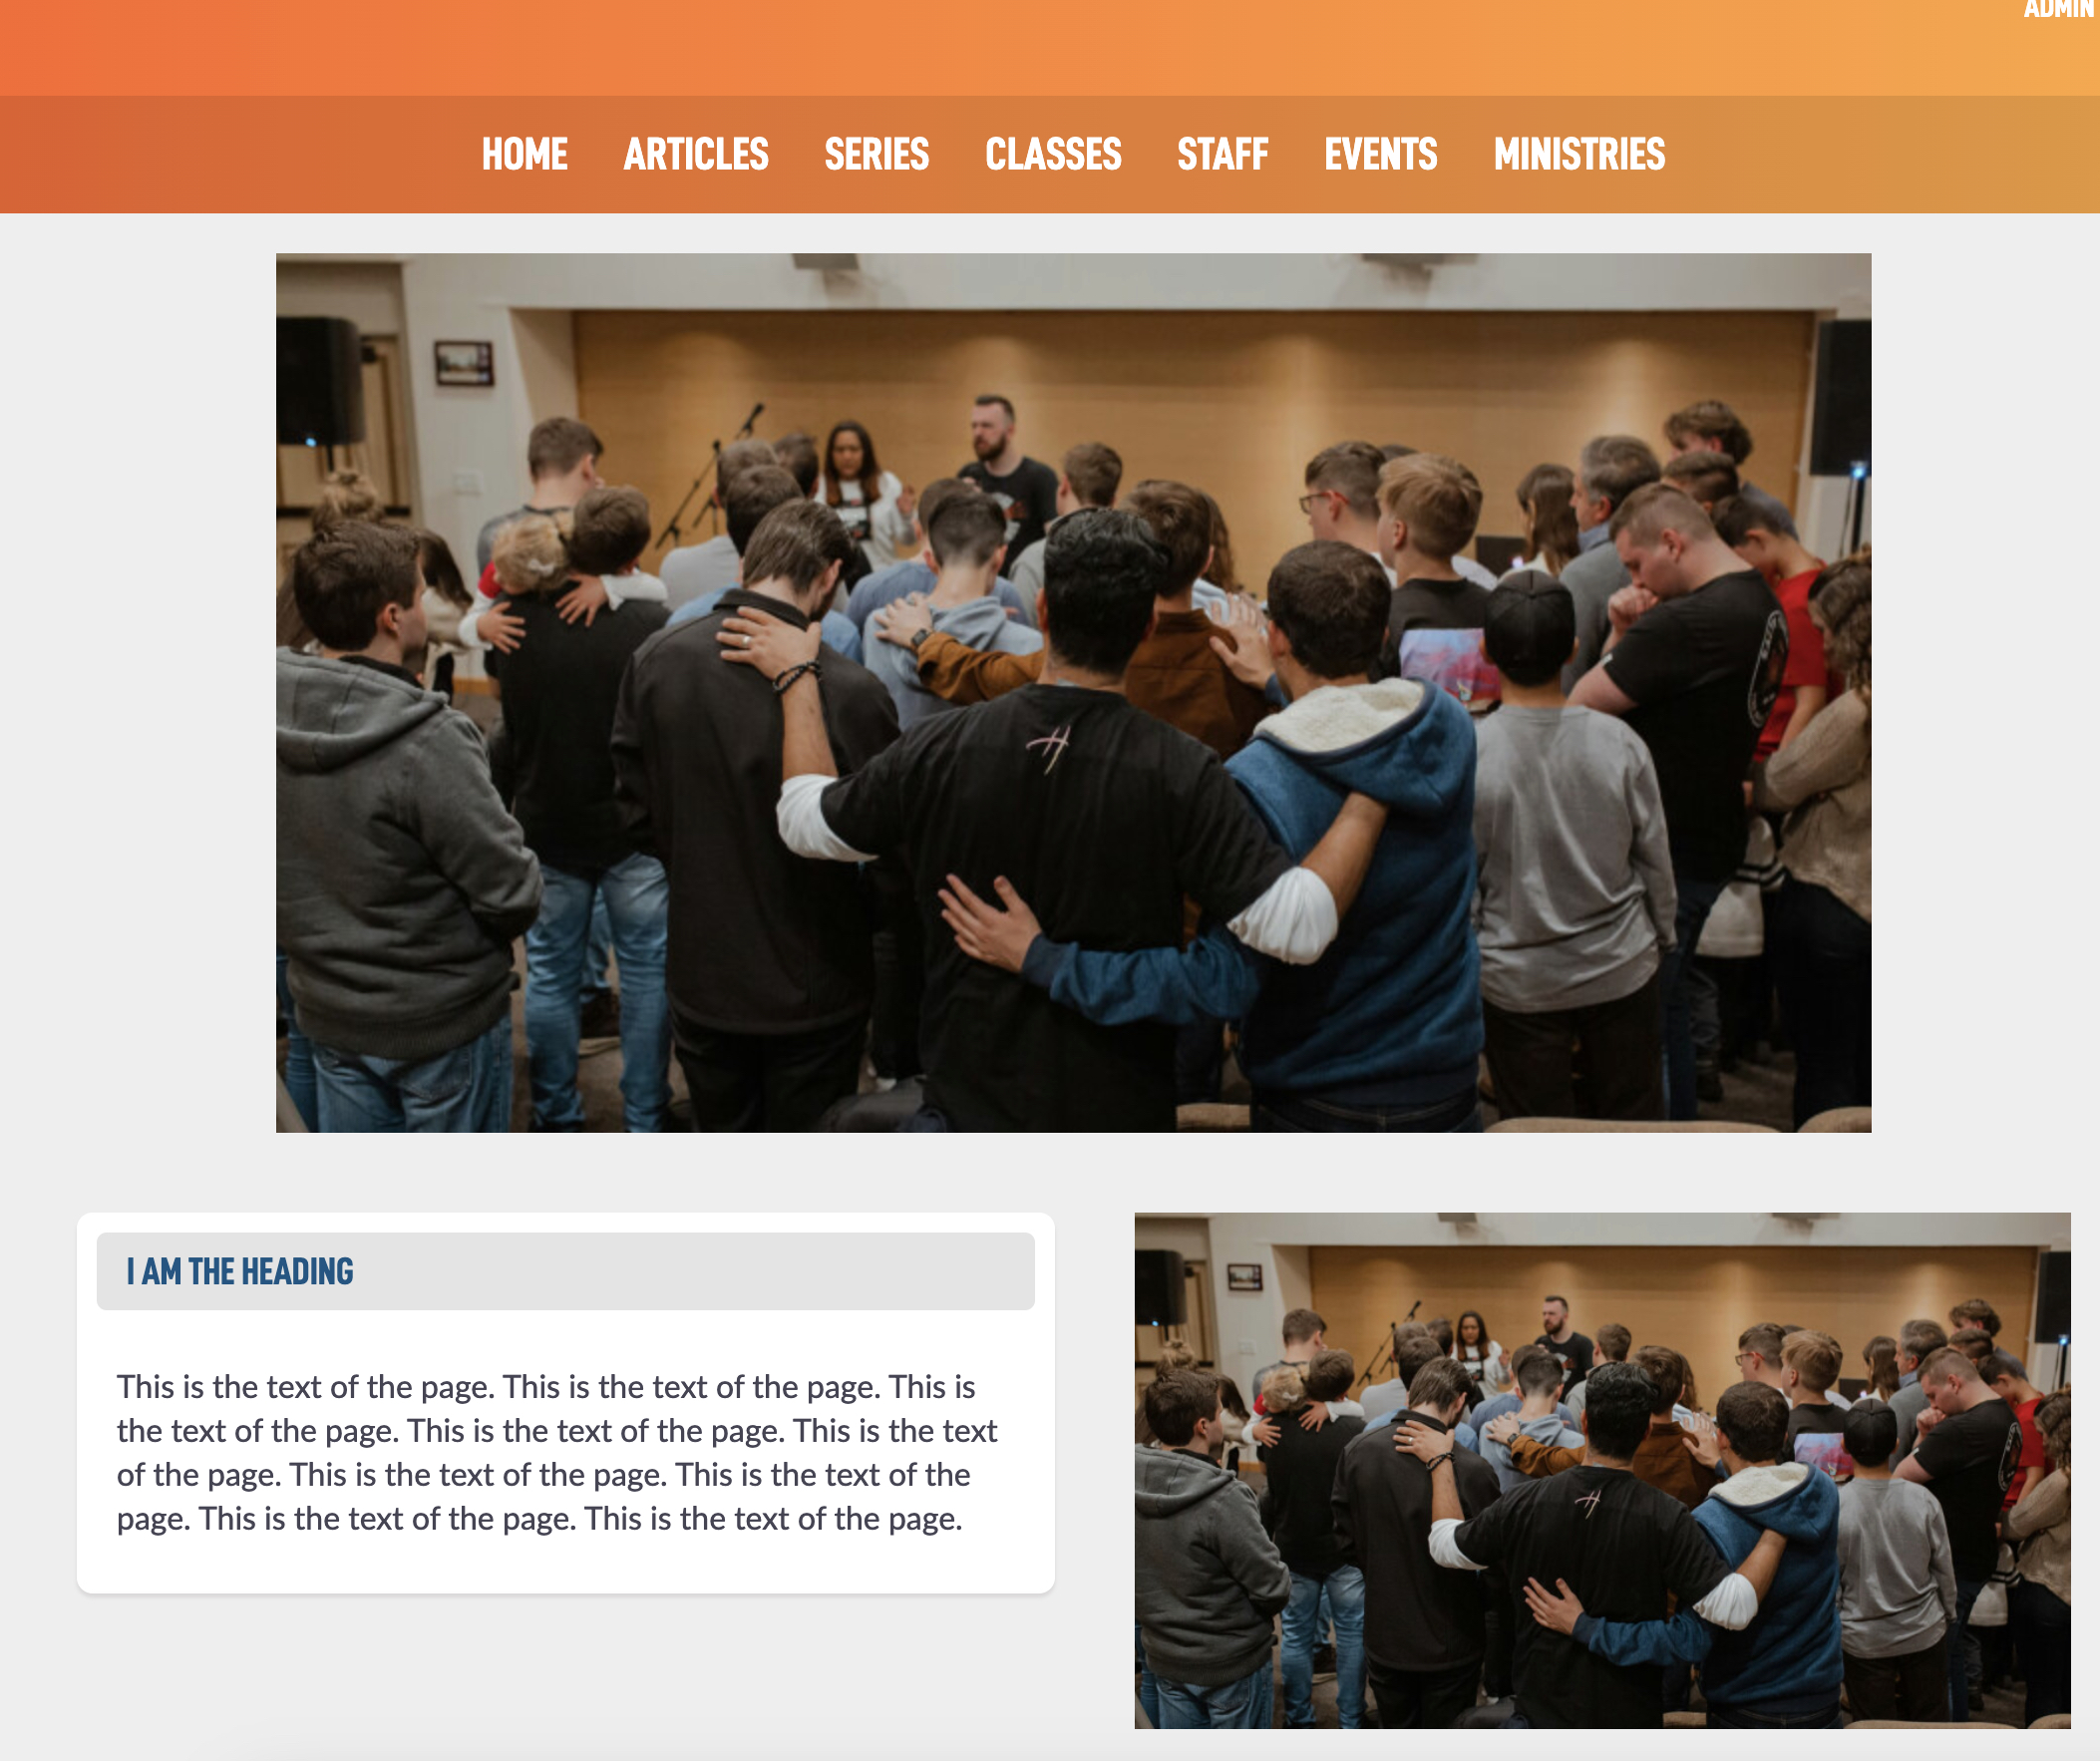
The image at the top looks great, but we need to remove it from the bottom and probably take the text out of it's boxed design.
Back on the edit screen in the Page Builder, we need to tap on the block we wish to remove. We can see the recycle icon next to the Image we have in two places.

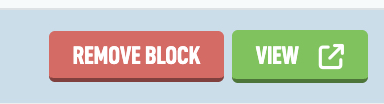
Let's tap on the image in the lower section and find the Remove Block button in the top right of that screen.

After you remove the block it asks you to assign a new one, let's not do that and leave it blank and hit the back button in the top right.
I've also tapped on the boxed icon for the Text block in the bottom section to remove that design and reset my Max Width to 600 to make the text fit better. My admin edit page looks like this.
And on the public facing page it now looks like this.